Riverside
FURNITURE
email: info@riverside-furniture.com
Made in Viet Nam
Page 1 of 4
Hutch
#16742
Placid Cove
Entertainment Hutch
Assembly Instructions
1 pc.
1 pc. right
1 pc. left
3 pcs.
2 pcs.
1 pc.
12 pcs.
29 pcs.
29 pcs.
12 pcs.
19 pcs.
(G)
2 pcs.
Be sure to check all packing material carefully for small
parts, which may have come loose inside the carton during
shipment. Separate, count and check all parts against the
Components and Hardware List above. Failure to use the
correct length bolts in the proper locations may result in an unsafe
product and could also cause damage to the parts being assembled.
8 pcs.
2 pcs.
(F)
Left
Right
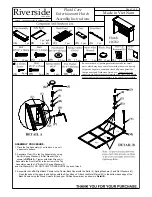
ASSEMBLY PROCEDURE:
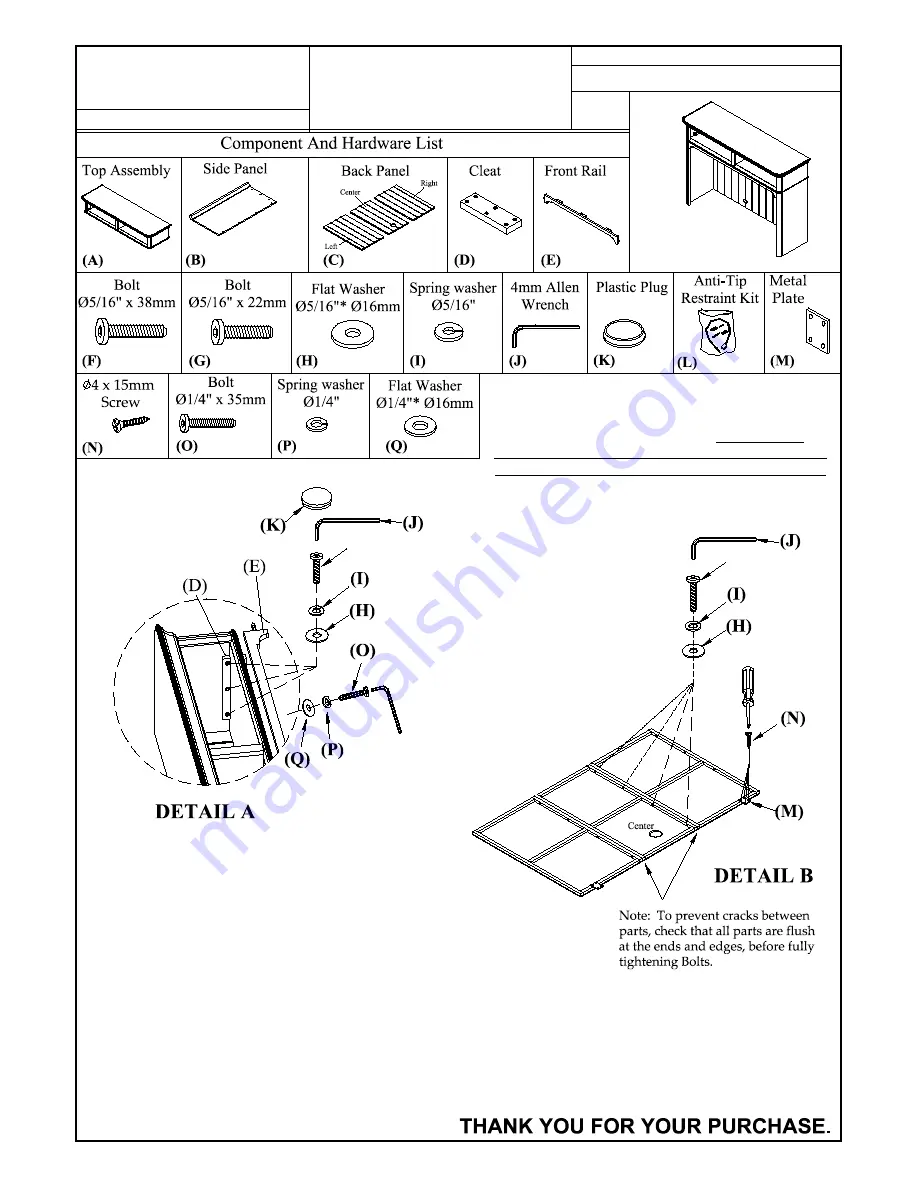
1. Place the Top Assembly (A) on its back, on a soft
and smooth surface.
2. Assemble Cleat (D) to the Top Assembly by using
Bolt (G) Spring Washer (I) & Flat Washer (H) as
shown in
DETAIL A.
Tighten with Allen Wrench (J).
Assemble the Front Rail (E) to the bottom of the Top
Assembly using the 1/4" Bolts (O), Spring Washers (P)
and Flat Wahers (Q). DO NOT FULLY TIGHTEN UNTIL the end of step 4.
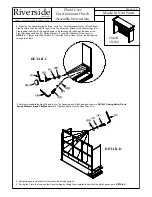
3. Assemble the Left & Right Back Panels to the Center Back Panel with the Bolts (F), Spring Washers (I) and Flat Washers (H),
Flush the ends of the panels and tighten with the Allen Wrench. Attach the Metal Plates (M) to the bottom back edge of the
Back Panels using the Wood Screws (N) and your Phillips Screwdriver, as shown in
Detail B
.
5 pcs.
5 pcs.
5 pcs.
1 pc.
Summary of Contents for Placid Cove Entertainment Hutch 16742
Page 4: ......


