Page 4 of 5
Made in Viet Nam
email: info@riverside-furniture.com
FURNITURE
Riverside
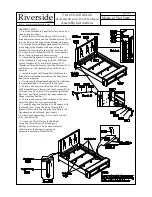
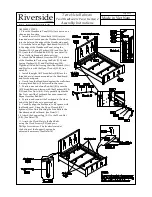
ASSEMBLY STEPS :
1. Place the Headboard Panel (H-A) face down on a
clean and soft surface.
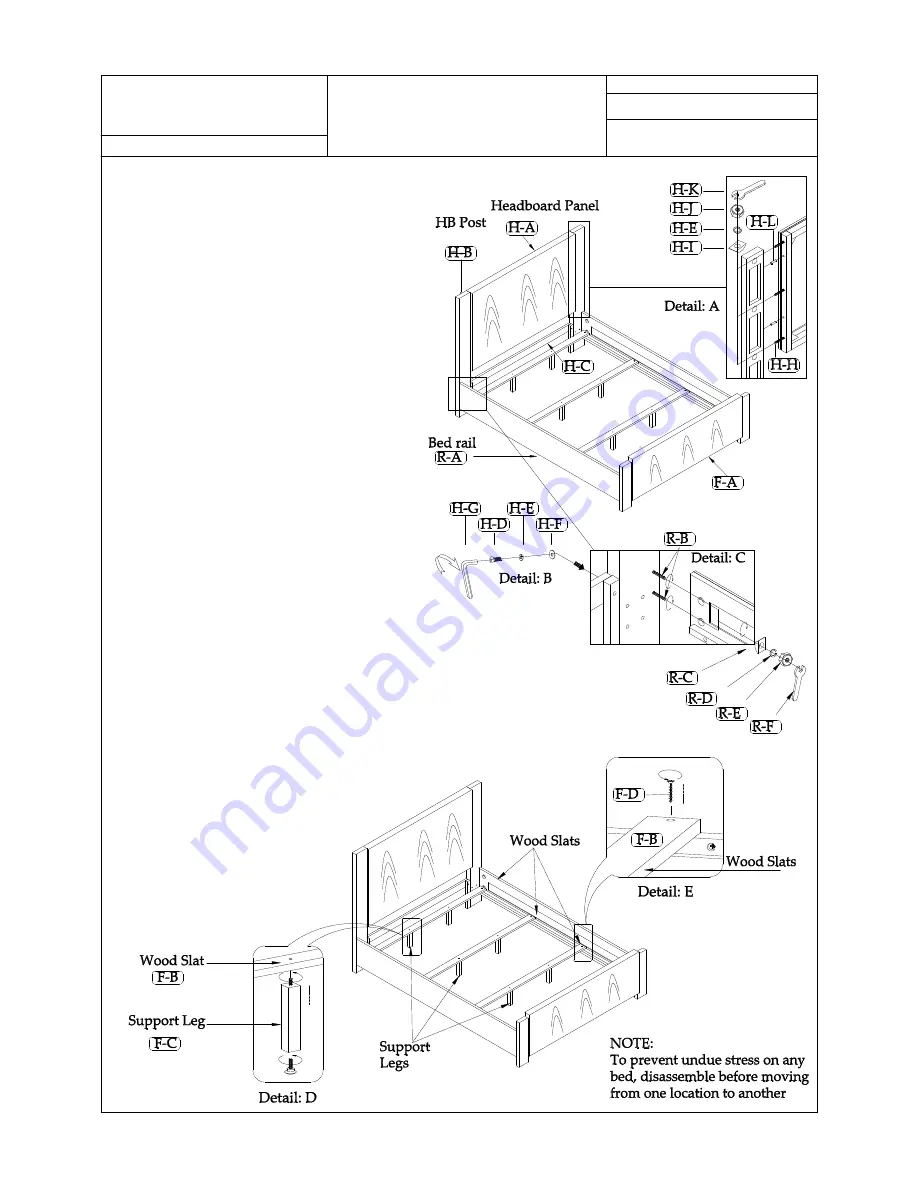
2. Install the six All-Thread Bolts (H-H) into the
threaded metal inserts and the Wooden Dowels (H-L)
into the holes on the edges of the Headboard panel.
3. Attach the Left and Right Headboard Posts (H-B)
to the edge of the Headboard Panel, using the
Washers (H-I), Spring Washers (H-E) and Hex Nut
(H-J) onto the All-thread Bolt (H-H). (see detail A).
Do not fully tighten until after next step.
4. Attach the Headboard Stretcher (H-C) to the back
of the Headboard Posts using the Bolts (H-D) and
Spring Washers (H-E), and Flat Washers (H-F).
Tighten all Allen Bolts using the Allen Wrench (H-G)
and Hex Nuts with the Open Wrench (H-K). (see
detail B).
5. Install the eight All-Thread Bolts (R-B) into the
threaded metal inserts mounted on the Headboard
and Footboard posts.
6. Gently lean the Headboard against the wall where
the completed Bed will be located in the room.
7. Position one end of one Bed Rail (R-A) onto the
All-Thread Bolts and fasten with the Washers (R-C &
R-D) and Hex Nuts (R-E). Only partially tighten the
Hex Nuts until the Footboard has been connected.
Repeat for other Bed Rail.
8. Position and connect the Footboard to the other
end of the Bed Rails as in previous Step.
9. Carefully align the Footboard to be 'square' with
the Headboard. Using the Open Wrench (R-F)
tighten all Hex Nuts attaching the Side Rails to the
Headboard and Footboard. (See Detail C)
10. Attach the Support Leg (F-C) to the Wood Slat
(F-B). (See Detail: D)
11. Attach the Wood Slats to the Bed Rails
using the Wood Screws (F-D) and your
Phillips Screwdriver. The levelers located at
the bottom of the Support Legs can be
adjusted if necessary. (See Detail E)
Terra Vista Bedroom
Panel Headboard & Panel Footboard
Assembly Instructions


