5
Installation and commissioning
2. Installation and commissioning
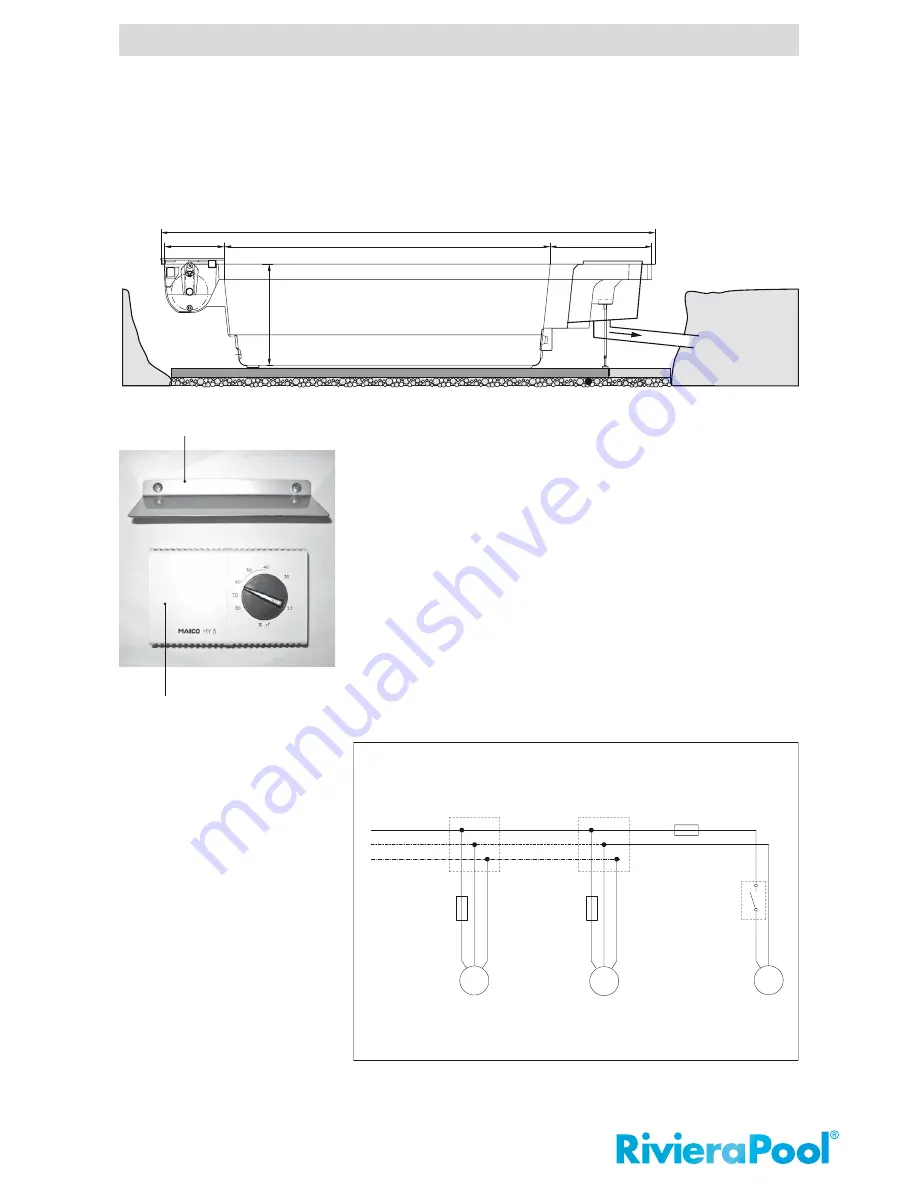
1. Foundation shafts from serial production are not water proof. if ground-water
could rise above the level of the shaft floor, please request a ground-water
proof version from the factor (at additional cost).
2. Connect the shaft drain. make sure that, where appropriate, multiple drains
will be joined together and a stench trap is installed onsite.
3. Connect aerator and humidity switch. set humidity switch to 65 %. the
aerator must also run in winter, when the swimming pool is switched off.
4. Before doing the classing, lay the shaft cover. Leave sufficient space
between the kerbstones and the cover for rain to run off, cleaning and
movement of the covers.
2.1
Installation
25
––>
B
8 8 5
1
5
0
0
1 5 0 0
A
self draining
t shaftcircuit diagram
drip plate
Humidity switch
M
FunPak
pump 2
230 V/1,5 kW
FunPak
pump 1
230 V/1,5 kW
L
N
PE
2
1
Hygrostat
ventilator
M
M
Circuit diagram technique shaft with FunPak pumps
Connecting cables and fuse protection to be made on site
F3 (3,15 A)
F2
F1


