35-3010A-13 Sample-Draw Detector • 23
NOTE:
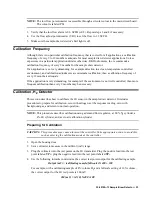
The low flow potentiometer is accessible through a circular cutout in the main circuit board.
The cutout is labeled PS1.
3. Verify that the low flow alarm is 0.6 SCFH (±0.2). Repeat steps 3 and 4 if necessary.
4. Use the flow adjust potentiometer (VR1) to set the flow to 1.2 SCFH.
5. Make sure the sample-draw detector’s Fail light is off.
Calibration Frequency
Although there is no particular calibration frequency that is correct for all applications, a calibration
frequency of every 9 to 12 months is adequate for most sample draw detector applications. Unless
experience in a particular application dictates otherwise, RKI Instruments, Inc. recommends a
calibration frequency of every 9 months for the sample draw detector.
If an application is not very demanding, for example detection in a clean, temperature controlled
environment, and calibration adjustments are minimal at calibration, then a calibration frequency of
every 12 months is adequate.
If the application is very demanding, for example if the environment is not well controlled, then more
frequent calibration than every 9 months may be necessary.
Calibration, H
2
Detector
This section describes how to calibrate the H
2
sensor in the sample draw detector. It includes
procedures to prepare for calibration, zero with nitrogen, set the response reading, zero with
background gas, and return to normal operation.
NOTE:
This procedure describes calibration using a demand flow regulator, a 100% N
2
cylinder, a
4% H
2
cylinder, and a zero air calibration cylinder.
Preparing for Calibration
CAUTION:
This procedure may cause alarms at the controller. Take appropriate action to avoid this,
such as entering the calibration mode at the controller.
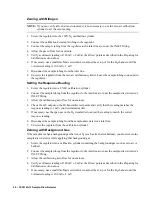
1. Open the housing door.
2. Set a voltmeter to measure in the millivolt (mV) range.
3. Plug the voltmeter into the test points on the H
2
transmitter. Plug the positive lead into the test
point labeled
TP+
; plug the negative lead into the test point labeled
TP-
.
4. Use the following formula to determine the correct test points output for the calibrating sample.
Output (mV) = (calibrating sample/fullscale) X 400 + 100
For example, with a calibrating sample of 4% volume H
2
and a fullscale setting of 10% volume,
the correct output for the H
2
test points is 260 mV.
260 (mV) = (4/10) X 400 +100


