EAGLE 2 Operator’s Manual
Overview • 27
Chapter 3: Operation
Overview
This chapter explains how to use the EAGLE 2 to perform confined space entry
monitoring or general area monitoring in Normal Mode. There are three operational
modes in Normal Mode: Measuring Mode, Display Mode, and Calibration Mode. While
in Normal Mode, the unit is normally operating in Measuring Mode. Display Mode and
Calibration Mode are accessible from Measuring Mode. Display Mode is described in this
chapter. Calibration Mode is described in “Chapter 4: Calibration Mode” on page 54.
Special versions of the EAGLE 2 can also operate in Leak Check Mode and Bar Hole
Mode. See “Appendix K: Using the EAGLE 2 in Bar Hole Mode” and “Appendix L:
Using the EAGLE 2 in Leak Check Mode” for operating instructions for Bar Hole and
Leak Check Mode, respectively.
Start Up
This section explains how to start up the EAGLE 2, get it ready for operation, and turn it
off.
NOTE:
The screens illustrated in this section are for a standard 4-gas unit. The screens
displayed by your EAGLE 2 may be slightly different.
Turning On the EAGLE 2
To illustrate certain functions, the following description of the EAGLE 2 start up sequence
assumes that the following menu items in Setup Mode are turned on: LUNCH BREAK,
CAL REMINDER, and USER/STATION ID. If any of these items are turned off, then the
corresponding screens will not appear.
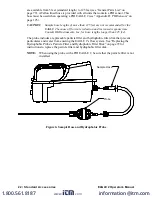
The EAGLE 2 may be used with a sample hose or with the probe installed directly to the
inlet fitting. Determine which configuration works best for your application.
1. Connect the sample hose or probe to the EAGLE 2’s quick connect inlet fitting.
2. If using a sample hose, connect the probe to the sample hose’s quick connect fitting.
3. Press and briefly hold down the POWER ENTER RESET button. Release the button
when you hear a beep.
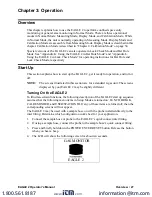
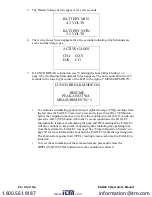
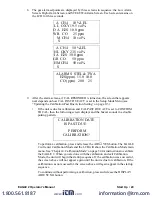
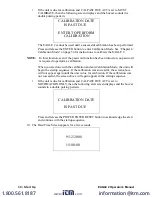
4. The LCD will show the following screen for about ten seconds.
GAS MONITOR
EAGLE 2
www.
.com
information@itm.com
1.800.561.8187


