Bump Testing a GX-2009 • 25
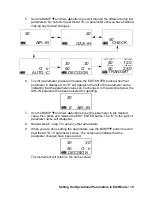
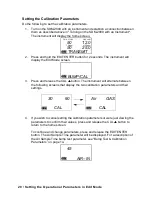
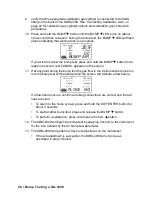
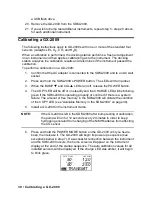
and the SDM-2009 occurs, the home screen will appear on the instrument
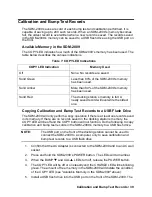
display at the end of the startup sequence. The auto calibration values for all
installed sensors will be displayed. If the charge LED was amber, it will begin
to blink green.
NOTE:
The screen shown above applies to a 4-channel GX-2009. If your
GX-2009 has less than 4 channels, the inactive channels will not
appear in the above screen or in any screens where channels are
displayed. All screens in this manual assume a 4-channel GX-2009.
7. There are two exceptions to the sequence described in step 6 above. See the
GX-2009 User Setup Program Operator’s Manual for a description of the
Cal
Limit Display
and
Cal Limit Check
instrument parameters.
•
When
Cal Limit Display
is set to
On
and
Cal. Limit Check
is set to
Can’t
Use
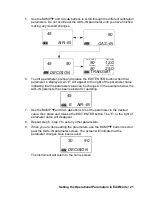
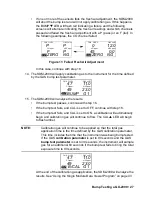
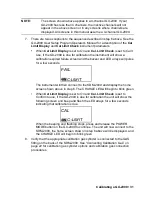
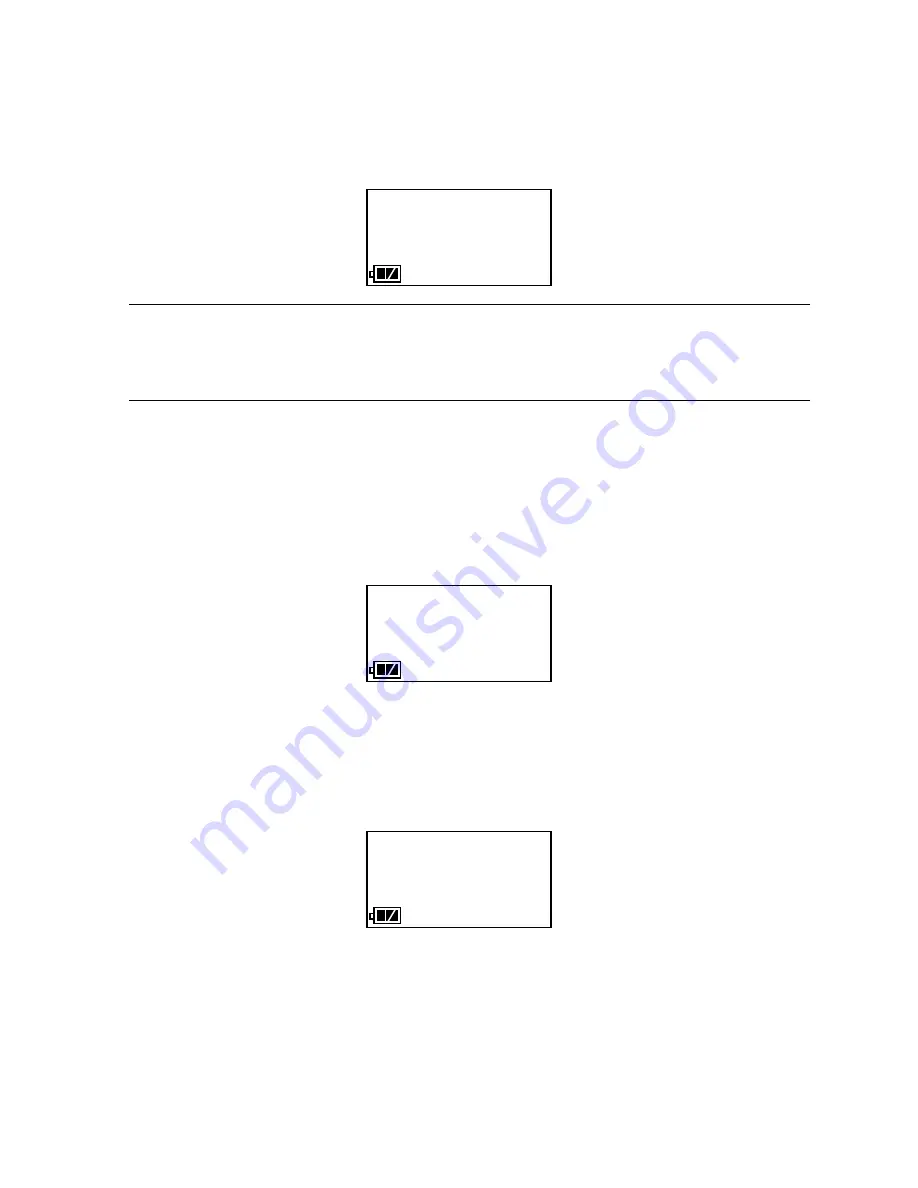
, if the GX-2009 is due for calibration the instrument will show a
calibration expired failure screen and the buzzer and LED arrays will pulse
for a few seconds.
The instrument will then connect to the SDM-2009 and display the home
screen shown above in step 6. The CHARGE LED will begin to blink green.
•
When
Cal Limit Display
is set to
On
and
Cal. Limit Check
is set to
Confirm to use
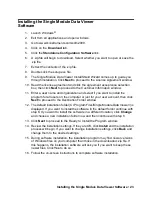
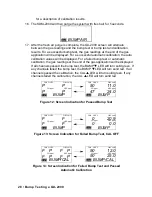
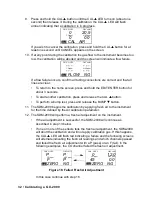
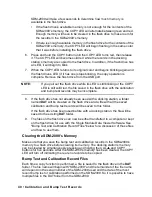
, if the GX-2009 is due for calibration the unit will show the
following screen and beep and flash the LED arrays for a few seconds
indicating that calibration is due.
When the beeping and flashing stops, press and release the POWER
MODE button on the GX-2009 to continue. The unit will now connect to the
SDM-2009, the home screen shown in step 6 above will be displayed, and
the CHARGE LED will begin to blink green.
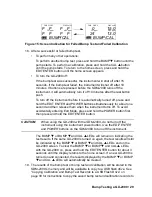
8. If necessary, confirm that the bump test check tolerance is set to the desired
value. See “Setting the Bump Test Parameters” on page 18.
50 12.0
TRANSMIT
CO ppm H2S ppm
CH4 %LEL OXY vol%
50 25.0
FAIL
C-LIMIT
CAL
C--LIMIT

