97 • Calibration
right corner of the Unit Tab.
6 . Verify that the appropriate calibration gas cylinders are connected to the gas
fittings on the left side of the SDM-6000 or to the gas fittings on the SV-3. See
“Connecting Calibration Gas, No SV-3 Attached” on page 33 or “Connecting
Calibration Gas, SV-3 Attached” on page 35 for calibration gas cylinder options
and calibration gas connection procedures.
NOTE:
If you are testing a GX-6000 with an IR CO
2
sensor in the 0-10,000
ppm or 0-5.00 %vol range, be sure to connect a CO
2
scrubber either to
the AIR fitting (no SV-3 used) or to the air filter (SV-3 used) to ensure
that the CO
2
present in fresh air is scrubbed out. The arrow on the CO
2
scrubber should be pointing toward the AIR inlet fitting.
7 . If necessary, press the Function Tab in the upper left corner to get the Function
Tab to appear.
8 . Press the CAL button to initiate a calibration.
If you wish to cancel the calibration, press the CAL Cancel button in the
Function Tab and press Yes in the window that appears.
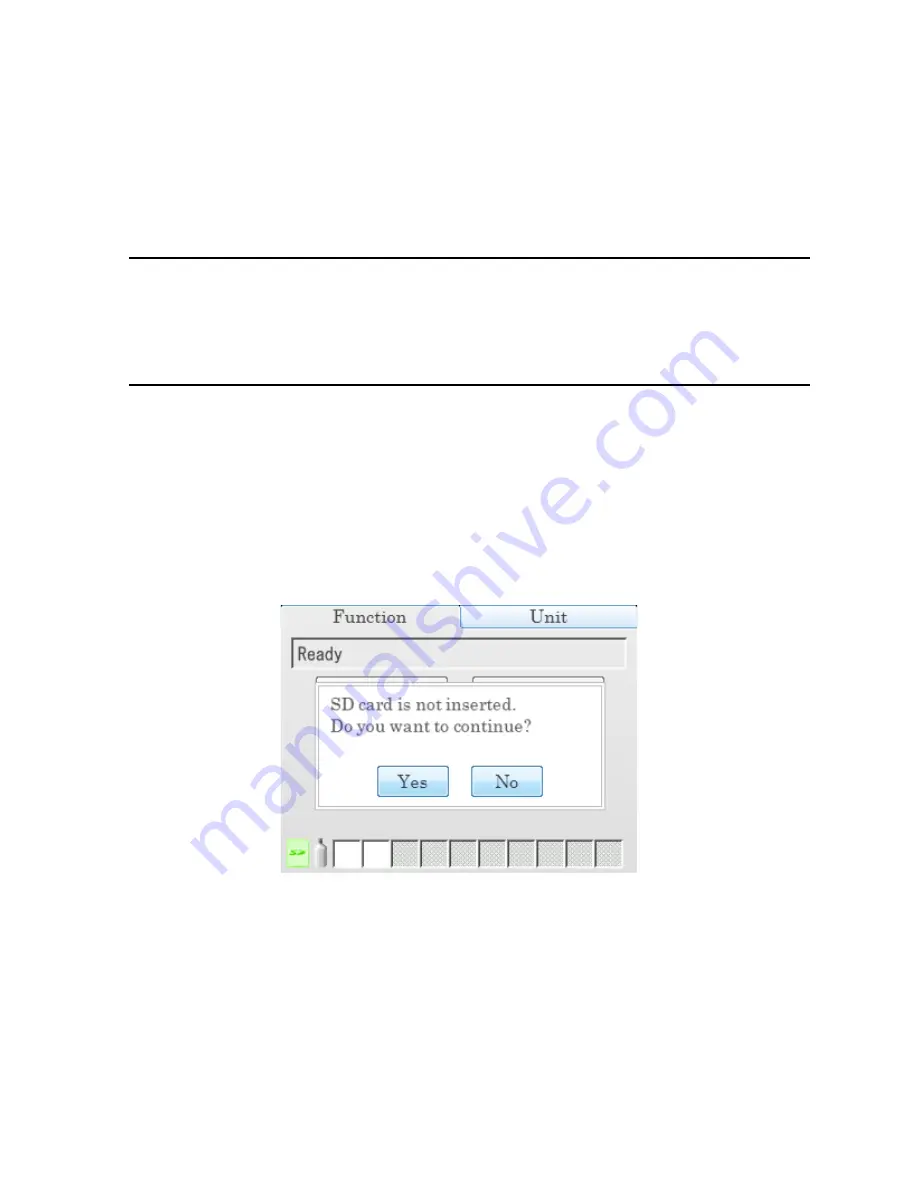
9 . If there is no SD card installed, a warning screen will appear. If no SD card is
installed, no calibration data will be saved. Press Yes or No to continue with
the calibration.
10 . Throughout the calibration, the Unit Tab will display the current gas readings
along with the pass/fail status of the calibration.


