Order Number
40 MHz No. F4044
FC-16 Boat `n Truck
15
20. SUB TRIM (SUB-TRIM/STRM)
When installing the servos in your
model, it always best to adjust linka-
ges so that the servo arms and its con-
trol are in their neutral (centre) position
when the Tx controls are neutral.
If you find that this is not possible or
your servos have another neutral posi-
tion, the Sub Trim function can be very
useful. This allows all 8 servos to be
adjusted to a new neutral position. This function is not designed
to act as a replacement for trimming the model in the traditional
sense.
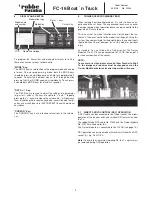
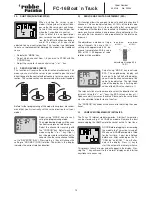
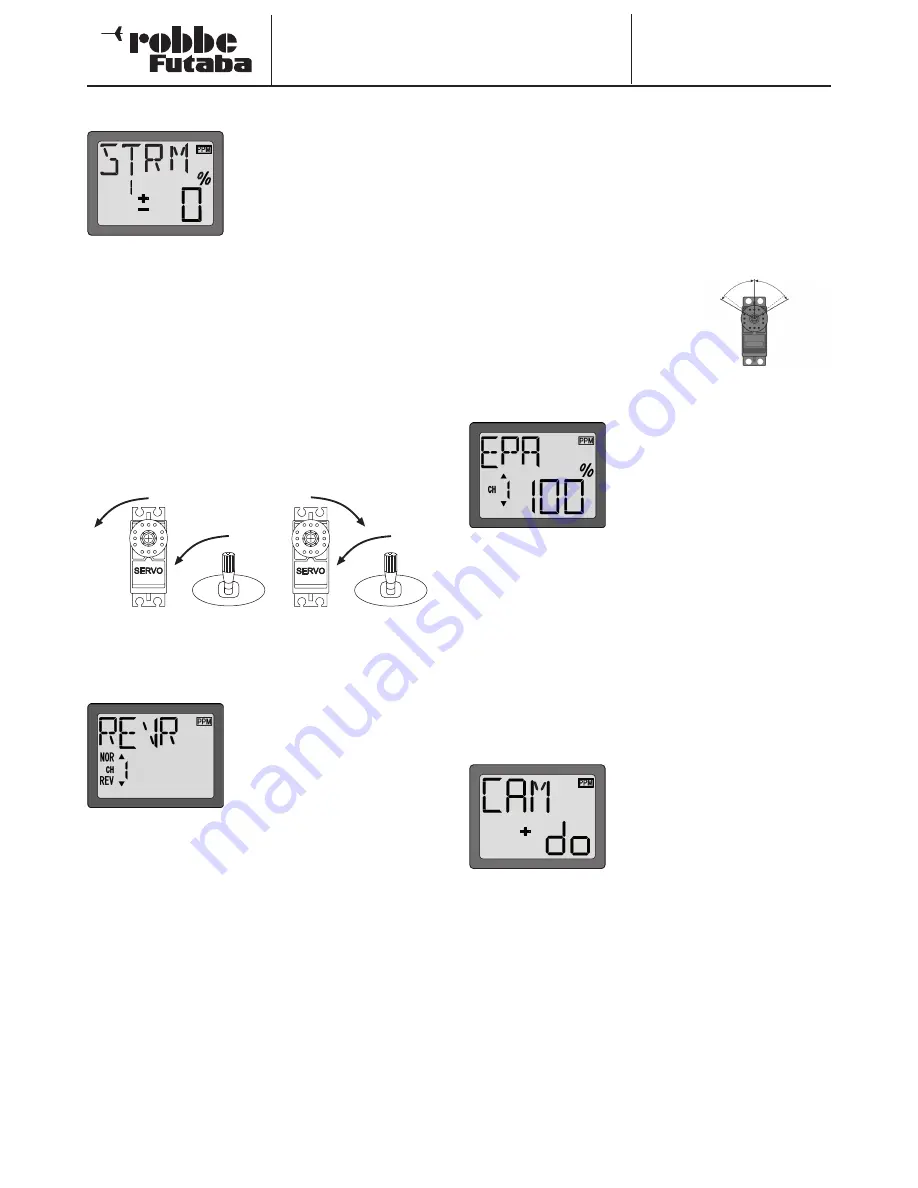
• Select with “MODE” key
• Select which channel from 1-8 you wish to STRM with the
CURSOR key
• Adjust the servo to its new neutral using “+” or “-“ key.
21. SERVO REVERSE (REVR)
This function will reverse the servo direction electronically. This
means you can install the servos in your model to give the most
direct linkage to the control without concern for servo sense of di-
rection. The servo direction can be reversed afterwards if needed.
Before further programming of the model takes place, we recom-
mend that you first correctly set the servo direction to suit your
model.
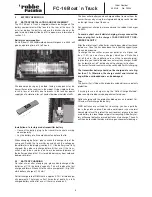
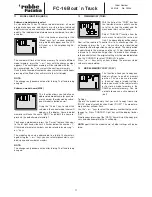
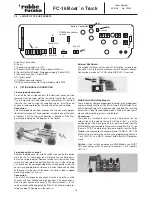
Select using “MODE” key after acti-
vating the programming mode.
The neighbouring display will be seen
to allow servo reverse to be made.
Select the channel for reversing with
the “CURSOR” key. Adjustments are
made using the “+” or “-“ key. If the (-)
key is depressed for more than half a
second, then the servo channel will be
set to “REVERSE” (REV). Pressing the (+) key will change the
setting to “NORMAL” (NOR) rotation. The arrow in the display
indicates the current rotation direction.
22. SERVO END POINT ADJUSTEMENT (EPA)
This function allows the end point to be set in each direction for all
channels. This can be adjusted from 40-140% of the total servo
travel including trim. This is to avoid stalling that servo against
a mechanical limit before it has reached its electronic limit. This
works on all servo channels and reduces all mixed functions. Ple-
ase note the trim amount is also proportional to the total servo
throw set.
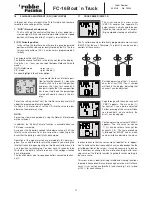
The adjustment is made as a % age
value. Channels 1-8 have a 100 %
setting with approximately 40 de-
grees of servo rotation. With a servo
EPA of 120%, 55 degrees of servo
rotation will be available.
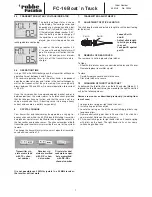
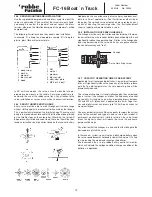
Select using “MODE” key to activate
EPA. The neighbouring display will
be seen. In the left half of the display,
you will see the channel number of the
servo to be adjusted. The right hand
side of the display has a flashing indi-
cation of the EPA value shown in %.
The relevant stick must be moved to select the direction for ad-
justment. Using the “+” or “-“ keys, the EPA value can be set. (-)
Reduces and (+) increases the value. Please note the servo throw
must be adjusted for both sides of neutral.
The “CURSOR” key chooses the channel for adjusting the servo
travel.
23. CAMPAC MODEL MEMORY INITIALISE
The Tx has 10 internal model memories. A further 10 memories
can be stored using a 16k CAMPac module. Remove the dust
cover and plug the CAMPac into the socket on the Tx front face.
NOTE: Before plugging in or removing
the module, the Tx must be turned off.
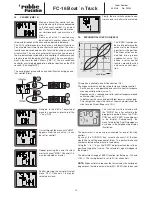
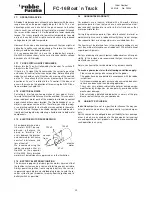
When a new CAMPac module is fitted
for the first time, it must be initialised
before use. After switching on the Tx,
“CAM “do” and CAM “-“ no will alter-
nate in the display. Press (+) key to
start the automatic memory initialise.
This process takes 2 minutes and will appear in the display. Pres-
sing the “-“ key will revert to the “normal” display and no further
keystrokes are necessary.
adjustement range 40 à
140%
servo throw
of 100%
servo throw
of 100%


