Betriebsanleitung, Operating instructions instructions, Notice d’utilisation
RB 15/4 Kit
22
No.
2028
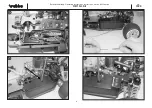
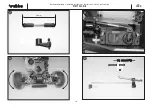
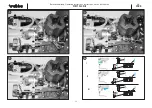
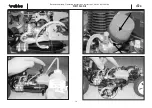
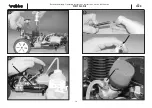
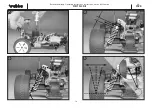
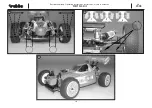
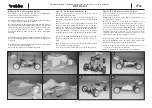
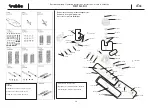
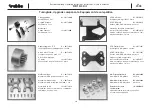
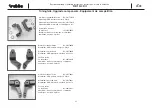
Bilder 36 - 40, Karosserie und Spoiler
Ausschnitte und Bohrungen für Motor, Schalldämpfer,
Karosseriebefestigung und Antenne anbringen.
Scheiben der Karosserie innen abkleben.
Die Karosseriebohrungen von außen mit Klebeband verschließen,
um ein Durchlaufen der Farbe zu verhindern.
Die gesamte Innenseite der Karosserie und den Spoiler mit feinem
Nassschleifpapier (Körnung 300) anschleifen. Karosserie innen mit
lauwarmem Seifenwasser reinigen, trocknen lassen und mit rocol-
or PC-Lack, Bestell Nr. je nach Farbe, lackieren. Äussere
Schutzhülle abziehen. Nach Trocknen der Farbe Klebeband
abziehen.
Dekorbilder abziehen, mit
Seifenwasser anfeuchten
und auf der
Karosserie platzieren. Luftblasen mit einem weichen Lappen aus-
streichen.
Dekorbilder auf dem Spoiler aufbringen. Spoiler auf die Stützen
setzen und mit Splinten befestigen.
Karosserie aufsetzen und mit Splinten befestigen.
Figs. 36 - 40, the body and the spoiler
Cut the openings and holes required for the motor, silencer,
bodywork mounting and aerial.
Apply masking tape to the inside of the windows. Apply tape over
the outside of the bodywork openings to prevent the paint running
through.
Sand the whole of the inside of the bodywork and spoiler using
fine wet-and-dry paper (300-grit) to provide a “key” for the paint.
Wash out the inside of the moulding with luke-warm soapy water
and allow it to dry. The bodywork can now be painted using rocol-
or PC paint, Order No. according to colour. Peel off the external
protective film. Remove the tape again when the paint has dried.
Remove decal,
make slightly wet with soapy water
and position
decals on bodywork, then smooth out air bubbles with a soft
cloth.
Apply the decals to the spoiler. Place the spoiler on the supports
and fix it in place using the split pins.
Place the body on the chassis and secure it with two split pins.
Figures 36 à 40, la carrosserie et l’aileron
Réaliser les alésages pour le moteur, le silencieux, la fixation de
la carrosserie et l'antenne.
Appliquer des morceaux du ruban adhésif à l’intérieur de la car-
rosserie avant de la peindre.
Boucher les orifices de la carrosserie de l’extérieur avec des
morceaux de ruban adhésif pour éviter que la peinture y passe.
Poncer l’intégralité de l’intérieur de la carrosserie et de l’aileron
avec du papier de verre humide (grain 300). Nettoyer l’intérieur de
la carrosserie à l’eau savonneuse tiède, la laisser sécher avant
d’appliquer la peinture rocolor PC, réf. en fonction de la teinte
choisie. Retirer le film protecteur extérieur. Retirer les morceaux
avant que la peinture ne soit complètement sèche.
Disposer les autocollants de décoration sur la carosserie,
après
les avoir humidifier avec de l'eau tiède savonneuse
.
Débarasser des bulles d’air avec un chiffon humide.
Appliquer les autocollants de décoration. Installer l’aileron sur les
colonnettes et le fixer avec les goupilles.
Mettre la carrosserie en place et la fixer avec 2 goupilles.
37
38
39
40
36

