39
6. Operation
6.
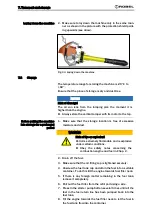
Withdraw the tamper.
7.
Repeat steps 1-6 two or three times in order to achieve an
optimal and sustainable result.
8.
At the end insert the tamper without working it and level
the indent at the tamping spot.
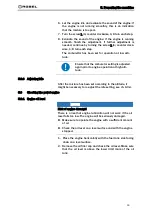
Do not position the tamping tool too close to
the sleeper: distance min. 1 cm!
9.
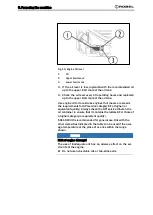
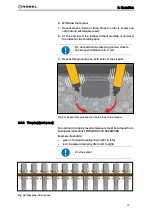
Repeat this procedure on both sides of the sleeper.
Fig. 29: Repeat this procedure on both sides of the sleeper
6.2.2
Tamping (track panel)
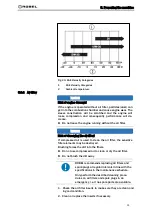
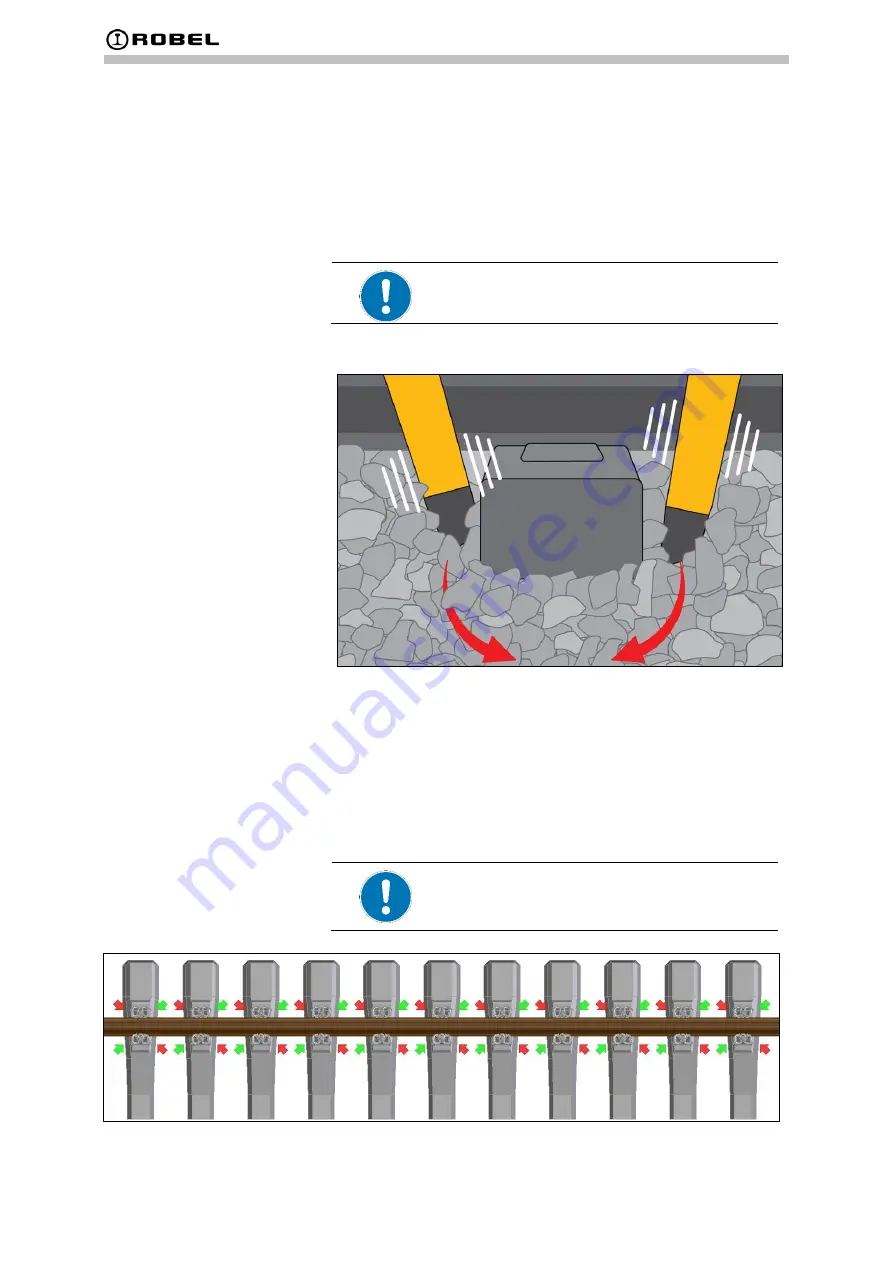
For optimum tamping result all sleepers must be tamped from
both sides (directions): FORWARD and BACKWARD.
Example illustration:
•
green = forward tamping (from right to left))
•
red = backward tamping (from left to right)
Or vice versa!
Fig. 30: Tamping (track panel)
Summary of Contents for 62.05L
Page 1: ...1 Content OPERATING MANUAL ROTAMP LIGHT 62 05L Vers 02 Vertical tamper ...
Page 73: ...73 11 Appendix 11 Appendix Fig 66 EC Declaration of Conformity EC Declaration of Conformity ...
Page 74: ...Content 目录 1 产品说明书 ROTAMP LIGHT 62 05 L 版本 02 立式捣固机 ...
Page 79: ...目录 6 ...
Page 96: ...4 机器简介 23 4 4 汽油发动机 图 2 汽油发动机 1 反冲起动器手柄 2 燃油箱 3 发动机停止 按钮 4 离心式离合器 5 油门杆 ...
Page 109: ...5 机器准备 36 图 22 油箱加油 1 油箱盖 2 燃料上限 3 燃油箱 ...
Page 113: ...6 操作 40 图 27 捣固机具与轨枕间距 5 将捣固机拉向操作人员 以便将道碴压实在轨枕之下 图 28 压实轨枕下的道碴 距离 1 5 厘米 距离 5 10 厘米 ...
Page 133: ...9 保养维护 60 图 41 燃油管 1 燃油管 1 每年或每 200 个运行小时更换燃油管 2 如果在检查过程中发现任何泄漏 应立即更换燃油管 ...
Page 142: ...9 保养维护 69 4 准备注入 图 54 拆下保护盖 图 55 固定转接器 拧下混合管 缩短混合管 ...
Page 143: ...9 保养维护 70 5 在捣固机具上放置辅助板 并将注射针管插入辅助板 图 56 将辅助板放置在捣固机具上 图 57 将注射针管插入辅助板 ...

