9. Maintenance
68
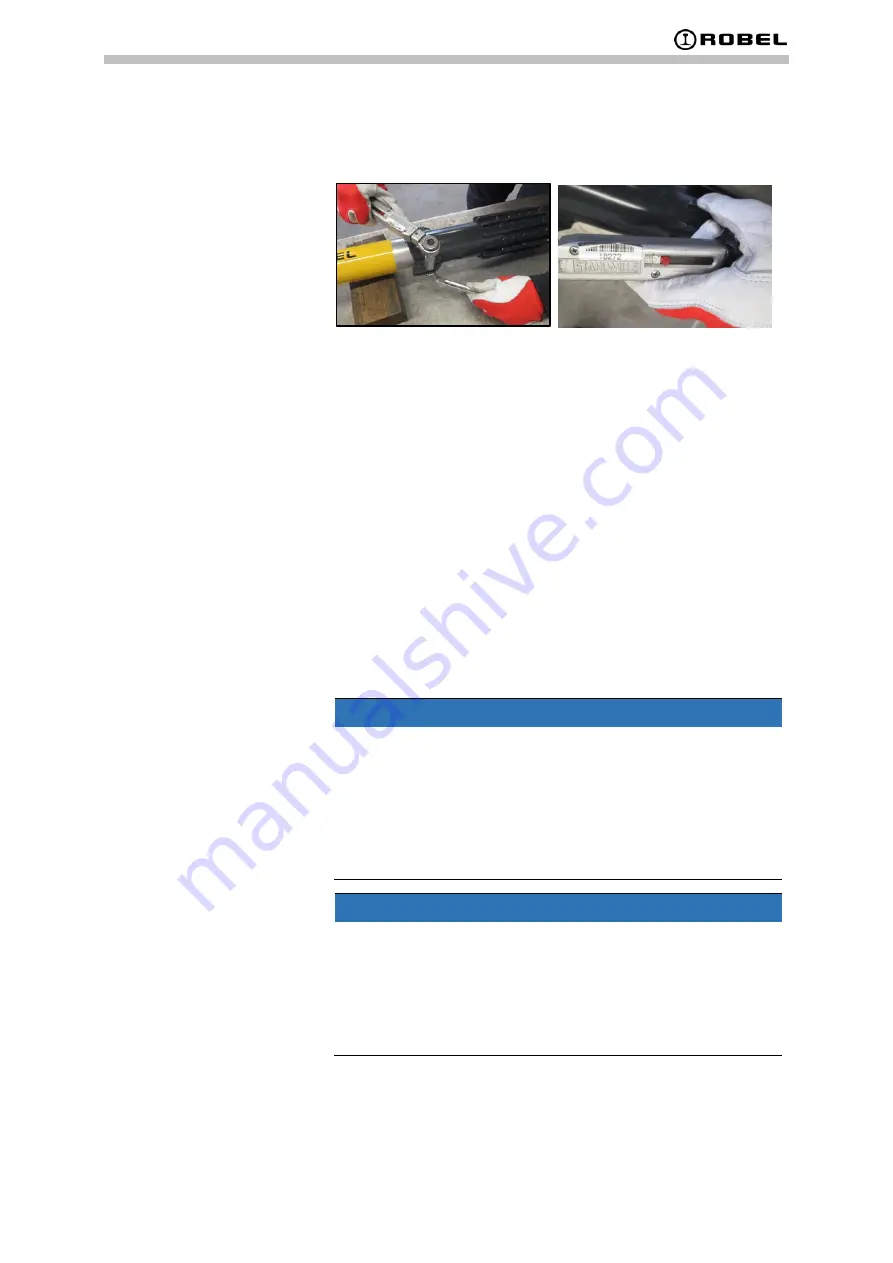
13.
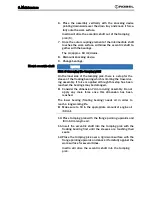
After 10 operating hours re-tighten the two screws again
with 20 Nm.
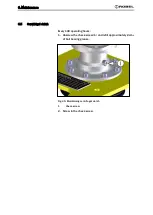
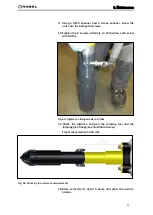
Fig. 62: Tighten with torque wrench
9.6.3
Changing bearings
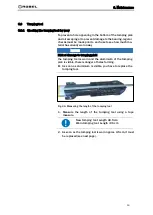
If it is planned to change the bearings of the eccentric shaft, it
is necessary to dismount the bearing sets (fixed and floating
bearing) together with the eccentric shaft. The outer bearing
rings are attached to sleeves. This sleeves have a tight fit in the
seats within the tamping pick, so considerable force will be
needed to dismount the eccentric shaft.
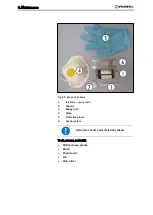
Tools, means, materials
•
Knocking device (EDP-No. 899 895 0001)
•
Drain tray (container)
•
Open-end spanner AF17
•
Allen key AF6
•
60 ml engine oil (SAE 10W-30)
NOTICE
Risk of damaging the tamping pick!
If the flange oft he tamping pick or the rim is hit directly with
any tool, it is very likely that the tamping pick will suffer dis-
tortions and will be irreversibly damaged. It will become im-
possible to dismount the eccentric shaft.
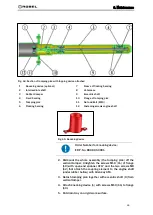
►
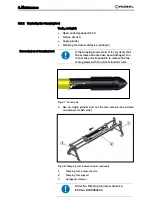
Use tapping device (1, optional) for disassembly of eccen-
tric shaft.
NOTICE
Risk of contamination due to draining oil
The tamping pick is filled with oil, it will drain during disas-
sembly.
►
Be prepared that oil will drain during disassembly. We
suggest to proceed the disassembly oft he eccentric shaft
over a suitable drain tray (preferable made of steel.
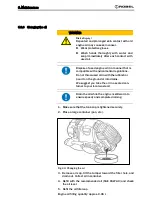
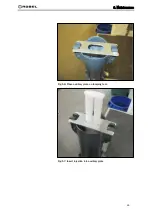
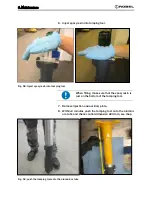
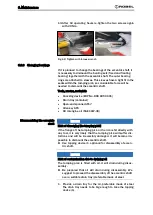
1.
Provide a drain tray for the oil, preferable made of steel.
The drain tray needs to be big enough to take the tapping
device (1).
Disassembling the eccentric
shaft
Summary of Contents for 62.05L
Page 1: ...1 Content OPERATING MANUAL ROTAMP LIGHT 62 05L Vers 02 Vertical tamper ...
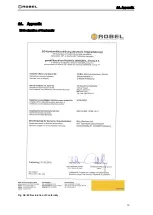
Page 73: ...73 11 Appendix 11 Appendix Fig 66 EC Declaration of Conformity EC Declaration of Conformity ...
Page 74: ...Content 目录 1 产品说明书 ROTAMP LIGHT 62 05 L 版本 02 立式捣固机 ...
Page 79: ...目录 6 ...
Page 96: ...4 机器简介 23 4 4 汽油发动机 图 2 汽油发动机 1 反冲起动器手柄 2 燃油箱 3 发动机停止 按钮 4 离心式离合器 5 油门杆 ...
Page 109: ...5 机器准备 36 图 22 油箱加油 1 油箱盖 2 燃料上限 3 燃油箱 ...
Page 113: ...6 操作 40 图 27 捣固机具与轨枕间距 5 将捣固机拉向操作人员 以便将道碴压实在轨枕之下 图 28 压实轨枕下的道碴 距离 1 5 厘米 距离 5 10 厘米 ...
Page 133: ...9 保养维护 60 图 41 燃油管 1 燃油管 1 每年或每 200 个运行小时更换燃油管 2 如果在检查过程中发现任何泄漏 应立即更换燃油管 ...
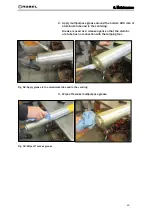
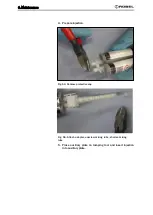
Page 142: ...9 保养维护 69 4 准备注入 图 54 拆下保护盖 图 55 固定转接器 拧下混合管 缩短混合管 ...
Page 143: ...9 保养维护 70 5 在捣固机具上放置辅助板 并将注射针管插入辅助板 图 56 将辅助板放置在捣固机具上 图 57 将注射针管插入辅助板 ...

