12
rev. 02/29/16 © 2016 Robern, Inc.
209-1242-B-Balletto
800.877.2376
www.robern.com
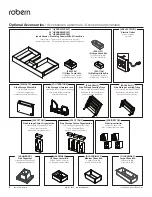
NOTE:
If
VALEVELH1
or
VALEVELH2
have
been purchased, these accessories are
attached to the functional side kit units before
the side kits are installed onto the vanity.
NOTE:
If there is not enough room for the
functional sides to operate, the optional
VASIDESTOP
can be purchased to limit their
total open distance. This option requires no
tools, but needs to be installed before sides
are installed onto the vanity.
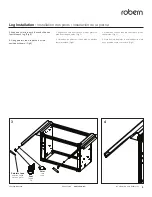
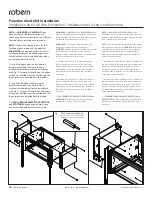
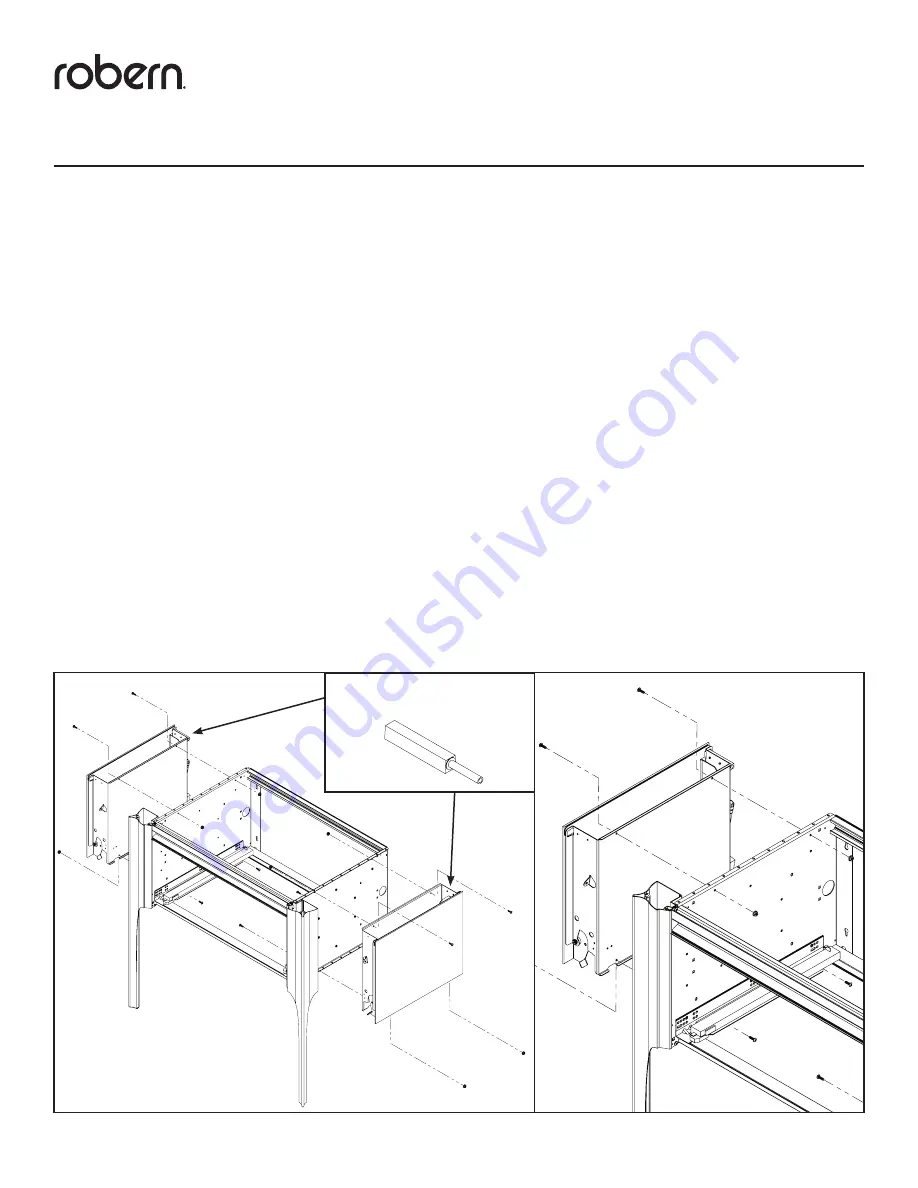
1. Install the right hand side kit using the
hardware provided. (The push to open
mechanism should be oriented towards the
wall. Fig 1) For ease of installation, the upper
screws are installed from the outside and the
lower screws are installed from the inside.
2. Install the left hand side kit using the
hardware provided. (The push to open
mechanism should be oriented towards the
wall. Fig 1) For ease of installation, the upper
screws are installed from the outside and the
lower screws are installed from the inside.
3. If
VALITURATURE, VAWASTE, VACOTTON1,
or VACOTTON3
have been purchased, they
can be installed without tools at this time.
REMARQUE:
Si
VALEVELH1
ou
VALEVELH2
ont été
achetés, ces accessoires sont attachés à des unités
fonctionnelles de la trousse de côté avant que les
kits latéraux sont installés sur la vanité.
REMARQUE:
S’il n’y a pas assez de place pour
les parties fonctionnelles de fonctionner, l’
VASIDESTOP
option peut être achetée pour limiter
leur distance ouverte totale. Cette option ne
nécessite aucun outil, mais doit être installé avant
les côtés sont installés sur la vanité.
1. Installez le kit de droite à l’aide du matériel
fourni. (Le bouton pour ouvrir le mécanisme
doit être orienté vers le mur. Fig 1) Pour faciliter
l’installation, les vis supérieures sont installés à
l’extérieur et les vis inférieures sont installés à
l’intérieur.
2. Installez le kit de gauche à l’aide du matériel
fourni. (Le bouton pour ouvrir le mécanisme
doit être orienté vers le mur. Fig 1) Pour faciliter
l’installation, les vis supérieures sont installés à
l’extérieur et les vis inférieures sont installés à
l’intérieur.
3. Si
VALITURATURE, VAWASTE, VACOTTON1 ou
VACOTTON3
ont été achetés, ils peuvent être
installés sans outils à l’heure actuelle.
NOTA:
Si
VALEVELH1
o
VALEVELH2
han sido
adquiridos, estos accesorios están asociadas a las
unidades funcionales del kit lado antes de instalar
los kits laterales en la vanidad.
NOTA:
Si no hay suficiente espacio para las partes
funcionales que operan, la
VASIDESTOP
opcional
se puede comprar para limitar su distancia total
abierta. Esta opción no requiere herramientas,
pero necesita ser instalado antes de instalar las
partes sobre el tocador.
1. Instalar el kit lado derecho usando el hardware
proporcionado. (El empuje para abrir mecanismo
debe estar orientada hacia la pared. Fig. 1) Para
facilitar la instalación, los tornillos superiores se
instalan desde el exterior y los tornillos inferiores
se instalan desde el interior.
2. Instalar el kit lado izquierdo usando el hardware
proporcionado. (El empuje para abrir mecanismo
debe estar orientada hacia la pared. Fig. 1) Para
facilitar la instalación, los tornillos superiores se
instalan desde el exterior y los tornillos inferiores
se instalan desde el interior.
3. Si
VALITURATURE, VAWASTE, VACOTTON1, o
VACOTTON3
han sido comprados, que se pueden
instalar sin necesidad de herramientas en este
momento.
Functional side kit installation
Installation du kit de côté fonctionnel / Instalación del kit de vista funcional
1
Push to open mechanism
Pousser pour ouvrir mécanisme
Empujar para abrir mecanismo

