8
© 2018 Robern, Inc. 701 N. Wilson Ave. Bristol, PA 19007 U.S.A.
800.877.2376
www.robern.com
Installation instructions
Part no. 209-1231-D-Cartesian, Profiles H1 rev. 05/16/18
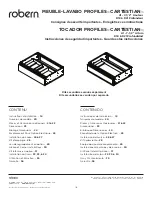
Cartesian™ Vanity, and Profiles™ Vanity
FRAME INSTALLATION
1
2
3
For Single Units
CL
2-1/2
"
(64 mm)
12" = 4"
(102 mm)
24" = 10"
(254 mm)
30" = 13"
(330 mm)
36" = 16"
(406 mm)
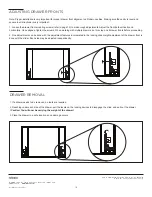
The drawer fronts are packed separately. Do not unpack them until the room is safe from hazards. If you are ganging and / or stacking
vanities see pages 10 & 11.
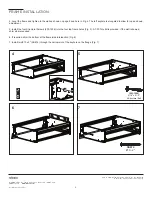
1. Mark the height for the vanity frame install on the finished wall ( Fig. 1).
2. Install two of the #10 x 2" (SS674) at the locations shown in Fig. 2. Do not install tight to the wall, leave 1/8" behind the head.
3. Place the vanity frame on the screws using the top left and right keyholes ( Fig. 3). The keyhole on the left allows for up and down
adjustment.
WARNING: THESE SCREWS ARE NOT THE FINAL SUPPORT FOR THE VANITY! SEE PAGE 9 FOR FINAL BOLT UP.


