background image

No. de pièce / Pieza n.

°

 209-1397 09/20/2021

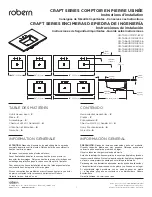
Craft Series Comptoir en Pierre Usinée

Craft Series Encimeras de Piedra de Ingeniería

2

© 2021 Robern, Inc. 701 N. Wilson Ave. Bristol, PA  19007  U.S.A.

800.877.2376      

www.robern.com

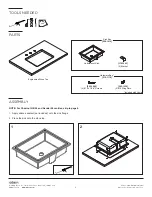
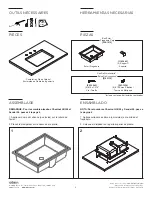
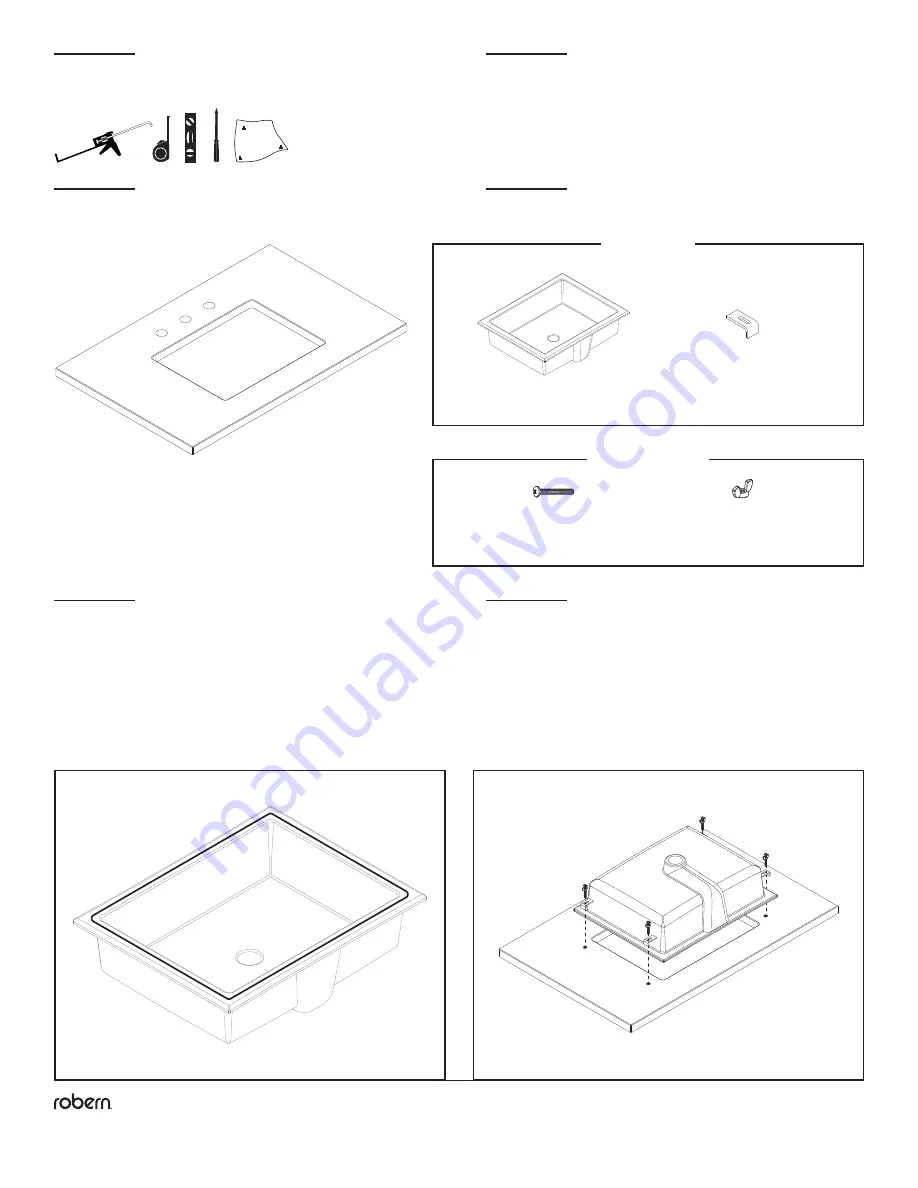
PIÈCES

PIEZAS

HERRAMIENTAS NECESARIAS

Box Évier /

Fregadero Caja

[228-1015]

[1193643]

(4) Support /

Soporte

Évier / Fregadero

Comptoir en Pierre U

sinée/

Encimeras de Piedra de Ingeniería

Sac De Quincaillerie* / 

Bolsa De Accesorios*

[216-1119]

[203-1542]

(4) #10 x 1-3/4"

Vis / Tornillo

[203-1336]

(4) #10 Écrou Papillon / 

Tuerca de Mariposa

OUTILS NÉCESSAIRES

Chiffon /

Trapo

1

2

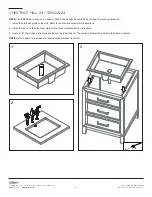
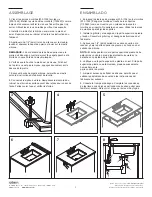
REMARQUE: Pour les meubles-lavabos Chestnut Hill 24 et 

Sendai 24, passez à la page 4.

1. Appliquer du mastic silicone (non inclus) sur le rebord de 

l'évier.

2. Placez le dissipateur sur le dessus de la pierre.

NOTA: Para tocadores Chestnut Hill 24 y Sendai 24, pase a 

la página 4.

1. Aplique sellador de silicona (no incluido) en la brida del 

fregadero.

2. Coloque el disipador en la parte superior de piedra.

*Inclus avec la vanité / Incluido con tocador

ASSEMBLAGE

ENSAMBLADO

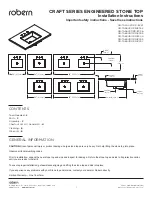
Summary of Contents for CRAFT Series

Page 1: ...tion get assistance aligning and lifting the stone top and sink into place If you experience any problems with your Stone top and or sink contact your dealer or Robern directly Limited Warranty One Ye...

Page 2: ...DED Cloth PARTS Engineered Stone Top Sink Box 228 1015 1193643 4 Bracket Undermount Sink Hardware Bag 216 1119 203 1542 4 10 x 1 3 4 Screws 203 1336 4 10 Wing Nuts 1 2 ASSEMBLY NOTE For Chestnut Hill...

Page 3: ...o the faucet and drain manufacturer s instructions 5 Apply a 1 4 6mm bead of silicone sealant on vanity and lower the stone top and sink onto the silicone sealant NOTE The back edge of the stone top m...

Page 4: ...l 24 and Sendai 24 vanity does not require mounting hardware 1 Install the drain assembly to the sink Refer to the drain manufacturer s instructions 2 Install the faucet to the stone top Refer to the...

Page 5: ...NOTE The back edge of the stone top must be flush against the wall and equal left and right overhang on each side of the vanity 5 Verify that the stone top is level If the stone top is not level gentl...

Page 6: ...ing out of or in connection with the use or performance of its products Some states do not allow limitations on how long an implied warranty lasts or do not allow the exclusion or limitation of incide...

Page 7: ...n descomprimir el nuevo tope de piedra y lavabo e inspeccionar los da os Devuelva la parte superior de piedra y fregadero en la caja como protecci n hasta que est listo para instalarlo Para asegurar...

Page 8: ...e Bolsa De Accesorios 216 1119 203 1542 4 10 x 1 3 4 Vis Tornillo 203 1336 4 10 crou Papillon Tuerca de Mariposa OUTILS N CESSAIRES Chiffon Trapo 1 2 REMARQUE Pour les meubles lavabos Chestnut Hill 24...

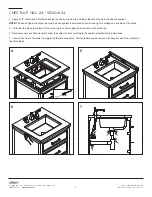
Page 9: ...au drain Remplissez les raccords du robinet Les tiroirs de vanit peuvent tre retir s pour un acc s facile Faites couler l eau et v rifier les fuites 3 Enrosque las tuercas de mariposa 203 1336 en los...

Page 10: ...silicone de 1 4 6mm sur le rebord int rieur du meuble lavabo et abaissez l vier sur le scellant la silicone REMARQUE reportez vous aux dimensions de la page 1 pour conna tre la distance entre l empla...

Page 11: ...7 Connectez le siphon au drain Terminez les connexions du robinet Les tiroirs de vanit peuvent tre retir s pour un acc s facile Faites couler de l eau et v rifiez s il y a des fuites 4 Aplique un cor...

Page 12: ...ado durante su transporte o por da os o fallos debido a usos abusivos indebidos an malos montaje equivocado da os derivados de accidentes mantenimientos incorrectos o cuando se hayan hecho reparacione...

Reviews: