ROBERTS GORDON
®
CORAYVAC
®
M
ODULATING
H
EATING
C
ONTROL
C
ONTROLLER
I
NSTALLATION
M
ANUAL
20
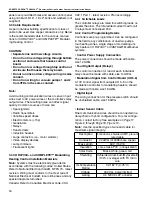
3.7 Variable Frequency Drive Requirements
for additional details. VFD
on/off switching and speed command is done via a
Modbus control signal. The VFD output supply to the
pump is 230 V 3 Ø 0-60 Hz for 120 V and 230 V mod-
els and is 460 V, 3 Ø, 0-60 Hz for 460 V models. The
frequency of the output supply signal to the pump will
be varied based on the Modbus signal from the con-
trol board.
3.8 Indoor Sensor Placement and Mounting
Zone Sensor (P/N 10061003) Capabilities:
(The features listed below can be made optional via
programmable permission levels)
• View information in the display such as zone tem-
perature, setpoints, outside air temperature, and
equipment status
• Override the schedule to put the zone in an occu-
pied state
• Edit information if allowed by the control program
• Force the zone to an unoccupied state
• See that the zone is in an occupied state when
the green LED is lit.
To install a Zone Sensor, remove the cover of the
sensor by the screw, located on the bottom. Secure
the sensor to the wall or junction box using the
screws provided. The sensor measures the air tem-
perature in the space. It is important that the sensor
is located in an area within the heated zone at occu-
pant level. For the most accurate results, sensors
should be mounted on an inside wall, away from any
air vents or other sources of heat and cold. In order
to avoid short system cycles and inaccurate tempera-
ture readings do not mount sensors under the first
section of radiant tube (first 10' (3 m) section of tube
after the burner), in direct sunlight or in the path of
other sources of radiant heat. The sensors are suit-
able for direct surface mounting or 4" (10.2 cm) x
2.13" (5.4 cm) junction box mounting. Sensors
should be daisy chained together with a maximum
length of the chain 500’ (152 m). Maximum distance
from controller to any sensor is 500' (152 m). For lon-
ger distances, communication issues may arise.
Larger gauge wire may be needed (Consult Factory).
Note:
Reading the number "99" on the system view
zone screen (or "Err" sign on the zone sensor dis-
play) indicates that zone sensor is either discon-
nected, failed, or dip switch settings are not correctly
addressed.
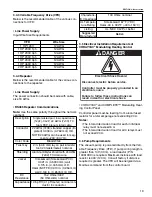
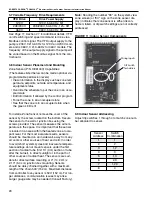
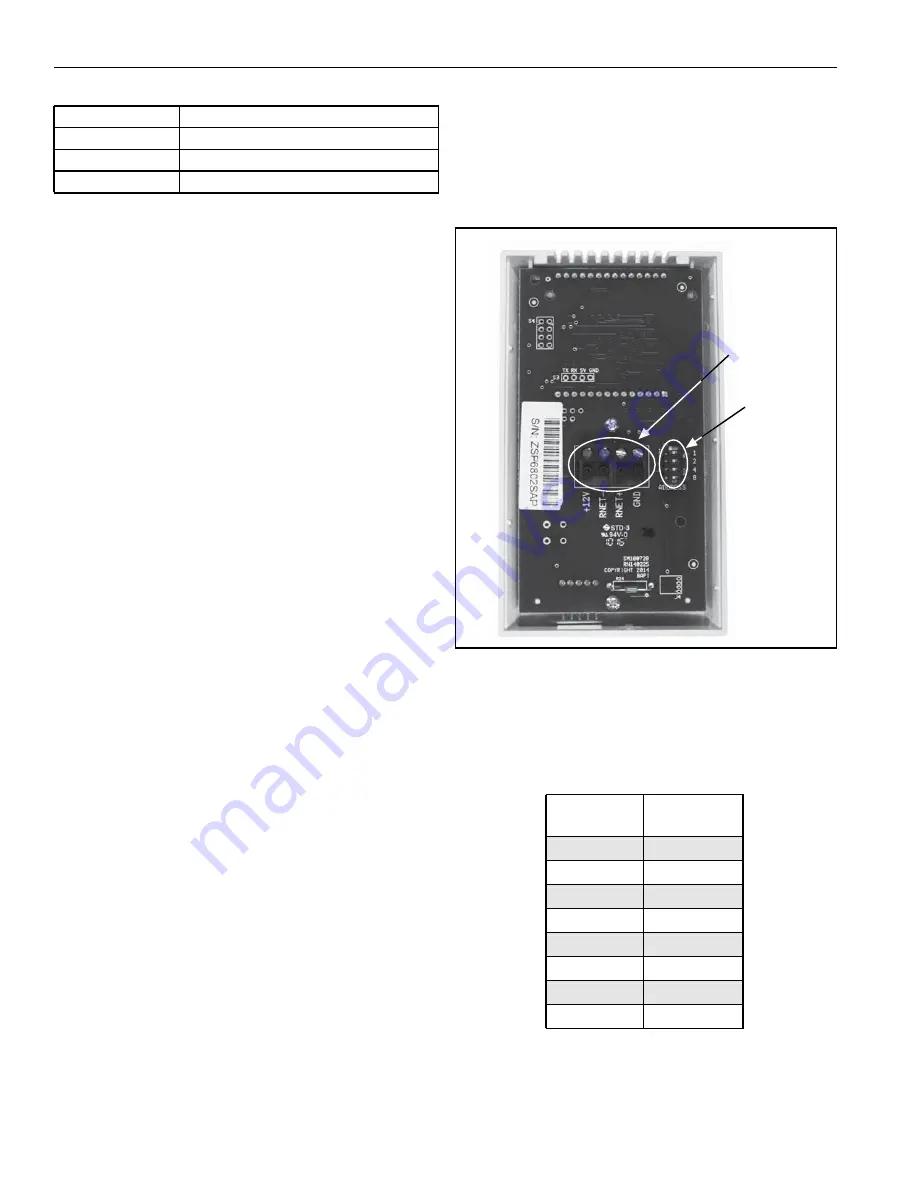
FIGURE 11: Indoor Sensor Components
3.9 Indoor Sensor Addressing
Adjust dip switches 1 through 4 to match zone num-
ber allocated to sensor.
VFD Drive
Drive Power Supply
120 V
120 V, 50-60 Hz, 1Ø
208/230 V
208/230 V, 50-60 Hz, 1Ø + 3Ø
460 V
460 V, 50-60 Hz, 3Ø
Sensor
Address
Switch
Combination
1
1
2
2
3
1,2
4
3
5
1,3
6
2,3
7
1,2,3
8
4
DIP Switch
for Address
Wiring Inputs
Summary of Contents for CORAYVAC
Page 2: ......
Page 4: ......
Page 69: ...SECTION 8 PROGRAMMING AND TROUBLESHOOTING THE SYSTEM 65 THIS PAGE LEFT INTENTIONALLY BLANK ...
Page 71: ...SECTION 9 TROUBLESHOOTING 67 FIGURE 26 Vacuum pump does not turn on ...
Page 75: ...SECTION 9 TROUBLESHOOTING 71 FIGURE 31 Burner troubleshooting in manual mode ...
Page 77: ...SECTION 9 TROUBLESHOOTING 73 After 45 second prepurge burners do not light continued ...
Page 81: ...SECTION 9 TROUBLESHOOTING 77 FIGURE 36 Air Pressure Switch alarm ...
Page 83: ...SECTION 9 TROUBLESHOOTING 79 FIGURE 38 Repeater troubleshooting ...
Page 85: ...SECTION 9 TROUBLESHOOTING 81 BACnet MS TP troubleshooting continued ...
Page 109: ...SECTION 13 TOUCHSCREEN TREE 105 Touchscreen Tree Overview continued ...
Page 111: ...SECTION 13 TOUCHSCREEN TREE 107 FIGURE 47 Maintenance Unit FIGURE 48 Alarms ...
Page 113: ...SECTION 13 TOUCHSCREEN TREE 109 FIGURE 51 Configuration Zones FIGURE 52 Configuration Unit ...
Page 115: ...SECTION 13 TOUCHSCREEN TREE 111 FIGURE 55 Touchscreen System FIGURE 56 Touchscreen Setup ...
Page 118: ...ROBERTS GORDON CORAYVAC MODULATING HEATING CONTROL CONTROLLER INSTALLATION MANUAL 114 ...


