SECTION 12: I
NTEGRATION WITH
B
UILDING
M
ANAGEMENT
S
YSTEM
(BMS)
89
SECTION 12: INTEGRATION WITH BUILDING
MANAGEMENT SYSTEM (BMS)
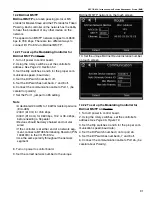
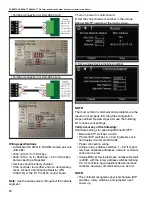
The CORAYVAC® and COMPLETE™ Modulating
Heating Controls have built in BACnet/IP connection
capabilities to support existing BMS systems. Follow
these steps to setup an IP connection to the control-
lers
Note: Reference touchscreen navigation tree
(
) to navigate to the refer-
enced screens below.
Note:
Changes to DIP switch settings are acknowl-
edged only after power to the control board has been
cycled. Turn on/off power to the control board by turn-
ing off the circuit breaker located on the terminal strip
above the control board.
BMS Integration Object Points List
The object points list is required to integrate to the
CORAYVAC
®
Modulating Heating Control into an
existing BMS system to allow for read/write access.
Contact Roberts-Gordon or your local ROBERTS
GORDON
®
independent distributor for the list of
object points.
12.1 BACnet over ARC156
Important Note
Carefully plan your addressing scheme to avoid
duplicating addresses. If third-party devices are
integrated into the system, make sure your
addresses do not conflict with their addresses.
ARCnet is an embedded networking technology well-
suited for real-time control applications in both the
industrial and commercial marketplaces. Its robust
performance and the availability of low-cost silicone
makes it the network of choice in BAS's. ARC156 is
a unique implementation of ARCnet. ARC156 is
similar to Master Slave/Token Passing (MS/TP). The
main difference between them is speed. ARC156
baud rate is 156 kbps, whereas MS/TP tops out at
76.8 kbps.
Also, ARC156 uses a separate communication co-
processor to handle the network traffic and a
separate processor to handle the program execution.
This provides faster processing of applications and
handling of communications on the network.
ARC156 is the standard communications method
used by our controllers.
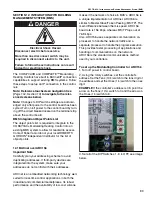
To set up the Modulating Controller for ARC156
1. Turn off power to control board.
2. Using the rotary switches, set the controller's
address. Set the Tens (10's) switch to the tens digit of
the address and set the Ones (1's) switch to the ones
digit.
EXAMPLE
If the controller’s address is 38, point the
arrow on the Tens (10's) switch to 3 and the arrow on
the Ones (1's) switch to 8.
3. Set all of the DIP Switches 1 - 8 to OFF, see image
below.
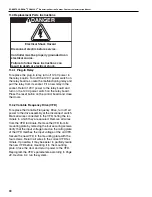
DANGER
Electrical Shock Hazard
Disconnect electric before service.
More than one disconnect switch may be
required to disconnect electric to the unit.
Failure to follow these instructions can result
in death or electrical shock.
Summary of Contents for CORAYVAC
Page 2: ......
Page 4: ......
Page 69: ...SECTION 8 PROGRAMMING AND TROUBLESHOOTING THE SYSTEM 65 THIS PAGE LEFT INTENTIONALLY BLANK ...
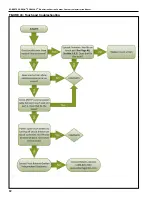
Page 71: ...SECTION 9 TROUBLESHOOTING 67 FIGURE 26 Vacuum pump does not turn on ...
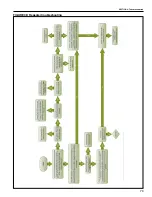
Page 75: ...SECTION 9 TROUBLESHOOTING 71 FIGURE 31 Burner troubleshooting in manual mode ...
Page 77: ...SECTION 9 TROUBLESHOOTING 73 After 45 second prepurge burners do not light continued ...
Page 81: ...SECTION 9 TROUBLESHOOTING 77 FIGURE 36 Air Pressure Switch alarm ...
Page 83: ...SECTION 9 TROUBLESHOOTING 79 FIGURE 38 Repeater troubleshooting ...
Page 85: ...SECTION 9 TROUBLESHOOTING 81 BACnet MS TP troubleshooting continued ...
Page 109: ...SECTION 13 TOUCHSCREEN TREE 105 Touchscreen Tree Overview continued ...
Page 111: ...SECTION 13 TOUCHSCREEN TREE 107 FIGURE 47 Maintenance Unit FIGURE 48 Alarms ...
Page 113: ...SECTION 13 TOUCHSCREEN TREE 109 FIGURE 51 Configuration Zones FIGURE 52 Configuration Unit ...
Page 115: ...SECTION 13 TOUCHSCREEN TREE 111 FIGURE 55 Touchscreen System FIGURE 56 Touchscreen Setup ...
Page 118: ...ROBERTS GORDON CORAYVAC MODULATING HEATING CONTROL CONTROLLER INSTALLATION MANUAL 114 ...


