


15
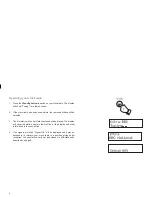
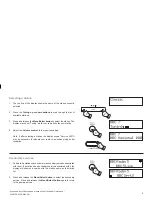
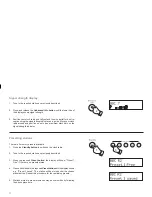
To view alarm time
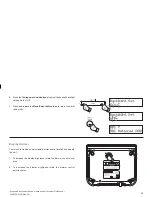
1. Press
the
Alarm button
to enter the alarm setup, settings for Alarm
1 will show on the display.
2. Press
the
Alarm button
again to view the settings for Alarm 2.
3. Press the
Alarm button
to exit the alarm setup.
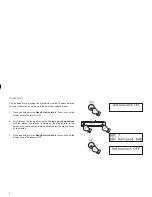
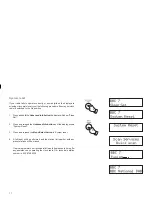
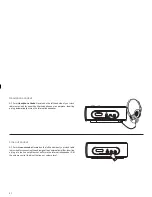
Cancelling alarms
Whilst an alarm is sounding it can be cancelled for 24 hours by
pressing the
Standby button
.
1
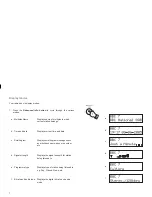
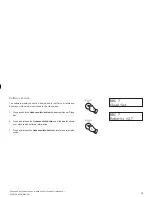
Snooze function
1. When the radio or beep alarm sounds, pressing the
Snooze button
will silence the alarm for 5 minutes. The display will show '
' next
to the required alarm number. This sequence can be repeated during
the 60 minute beep alarm period.
2. To cancel the Snooze function, press the
Standby button
.
1,2
3
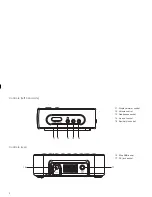
1
1
Summary of Contents for CRD-19
Page 26: ...25 Notes ...


