


If you need any further advice, please call our Technical Helpline on :-
020 8758 0338 (Mon-Fri)
20
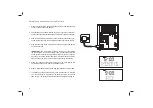
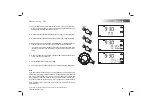
FM Radio
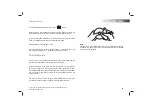
Note:
If you
fi
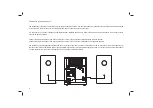
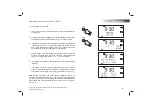
nd that FM reception is poor, try repositioning the wire aerial.Fully
extend the wire aerial for optimum reception. If you
fi
nd that an FM broadcast
has a lot of background hiss, this may often be reduced by setting the
radio into Mono reception mode for the current FM station. Please refer
to the section 'Stereo / Mono setting - FM' on page 22 for further details.
If the received station is received in stereo the stereo icon
will show
on the display.
3
4
4
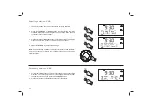
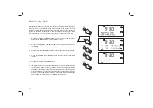
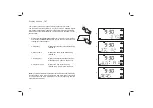
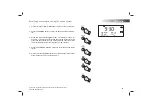
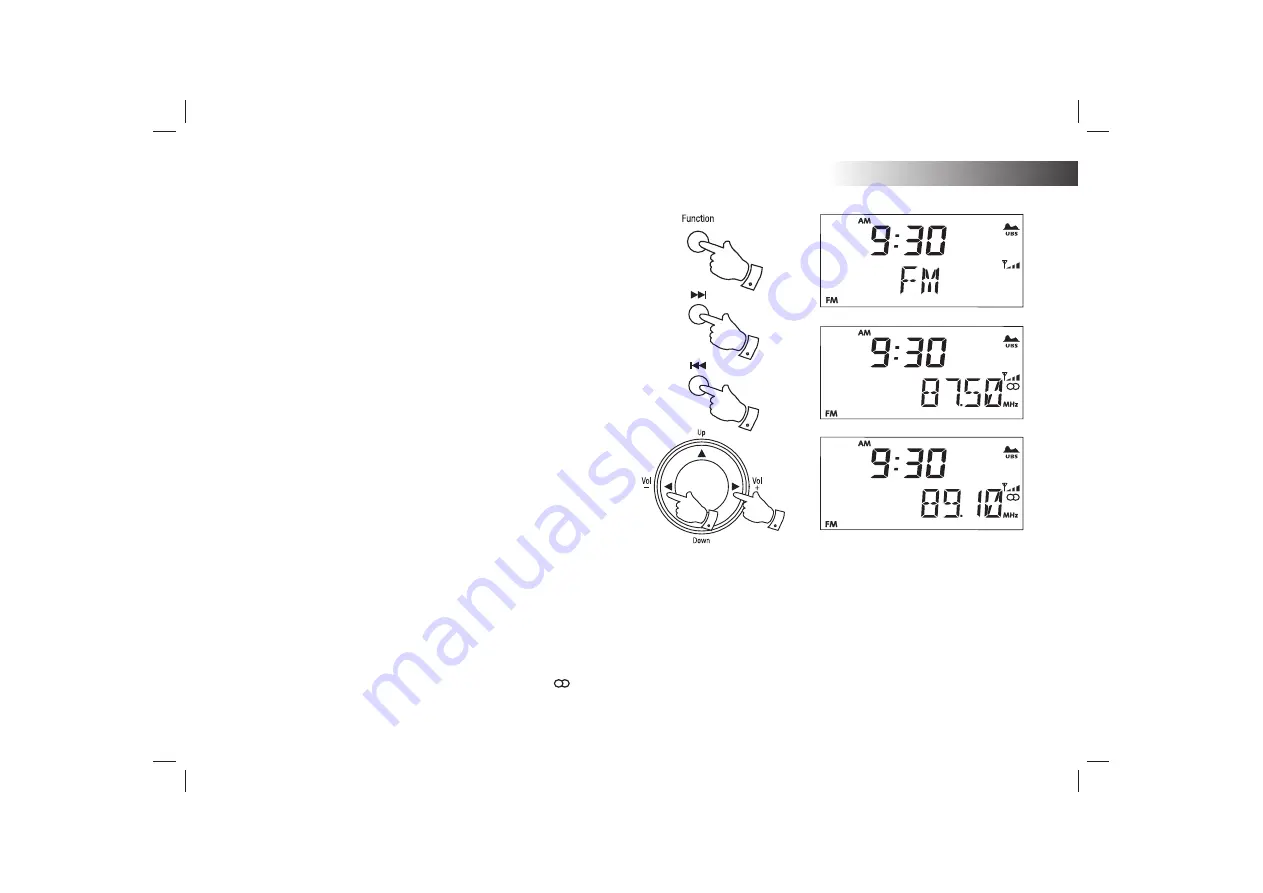
Manual tuning - FM
1. Fully extend the wire aerial located on the rear of your sound system.
Place the wire antenna so that it is as straight as possible extending
either above or below the sound system.
2. Press and release the
On / Off
button to switch on your sound system.
3. Press and release the
Function
button until the FM mode is selected.
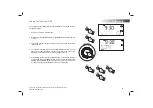
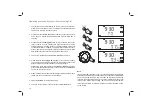
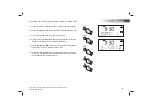
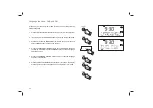
4. Repeatedly press and release the
Tuning Up
or
Down
buttons
to
tune to a station. The frequency will change in steps of 50kHz.
If the radio is tuned to a station of suf
fi
cient signal strength with RDS
information present, then the display may change to show the station
name.
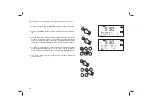
5. When the end of the waveband is reached the radio will recommence
tuning from the opposite end.
6. Set
the
Volume
to the desired setting.
7. To switch off your sound system press and release the
On / Off
button.
6
6


