4
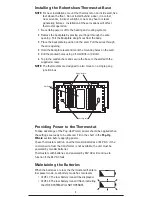
Installing the Robertshaw Thermostat Base
NOTE:
For new installations, mount the thermostat on an inside wall, five
feet above the floor. Do not install behind a door, in a corner,
near air vents, in direct sunlight, or near any heat or steam
generating fixtures. Installation at these locations will affect
thermostat operation.
1. Be certain power is off to the heating and cooling systems.
2. Remove the backplate by placing your finger through the wire
opening. Pull the backplate straight out from the body.
3. Place the backplate in position on the wall. Pull the wires through
the wire opening.
4. Hold the backplate level and mark the mounting holes on the wall.
5. Drill the marked holes using a 5 mm (3/16 in.) drill bit.
6. Tap in the wall anchors and secure the base to the wall with the
supplied screws.
NOTE:
The thermostats are designed to also mount on a single gang
junction box.
Providing Power to the Thermostat
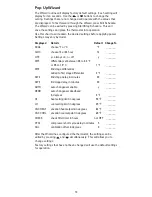
To take advantage of the Pop-Up Wizard, power should be applied when
the settings are ready to be entered. Fill in the chart in the
Pop-Up
Wizard
section before applying power.
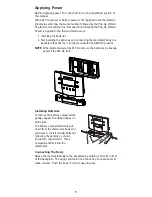
These thermostats will run on either two AA batteries or 24V AC. If the
common wire from the transformer is not available, the unit must be
powered by two AA batteries.
Thermostats with batteries and powered by 24V AC will continue to
function if the 24V AC fails.
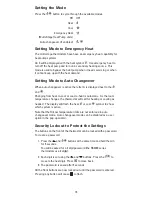
Maintaining the Batteries
When the batteries are low, the thermostat will enter a
low power mode. Low battery mode has two levels.
• LEVEL 1: The low battery icon will be displayed.
• LEVEL 2: The low battery icon will flash indicating
that THE SYSTEM WILL NOT OPERATE.
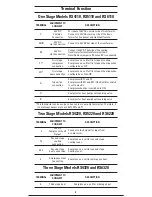
Wiring Terminals
Mounting Holes
Wire Opening
RH/R
RC
C
L
G
O
B
Y1
W1
Y2
W2
E

