background image


Installation 


Installation  

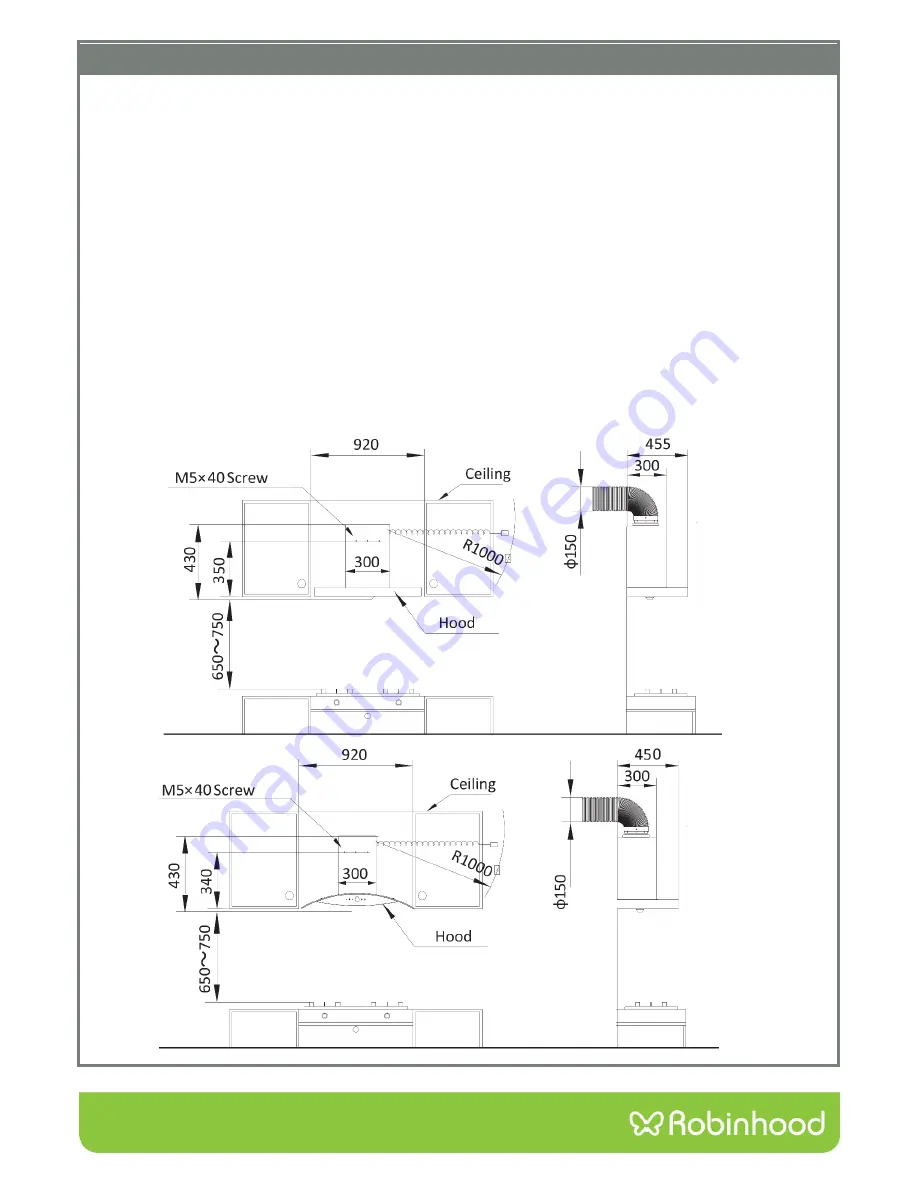
The rangehood must be installed at the correct distance above the cooktop (650mm minimum, 750mm 

recommended maximum). Measure up from the top of the cooktop the desired height & draw a horizontal line. 
From this line, measure up 350mm (RHWC90X & RHWC90TB) or 360mm (RHWC60TG & RHWC90TG) and draw a 

second horizontal line for the main mounting screws. Mark the centre point on this line and mark the screw 

positions 120mm either side. For a brick or concrete wall, drill in the two holes ~40mm deep. Fit the wall plugs 
and screw in the two supplied 40mm screws (leaving the head ~5mm proud of the wall). Lift the rangehood onto 

the screws and check for strength. Mark up the position of the single stabilising screw (RHWC60TG & 

RHWC90TG), or two stabilising screws (RHWC90X & RHWC90TB) and remove the rangehood from the wall 

mounting screws. Drill the hole(s) and add the wall plug(s). Remount the rangehood onto the wall and use the 
extra 40mm screw(s) to attach the bottom of the rangehood to the wall. Tighten all screws fully. 
Fit the flexible flue to the outlet and secure in place with the supplied 4mm screws. Lift the inner chimney to the 

ceiling and mark the position of the edges (close to the ceiling). Lower the chimney and place the chimney 
bracket up to the ceiling centred between the marks. Mark the centre of the slots, drill the two holes, add the wall 

plugs and attach the bracket to the wall. Place the power plug close to the socket, extend the flexible flue out, 

raise the chimney to the bracket and attach with the two 7mm screws. Check that the rangehood is secured, refit 
the filters and connect to the power supply. 
If the wall is not brick or concrete, an alternate mounting method must be determined. 
Note: if the air is recirculated back into the room, charcoal filters must be used (part number CARBONFTLDEEU: 

check availability before installation is commenced). 


Summary of Contents for Adonis 60

Page 1: ...cription ROBINHOOD RANGEHOOD Model Numbers RHWC90X RHWC90TB RHWC60TG RHWC90TG Issue 1 Model may vary slightly from images pictured RHWC90X Brimstone 90 RHWC90TB Argus 90 RHWC90TG Adonis 90 RHWC60TG Adonis 60 ...

Page 2: ...2 Product Dimensions RHWC90X Brimstone 90 RHWC90TB Argus 90 RHWC90TG Adonis 90 RHWC60TG Adonis 60 ...

Page 3: ...stallation if abraded or knocked by tools Protect the rangehood with the cardboard box or plastic bag during installation All ducting must comply with local requirements and building codes Suitable fixings will be required to mount this rangehood See Ducting options next page 600mm rangehood are for 600mm hobs 900mm rangehoods are for 900mm hobs The minimum distance between an electric or gas hob ...

Page 4: ... and whether there is any structural material in the run e g rafters Please note that this chart is designed as a guide Please consult Robinhood customer services if unsure For NZ phone 09 415 6000 or www robinhood co nz For AUS phone 1800 648 556 or www robinhood com au Before drilling any holes check that the area behind the surface to be drilled is clear of any electrical cables pipes etc The c...

Page 5: ...rews Drill the hole s and add the wall plug s Remount the rangehood onto the wall and use the extra 40mm screw s to attach the bottom of the rangehood to the wall Tighten all screws fully Fit the flexible flue to the outlet and secure in place with the supplied 4mm screws Lift the inner chimney to the ceiling and mark the position of the edges close to the ceiling Lower the chimney and place the c...

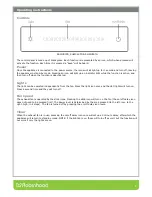
Page 6: ...ight can be operated independently from the fan Press the light icon once and the LED lights will turn on Press a second time and they will turn off Fan speed The exhaust fan is operated by the slide icons Pressing the slide icon will turn on the fan the on off delay icon does not need to be pressed first The power level is determined by the area pressed to the left low to the right high in 4 step...

Page 7: ...from the fan Press the light button once and the LED lights will turn on Press a second time and they will turn off Fan speed The exhaust fan is operated by the centre three buttons Pressing any of the three centre buttons will turn on the fan the on off delay button does not need to be pressed first The button to the left is for low speed the middle medium speed and the right high speed The fan i...

Page 8: ... filters Place the carbon filters on the sides of the range hood motor twist clockwise to fix in place anti clockwise to remove old filters replace the aluminium filters and reconnect to power Fully saturated charcoal filters can become a barrier to air movement therefore limiting rangehood performance In the event of fire grease laden filters could be flammable and therefore regular replacement i...

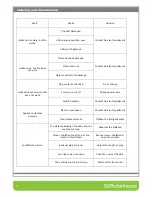
Page 9: ... change Power wire cut off Change power wire Switch damage Contact Service Department Appliance vibrates violently Motor screw loosen Contact Service Department Fixing brackets loose Tighten the fixing brackets Insufficient suction The distance between the body and the cooktop too long Readjust the distance Cross ventilation too strong or too closed in the kitchen Reduce cross ventilation or open ...

Page 10: ... shall be adequate ventilation of the room when the rangehood is used at the same time as appliances burning gas or other fuels There is a fire risk if cleaning is not carried out in accordance with the instructions You must read the details concerning the method and frequency of cleaning Do not flambé under the rangehood Exhaust air must not be discharged into an existing flue which is used for e...

Page 11: ...pads and strongly alkaline or acidic cleaners Heat damage including from washing the product at high temperatures Impact or mishandling the product including the impact caused by objects scraped along thrown or dropped on the product surface or excessive weight being placed on the product Structural or support changes in or affecting the building or the application where the product has been insta...

Page 12: ...expense of making a claim under this warranty This warranty is given by Shriro Australia Pty Ltd ABN 28 002 386 129 Telephone 1800 648 556 Facsimile 1800 628 577 Email customercare shriro com au www robinhood com au Attention Customer Services Manager Warranty exclusions 1 The warranty does not apply where in Shriro s opinion The defect is caused by misuse wear and tear dirt fire or accidental dam...

Reviews: