background image

Installation

-

continued

7.

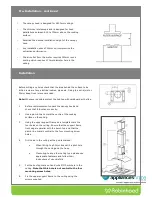
Secure ducting to the top of the motor housing, use duct tape if required. Solid ducting, galvanized or 

plastic is recommended. Use flexi ducting only in difficult installations and if used ensure that it is pulled 

tight. The smoother, straighter and shorter the ducting the quieter and more efficient the canopy hood 

will perform. Tape the power plug to somewhere near the top of the ducting, this will enable easy 

access to the plug after installation.

8.

Secure the lower part of the support frame to the top of the canopy hood using the screws provided.

9.

Strip the plastic protective film off the two chimney pieces and place these over the lower support 

frame. The lower chimney will rest on top of the canopy hood and the upper chimney will be extended 

and secured to the upper support frame. To ensure that the upper chimney does not slip inside the 

lower chimney, secure it so that the upper chimney is showing. Duct tape or two screws/nails through 

the upper chimney securing holes will do this.

10.

Offer the canopy hood, lower support frame, chimneys and ducting up to the upper support frame and 

secure in place with the four screws provided. The dimension between the filters and the cooking 

surface should be in line with those suggested in the ‘height of canopy hood’ section. An additional 

person will be required for this operation or a simple support frame manufactured to the correct 

dimensions will aid assembly of the island canopy hood. 

o

Finish assembling the ducting ensuring the path is as short, straight and smooth as possible.

o

Connect to the power supply and switch on the power to the canopy hood.

o

Slide the upper chimney piece up to the ceiling and secure in place with the four screws supplied.

o

Remove the transport tape that holds the oil cup in place under the motor unit and fit the filters.

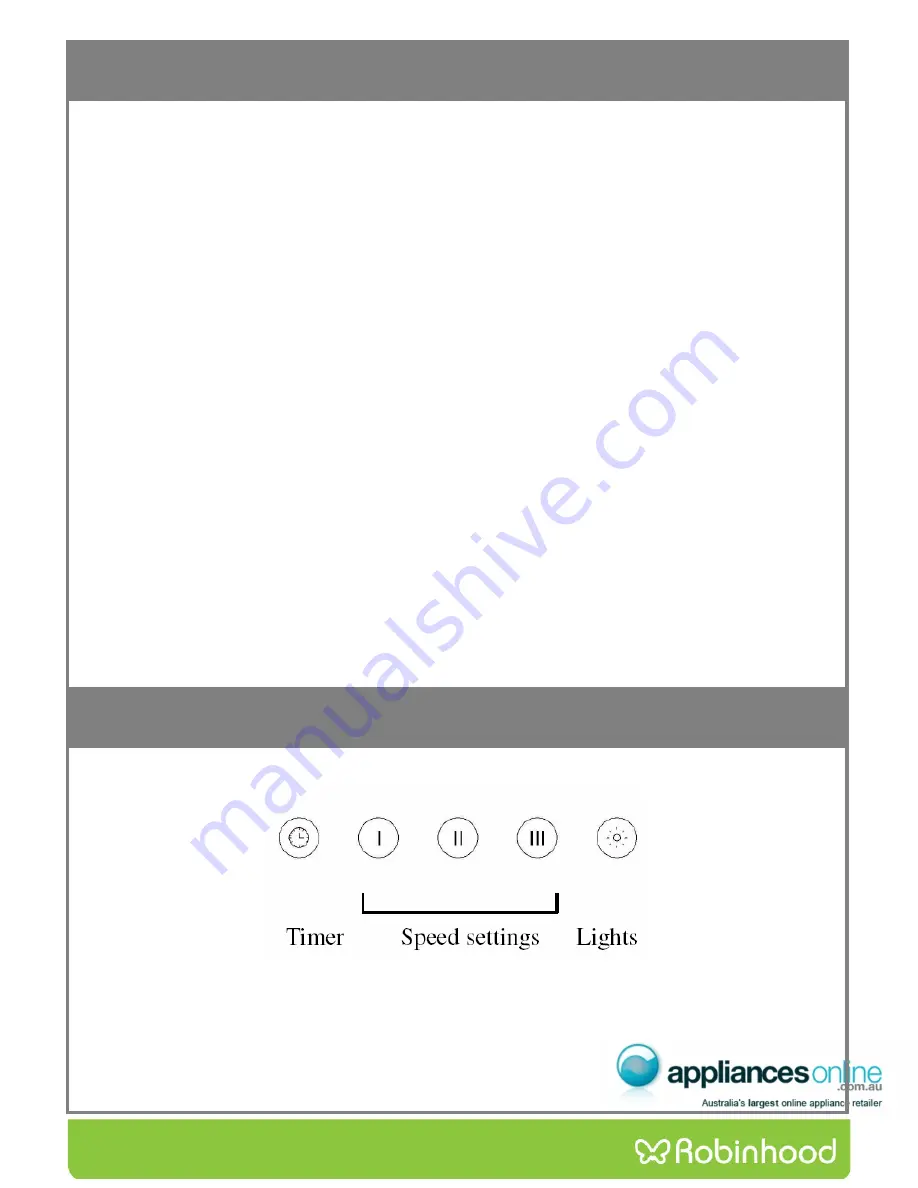
Operating Instructions

Timer switch:

Canopy hood will remain on a low, mid or high speed for 15 minutes to clear away all 

residual cooking odours before switching off automatically.

Summary of Contents for RHCVI9G

Page 1: ...Description Robinhood Canopy Model Number RHCVI9G ...

Page 2: ...Exhaust air must not be discharged into a heating flue or wall cavity unless the cavity is designed for that purpose o Areas where the rangehood is installed that also have gas oil or coal fired heaters must be well ventilated to prevent a partial vacuum in the room This includes gas hobs A partial vacuum in the room could result in too high a concentration of gas in the atmosphere o The appliance...

Page 3: ... the four holes on the ceiling Ensure that the support frame front edge is parallel with the bench top and that the plumb line mark is central to the four mounting screw holes 4 Drill holes in the ceiling at the points marked When fitting to a 50mm truss drill a pilot hole through the ceiling and the truss If securing to any other ceiling type please use appropriate fasteners and follow their inst...

Page 4: ...he upper chimney is showing Duct tape or two screws nails through the upper chimney securing holes will do this 10 Offer the canopy hood lower support frame chimneys and ducting up to the upper support frame and secure in place with the four screws provided The dimension between the filters and the cooking surface should be in line with those suggested in the height of canopy hood section An addit...

Page 5: ...high humidity and coastal environments cleaning should be carried out frequently Warning a build up of oil may occur if the rangehood is not cleaned regularly Filter Maintenance To maintain efficient the filter should be removed regularly approximately monthly and washed using hot soapy water or the dishwasher Note Some discolouration of the frame may occur if washed in the dishwasher Lighting o H...

Page 6: ... is a fire risk if cleaning is not carried out in accordance with the instructions o Do not flambé under the rangehood o Exhaust air must not be discharged into an existing flue which is used for exhausting fumes from appliances burning gas or other fuels o The minimum distance between the hob surface and the lowest part of the rangehood is 600mm This distance shall be at least 650mm if the rangeh...

Page 7: ...cleaners Heat damage including from washing the product at high temperatures Impact or mishandling the product including the impact caused by objects scraped along thrown or dropped on the product surface or excessive weight being placed on the product Structural or support changes in or affecting the building or the application where the product has been installed Failure to clean or maintain the...

Page 8: ...eat damage including from washing the product at high temperatures Impact or mishandling the product including the impact caused by objects scraped along thrown or dropped on the product surface or excessive weight being placed on the product Structural or support changes in or affecting the building or the application where the product has been installed Failure to clean or maintain the product a...

Reviews: