19
Chapter 2. Assembling RoboBuilder
How to read the building instructions
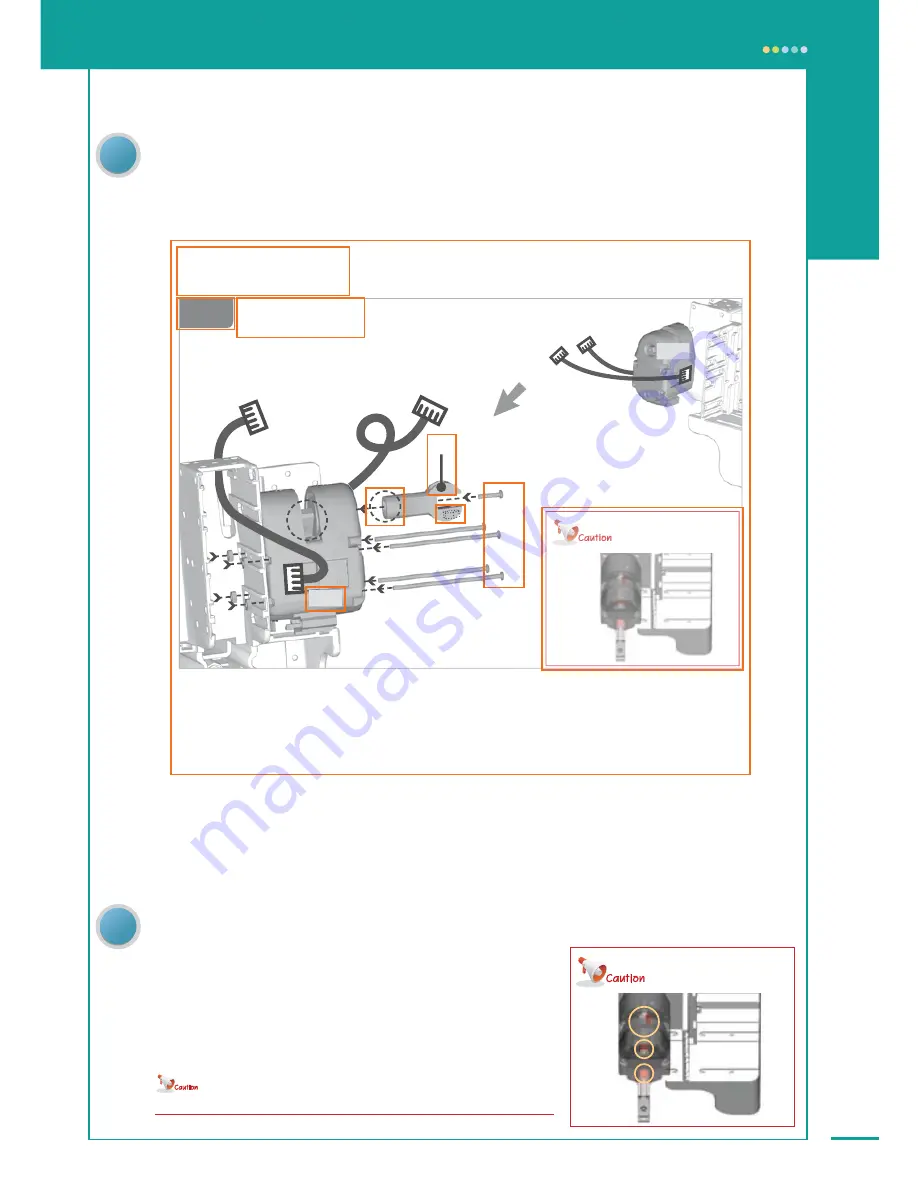
Each step of the building instructions contains the assembly sequence, parts to be used,
cautions, etc. The following is an example STEP from the building instructions.
1) Prepare the parts required for the corresponding assembly step.
(Body Frame, wCK ID 10, J2, B8, B40, Nut)
2) Connect both cables to wCK(ID10) first before attaching it to body frame.
3) Attach ID 10 to the body frame using B40(4 EA) and nuts(4 EA). (①②③④)
4) Attach J2(ⓐ) to wCK(ID 10) using B8(1 EA).
Follow caution
to correctly set the axis angle. (⑤)
5) Arrange cables as shown in the picture.
Caution area requires special attention
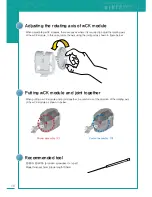
When putting some wCK modules and joints together, adjusting
the alignment angle is important.
In this case, adjust the axis angle of the wCK module correctly
by following the illustration shown in the CAUTION picture.
A red highlight is added to help highlight this.
If not assembled as shown in the picture, it may cause
abnormal operation or a failure.
The angle adjustment is
critically important.
① displays the STEP number.
② displays the position of assembly.
(Left or right from the robot
’
s view point)
③ displays the information on bolts and joints required
for the step.(B40: 40mm Bolt, J2: Joint 2)
④ displays the ID number of the wCK module.
⑤ displays the caution area in which user should pay
more attention.
⑥ The joint part information.
⑦ displays the position of the inserted nut.
⑧ displays the assembly sequence.
⑨ illustrate the caution area (⑤)to help clear understanding.
STEP 01
Left
Connect both wCK cables first
before attaching it to body frame.
ⓐ
①
②
③
④
The adjustment of
connecting angle is
critically important.
ID 10
①②③④ : B40, ⑤ : B8
ⓐ : J2
ID 10
⑤
①
②
③
④
⑤
⑥
⑦
⑧
⑨
Summary of Contents for DIY Robot kit
Page 2: ......
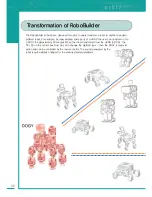
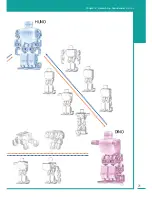
Page 20: ...21 Chapter 2 Assembling RoboBuilder HUNO DINO ...
Page 36: ...37 Chapter 2 Assembling RoboBuilder H U N O ...
Page 49: ...50 STEP 18 STEP 17 B40 ID 01 ID 06 ID 11 ID 12 ID 02 ID 07 ...
Page 108: ...109 Chapter 4 Troubleshooting MEMO ...
Page 109: ...110 MEMO ...


