89
Chapter 3. Operating RoboBuilder
03
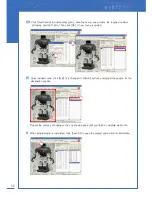
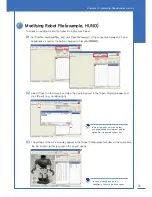
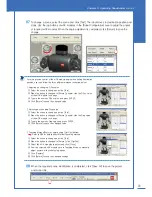
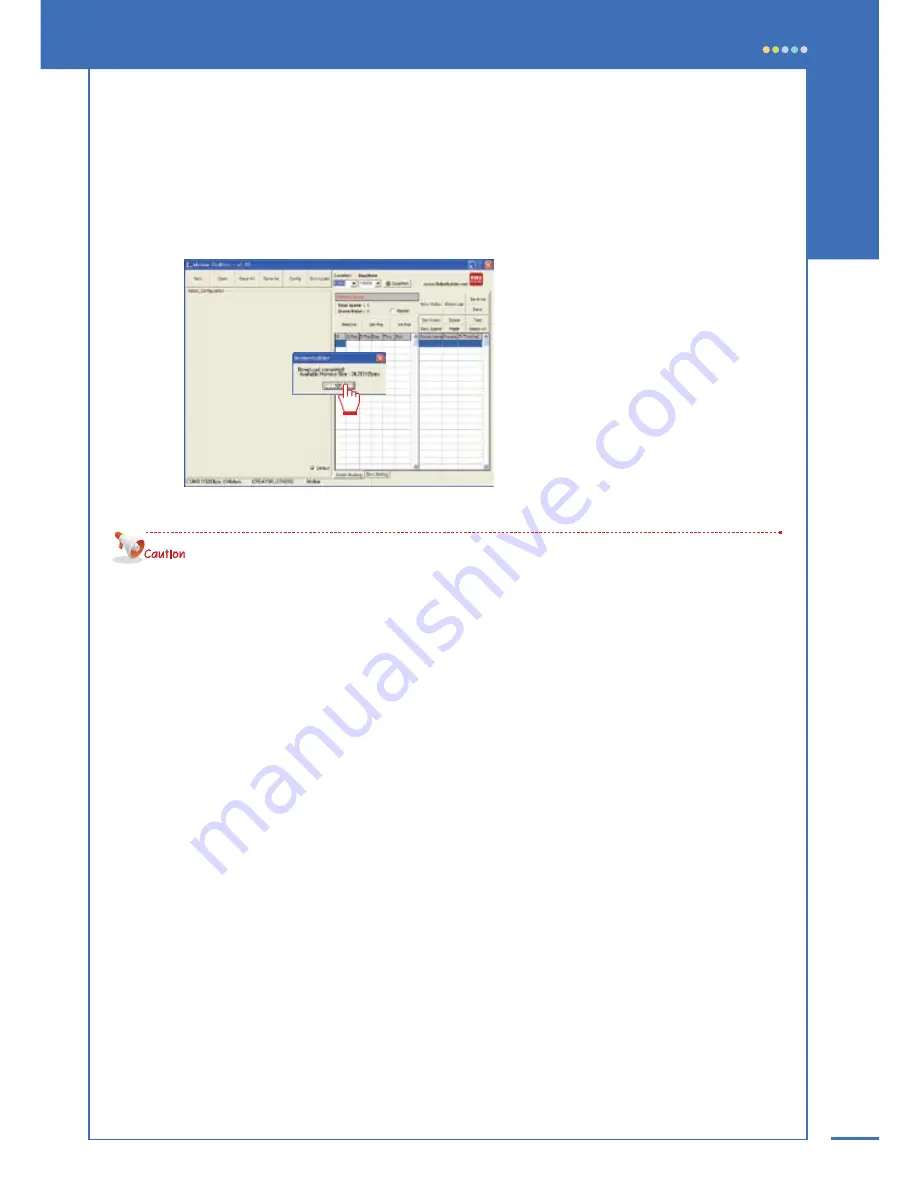
The selected [motion file] is transferred to control box. When download completed, success
message appears. Click [OK] to finish.
Repeat step 02 and step 03 until you transfer all required files.
· Once file transfer starts, all robot files already existing in control box are deleted and new files saved from
the beginning. So the first file transferred is assigned to button 1 of remote control, the second file transferred is
assigned to button 2, and the third file to buttion 3 and so on. So you have to plan and decide which robot
file to be assigned to which button of remote control before you actually start the file transfer.
· If the size of a certain robot file is too large, the control box may not be able to save up to 20 files.
· The motion performed with MotionBuilder can be a little bit different from the motion actually performed with
the transferred motion file.
Summary of Contents for DIY Robot kit
Page 2: ......
Page 20: ...21 Chapter 2 Assembling RoboBuilder HUNO DINO ...
Page 36: ...37 Chapter 2 Assembling RoboBuilder H U N O ...
Page 49: ...50 STEP 18 STEP 17 B40 ID 01 ID 06 ID 11 ID 12 ID 02 ID 07 ...
Page 108: ...109 Chapter 4 Troubleshooting MEMO ...
Page 109: ...110 MEMO ...


