139
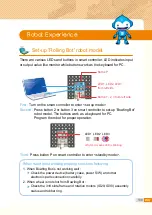
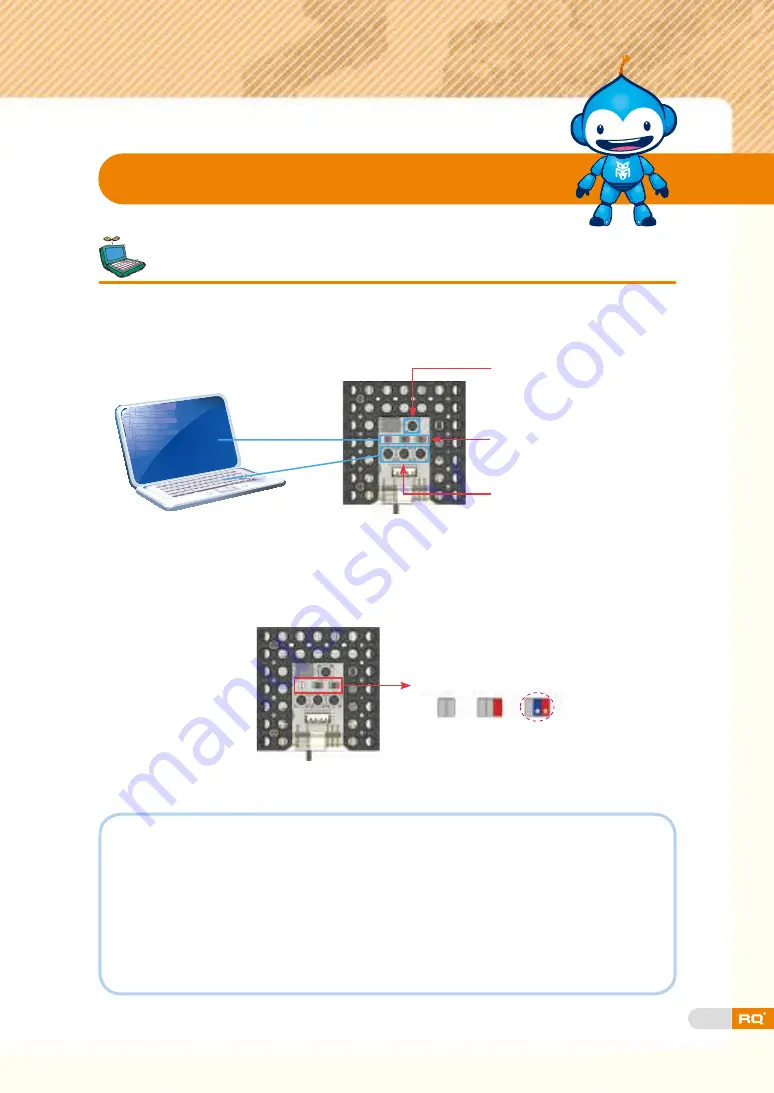
There are various LEDs and buttons in smart controller. LED indicates input
or output value like monitor while buttons work as the keyboard for PC.
Set-up 'Rolling Bot' robot model.
Robot Experience
LED1 LED2 LED3
★
Symbol means LED is blinking.
First :
Turn on the smart controller to enter <set-up mode>.
Second :
Press button 2 or button 3 on smart controller to set-up 'Bowling Bot'
robot model. The buttons work as a keyboard for PC.
Program the robot for proper operation.
Button P
LED1, LED2, LED3
from left side
Button 1, 2, 3 from left side
Third :
Press button P on smart controller to enter <standby mode>.
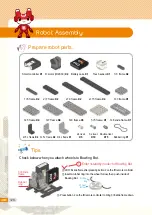
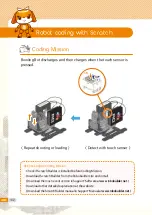
When robot is not working properly, check the following.
1. When Bowling Bot is not working well :
▶
Check the power device (battery case, power S/W) and other
electronic parts connection carefully.
2. When wheel is not shot from Bowling Bot :
▶
Check the 3×8 slide frame and rotation motors (ID29, ID30) assembly
status and rubber ring.
Summary of Contents for RQ PLUS 110
Page 1: ......
Page 2: ...List BASICS Punching Bot Cultivator Swing Bot Fish Bot Rolling Bot 06 20 40 58 74 90 ...
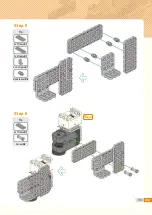
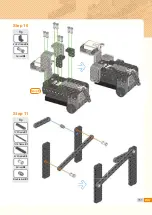
Page 25: ...27 Step7 Step8 Step 9 Step 10 Tip Tip Double rivet X2 Double rivet X8 ...
Page 31: ...33 Punching Bot ready completion ...
Page 37: ...39 0 02 ...
Page 50: ...52 Cultivator robot ready completion ...
Page 72: ...74 Living under water fish 4 Fish Bot ...
Page 94: ...96 Tip 5 5 frame X1 Double rivet X8 Step 7 X2 Tip 2s rivet X4 Step 8 X2 ...
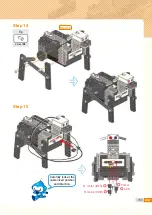
Page 96: ...98 Tip Tip Double rivet X4 Double rivet X4 Step 11 Step 12 Step8 Step8 ...
Page 103: ...105 0 02 ...
Page 107: ...109 0 02 ...
Page 116: ...118 Step8 Tip Double rivet X2 Step 11 Tip Battery case X1 Double rivet X4 Step 12 ...
Page 118: ...120 Cable connection status Bumper car ready Tip Double rivet X4 Step 15 completion ...
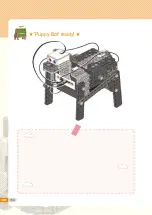
Page 152: ...154 Puppy Bot ready completion ...
Page 175: ...177 0 02 ...

