20
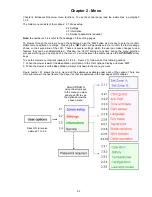
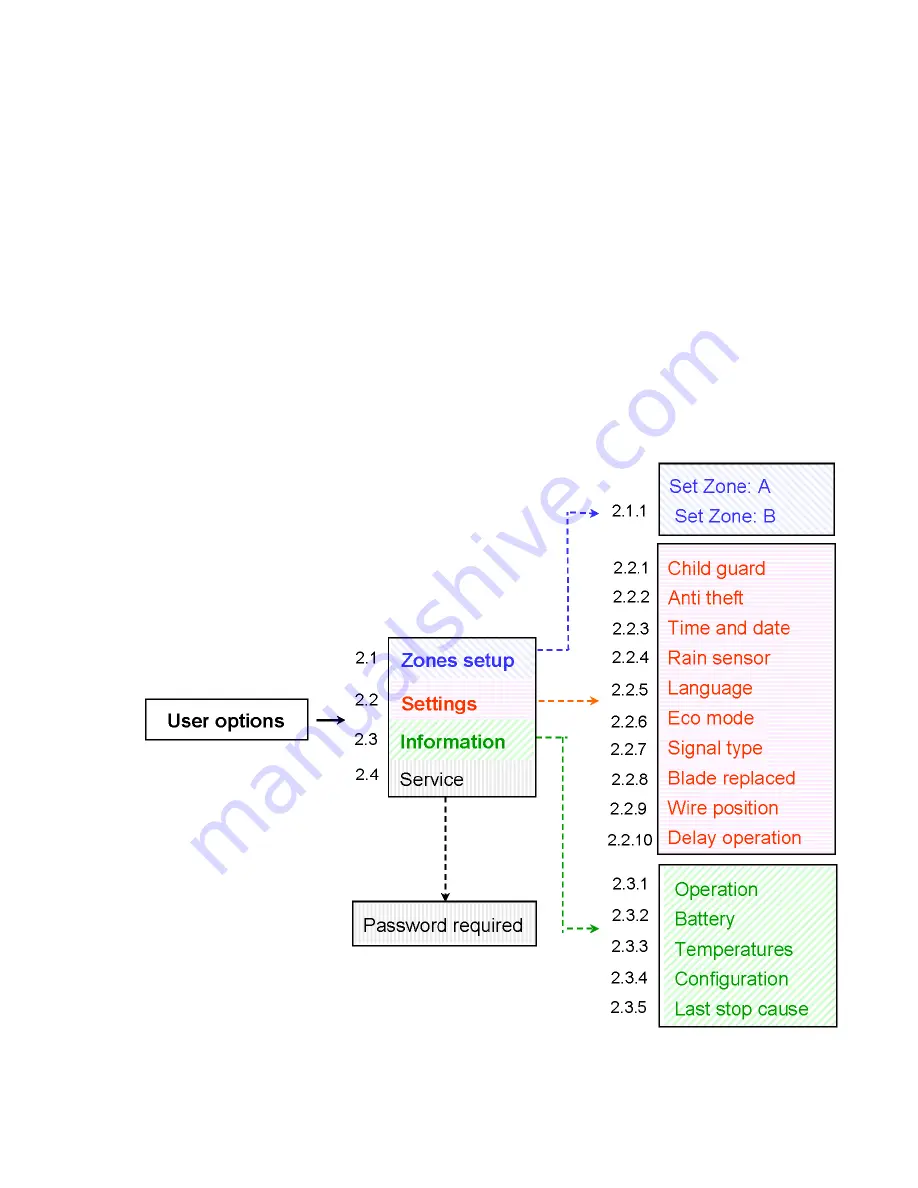
Figure 2.1
Robomow menu options
Chapter 2 - Menu
Chapter 2 introduces Robomow menu functions. To use the control panel read the instructions in paragraph
1.2.4.
The main menu consists of four options: 2.1 Zones setup
2.2 Settings
2.3 Information
2.4 Service (password is required)
Note:
the numbers 2.1-2.4 refer to the headings on the coming pages.
To browse through the main menu and the submenus, use the
‘GO’
button as a means to select or confirm
different menu options or settings. Pressing the
‘GO’
button will generally select or confirm the text message
shown on the second line of the LCD. There are several settings, which the user can make changes to and
features that can be enabled/disabled. Pressing the
‘
STOP
’
button at any time during the menu selection
process will bring you one step back in the menu. To scroll between the submenus use the ‘
UP’/’DOWN’
arrow
keys.
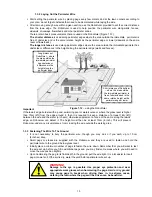
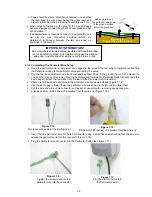
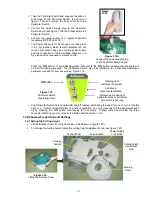
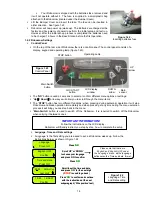
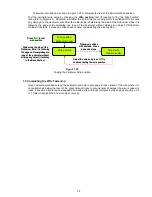
To see the main menu functions (options 2.1 to 2.4 - Figure 2.1), follow one of the following options:
1. When the mower is
out
of the Base Station scroll down to the ‘User options’ display and press
‘GO’
;
2. When the mower is
in
the Base Station, simply scroll down to the menu you want.
Figure number 2.1 shows the main menu and the submenus available under each of the options. There are
more submenus in the next level of the menu tree that are explained in the next pages of this chapter.
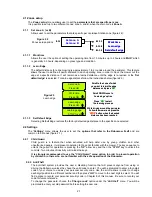
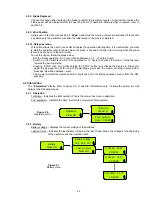
Press GO to receive
options 2.1 to 2.3
Scroll UP/DOWN
using the arrow keys
to the menu you want
and press GO to see
the options below the
chosen menu

