AirPick - Instruction Manual
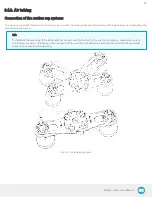
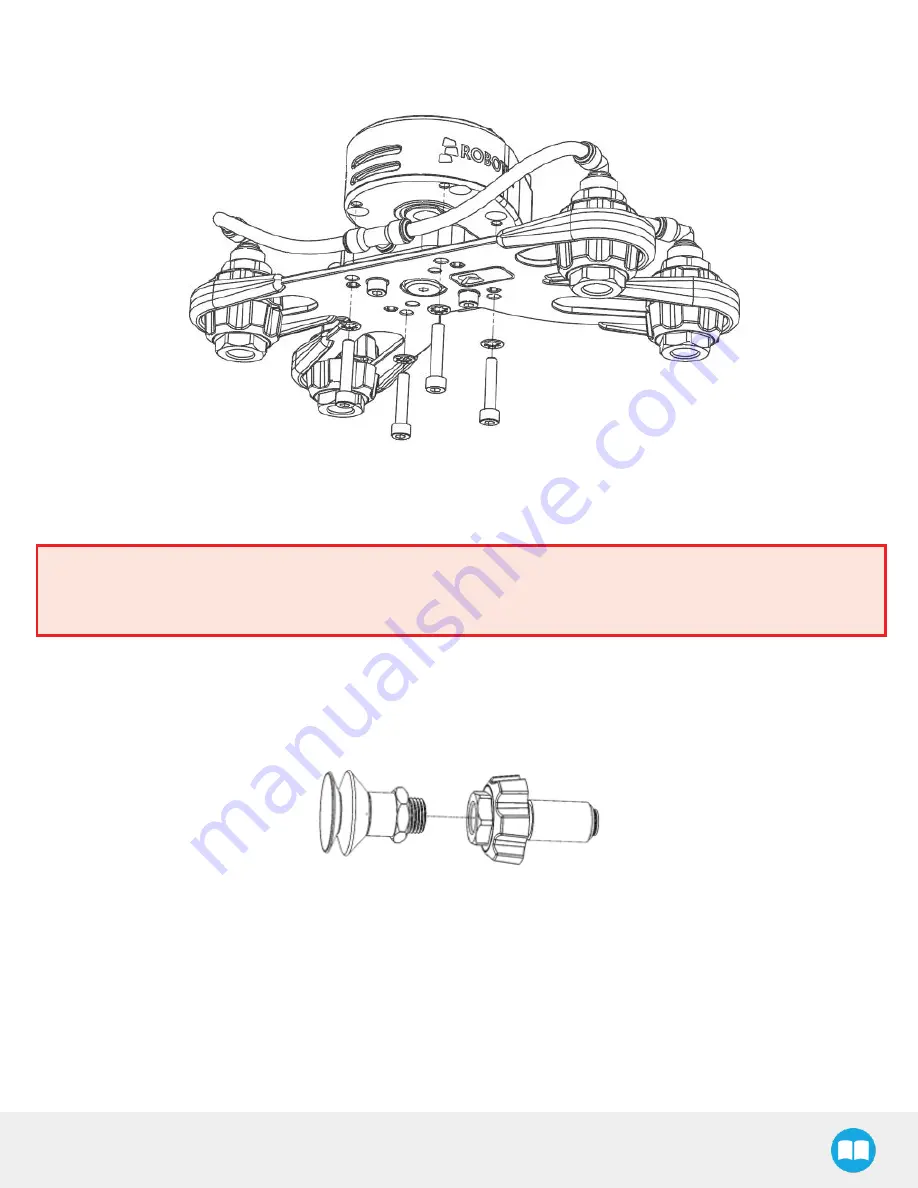
Fig. 3-5: Mounting example of the four suction cups assembly on the vacuum generator
Warning
Any unused manifold port should be covered with a provided port plug to avoid air leakage. For more details, please
refer to the Manifold section
Suction cups and air nodes
Whether you are using a standard or custom option, air nodes should be used to connect the suction cups and the air tubing, and
to prevent air leakage as much as possible. Air nodes are easy to assemble, as shown in the figures below.
1. Screw by hand each provided suction cup to an air bolt.
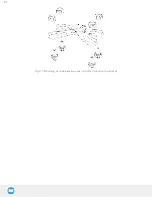
Fig. 3-6: Screwing a suction cup and an air bolt
2. Pass each air bolt through the mounting bracket, adjust the position of the node along the bracket side, align with mating
air nuts and tighten node by hand.
24
Summary of Contents for AirPick
Page 25: ...Fig 3 7 Mounting air nodes suction cups air bolts air nuts on the bracket 25...
Page 27: ...Fig 3 9 Robotiq Vacuum Gripper with pigtail cable and device cable wiring scheme 27...
Page 35: ...Fig 4 1 Vacuum Gripper control logic overview 35...
Page 57: ...7 Click on the New Project icon in the upper left corner of the screen 57...
Page 58: ...AirPick Instruction Manual 8 Enter a name for your program and click on the OK button 9 58...
Page 76: ...Fig 6 5 Minimum and maximum arrangement possibilities of the air nodes position 76...
Page 77: ...AirPick Instruction Manual 6 1 3 Air nodes Fig 6 6 Air nodes dimensions 77...
Page 103: ...AirPick Instruction Manual 12 Appendix Fig 12 1 Pneumatic schema of the AirPick Vacuum Gripper...


