2.1. Warning
Caution
Any use of the Gripper in non-compliance with these warnings is deemed inappropriate and may cause injury or
damage.
Warning
l
Air supply must be dry and filtered according to ISO 8573-1 class 3.4.3.
l
Air supply pressure must be between 3 and 7 bar with an optimal pressure at 7 bar (6.5 bar for serial number ≤ V-
01351).
l
Make sure that the tubing is properly secured before pressurizing the gripper.
l
Make sure that the tubing is not pressurized before removing the air supply tube from the gripper.
l
Make sure that the provided white safety clip is properly installed before pressurizing the Vacuum Gripper.
l
Always use the suction cup system and its components (air nodes, port plug, etc.) with the Robotiq Vacuum Gripper
only.
l
Never operate the Vacuum Gripper with leaking or worn parts.
l
The Vacuum Gripper needs to be properly secured before operating the robot.
l
Do not install or operate a Gripper that is damaged or lacking parts.
l
Never supply the Gripper with an alternating current source.
l
Make sure all cord sets are always secured at both ends—Gripper and robot.
l
Always meet the recommended keying for electrical connections.
l
Make sure no individuals or assets are in the vicinity of the robot and/or Gripper prior to initializing the robot.
l
Always meet the Gripper’s payload specifications.
l
Set your vacuum level based on your application.
l
Keep body parts and clothing away from the Gripper while the device is powered on.
l
Do not use the Gripper on people or animals.
l
Never stand under suspended loads held by the Vacuum Gripper.
2.1.1. Risk assessment and final application:
The Robotiq Vacuum Gripper is meant to be used on cobots and industrial robots.
The robot, the Gripper and any other equipment used in the final application must go through a comprehensive risk assessment
process before they can be used. Special care must be taken during this step if custom mounting options are used for the suction
cups.
11
Summary of Contents for AirPick
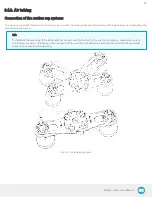
Page 25: ...Fig 3 7 Mounting air nodes suction cups air bolts air nuts on the bracket 25...
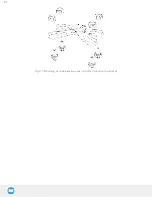
Page 27: ...Fig 3 9 Robotiq Vacuum Gripper with pigtail cable and device cable wiring scheme 27...
Page 35: ...Fig 4 1 Vacuum Gripper control logic overview 35...
Page 57: ...7 Click on the New Project icon in the upper left corner of the screen 57...
Page 58: ...AirPick Instruction Manual 8 Enter a name for your program and click on the OK button 9 58...
Page 76: ...Fig 6 5 Minimum and maximum arrangement possibilities of the air nodes position 76...
Page 77: ...AirPick Instruction Manual 6 1 3 Air nodes Fig 6 6 Air nodes dimensions 77...
Page 103: ...AirPick Instruction Manual 12 Appendix Fig 12 1 Pneumatic schema of the AirPick Vacuum Gripper...


