AirPick - Instruction Manual
1.2. Object picking
The AirPick Gripper allows:
1. Main unit suction cup
2. Auxiliary system with multiple suction cups
Warning
Object picking causes the compression of the suction cup(s) , which can result in pinching points between the gripper
and the load. Avoid presence of body parts in this zone during operation.
Warning
Before picking any new object or material in autonomous mode, always check that the resulting vacuum level is sufficient
to ensure safe gripping, in order to prevent dropping or ejection of the load.
1.2.1. Main unit suction cup
In order to use only one suction cup, the single cup can be mounted right in the port of the vacuum generator.
1.2.2. Auxiliary system with multiple suction cups
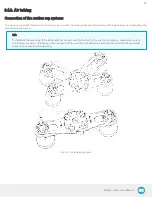
A standard Suction Cup System can be attached to the AirPick Vacuum Gripper. The bracket normally holds two or four suction
cups (corresponding to the four ports of the manifold).
Any unused manifold port should be blocked with a mating plug to avoid air leakage.
Other custom mounting options can also be used to benefit from a multiple suction cups solution
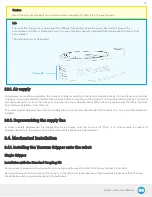
Caution
Custom brackets and plates must meet the required technical specifications (refer to the Technical dimensions section
subsection).
1.3. Setup and control
The Vacuum Gripper is powered and controlled directly via a single device cable that carries 24 V DC power, an air compressed
cable and Modbus RTU communication over RS-485.
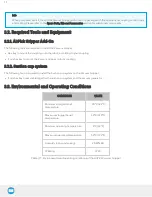
Info
Please refer to the Electrical Setup section subsection for wiring information, and to the Software section for the control
of the Vacuum Gripper.
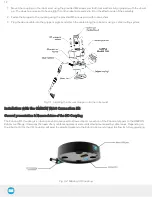
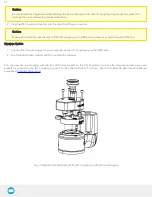
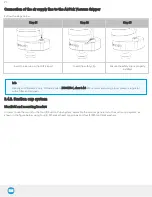
In order to be used, the AirPick Gripper has to be connected to a Gripper coupling which provides both the mechanical and
electrical connectivity to the Gripper.
8
Summary of Contents for AirPick
Page 25: ...Fig 3 7 Mounting air nodes suction cups air bolts air nuts on the bracket 25...
Page 27: ...Fig 3 9 Robotiq Vacuum Gripper with pigtail cable and device cable wiring scheme 27...
Page 35: ...Fig 4 1 Vacuum Gripper control logic overview 35...
Page 57: ...7 Click on the New Project icon in the upper left corner of the screen 57...
Page 58: ...AirPick Instruction Manual 8 Enter a name for your program and click on the OK button 9 58...
Page 76: ...Fig 6 5 Minimum and maximum arrangement possibilities of the air nodes position 76...
Page 77: ...AirPick Instruction Manual 6 1 3 Air nodes Fig 6 6 Air nodes dimensions 77...
Page 103: ...AirPick Instruction Manual 12 Appendix Fig 12 1 Pneumatic schema of the AirPick Vacuum Gripper...


