AirPick - Instruction Manual
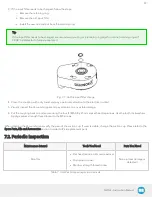
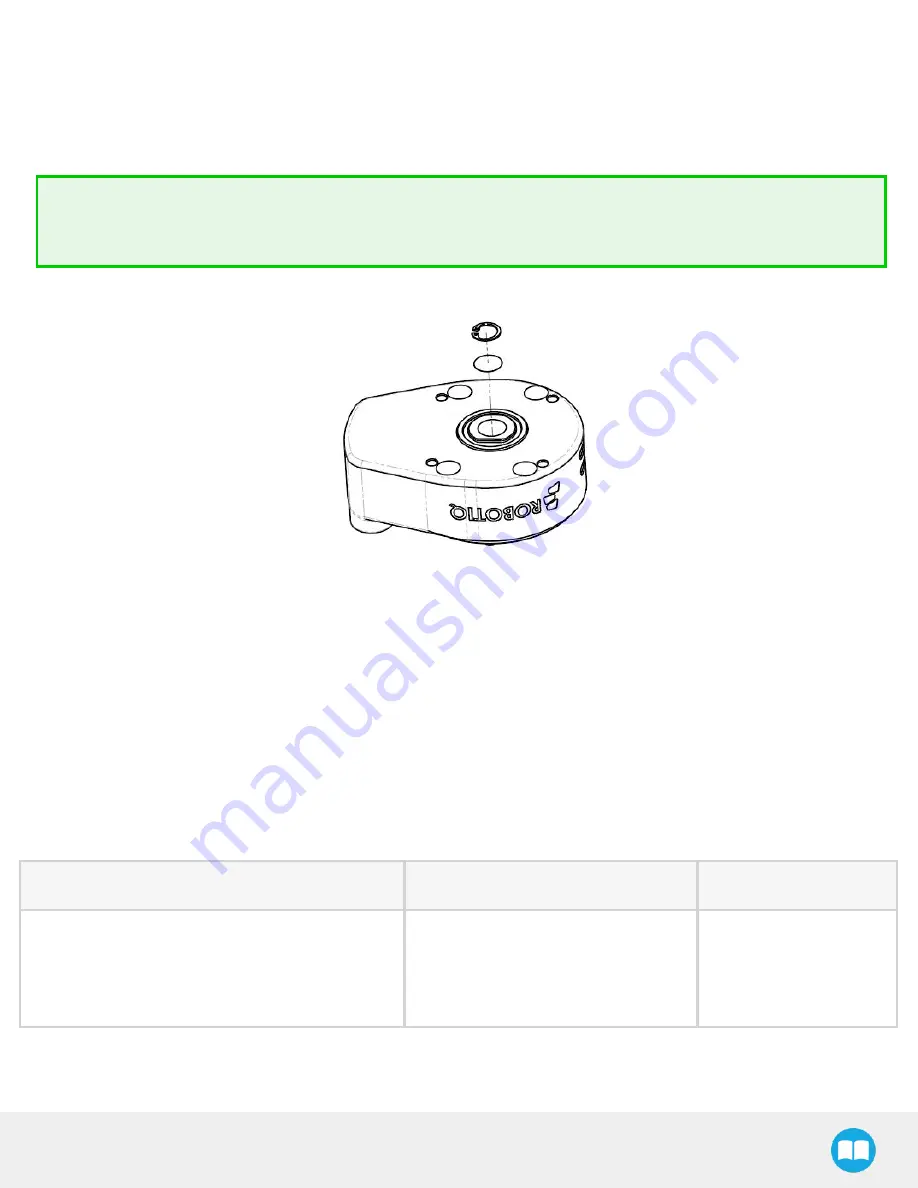
3. If the input filter needs to be changed, follow the steps:
i. Remove the retaining ring.
ii. Remove the old input filter.
iii. Install the new one and put back the retaining ring.
Tip
If the input filter needs to be changed, we recommend you to get a retaining ring plier for internal retaining rings of
0.038'' tip diameter to help you replace it.
Fig. 7-1: AirPick input filter change
4. Clean the coupling with a dry towel and pay a particular attention to the electrical contact.
5. Visually inspect the Vacuum Gripper and pay attention to any visible damage.
6. Put the coupling back on and secure using the four (4) M5-0.8 x 25 mm socket head cap screws. Use the tooth lock washers.
Apply medium strength thread locker to the M5 screws.
When cleaning the Vacuum Gripper verify the wear of the suction cup. If wear is visible, change the suction cup. Please refer to the
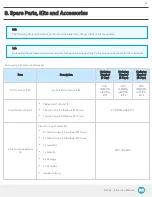
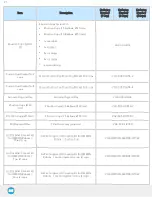
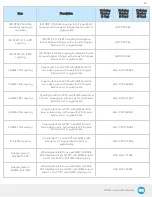
Spare Parts, Kits and Accessories section to order AirPick replacement parts.
7.2. Periodic inspection
Maintenance Interval
Tools You Need
Parts You Need
Monthly
l
Flat head precision 2 mm screwdriver
l
Dry tissue or towel
l
Medium strength thread locker
None (unless damage is
detected)
Table 7-3: AirPick Gripper inspection intervals.
92
Summary of Contents for AirPick
Page 25: ...Fig 3 7 Mounting air nodes suction cups air bolts air nuts on the bracket 25...
Page 27: ...Fig 3 9 Robotiq Vacuum Gripper with pigtail cable and device cable wiring scheme 27...
Page 35: ...Fig 4 1 Vacuum Gripper control logic overview 35...
Page 57: ...7 Click on the New Project icon in the upper left corner of the screen 57...
Page 58: ...AirPick Instruction Manual 8 Enter a name for your program and click on the OK button 9 58...
Page 76: ...Fig 6 5 Minimum and maximum arrangement possibilities of the air nodes position 76...
Page 77: ...AirPick Instruction Manual 6 1 3 Air nodes Fig 6 6 Air nodes dimensions 77...
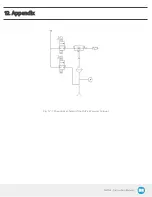
Page 103: ...AirPick Instruction Manual 12 Appendix Fig 12 1 Pneumatic schema of the AirPick Vacuum Gripper...

