RT-7690-2 User Guide
6
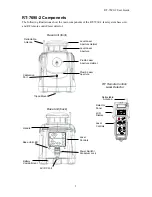
Turning on the Laser System
1. Place the RT-7690-2 base unit on a relatively flat surface, or set it on a standard surveyor’s
tripod, using the built-in 5/8" x 11" tripod mount on the bottom of the unit.
2. Turn on the unit with the power switch on the base unit. This switch also unlocks the
pendulum inside the unit so it can move freely, allowing the unit to self-level. The base unit
LED should flash green for approximately five seconds, then turn to a steady green,
indicating that the unit is on and functioning properly.
Notes:
1. Main power can be turned on only from the base unit.
2. None of the control buttons on the base unit or RF remote control work until the LED on
the base unit has stopped flashing and has turned to a steady green.
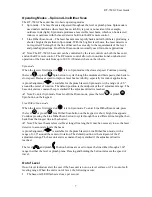
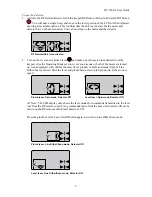
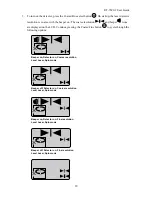
3. Turn on the level or plumb laser from the base unit or RF remote control
.
Caution: Both lasers and the main power switch should always be turned off before
transporting or storing the base unit.
Using the Lasers
The RT-7690-2 laser system’s level and plumb lasers operate independently. You can turn on the
level laser, the plumb laser, or both lasers simultaneously.
Use the level Spin or Line Dither/Scan laser for indoor and outdoor plumb and alignment
applications, such as plumbing framing or aligning conduit.
Use the plumb Spin or Line Dither/Scan laser for indoor and outdoor level applications such
as leveling cabinetry, setting concrete forms, or leveling electrical outlets.
Simultaneous operation of the level and plumb laser beams generates a crosshair for level and
plumb alignment applications such as aligning cabinetry or tiling.
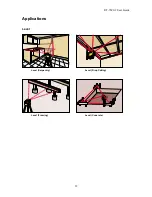
Note: See the Applications section for application illustrations.

