28
CHAPTER 7
LCD Interface
The LCD Interface is a tool to make various settings on your software. You can set some
automatic modes such as auto blinking and eyes. You can also make adjustments to the drive,
for straightness of drive. Open the rear door and connect the display cable to the 9 pin
connection on the top of the frame.
Note:
Connect it with the robot off and then turn the robot
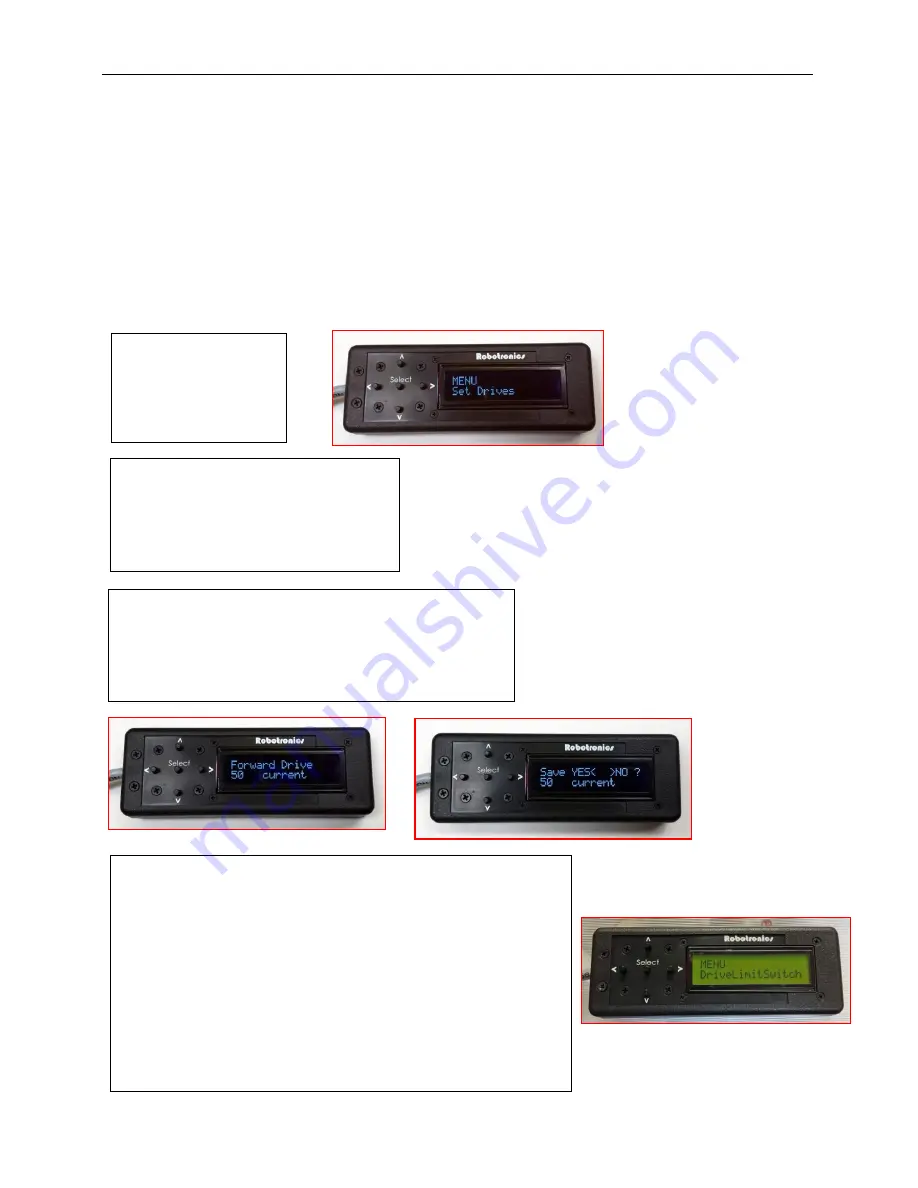
on. The display will start and read a number. Press the select button to go to menu. The
menu has the following modes and selections.
Menu
Random modes
Set Drive
Drive Limit Switch
Exit
Random Modes
All On - All auto features on
All Off
Eyes On
– Auto Blink
Head On
– robots with turn head
Set Drive
Forward-
select- center is 50. Below 50 is more left.
Above 50 is more right (Range is 0-100)
Backward-
select- center is 50. Below 50 is more
left. Above 50 is more right (Range is 0-100)
Drive Mode- Change to drive limit
Drive Mode Limit Switch enabled-
turns drive limit on
then you must hold MP3/Mode switch to drive.
Red switches are lights/squirter holding MP3 switch
Red switches are MP3 functions not holding MP3 switch
Drive Mode Limit Switch disabled-
turns drive limit off.
Red switches are MP3 functions holding MP3 switch
Red switches are lights/squirter not holding MP3 switch
Note: Lights/Squirter includes light bar, body lights, flashing lights, squirter, and
siren
Summary of Contents for Pluggie Robot
Page 44: ...40 APPENDIX A ...
Page 48: ...44 Robot Block Diagram Appendix A Robot Functional Block Diagram ...
Page 49: ...45 APPENDIX B ROBOT PARTS IDENTIFICATION ...
Page 62: ...58 Notes ...
Page 63: ...59 Technical Tips ...


