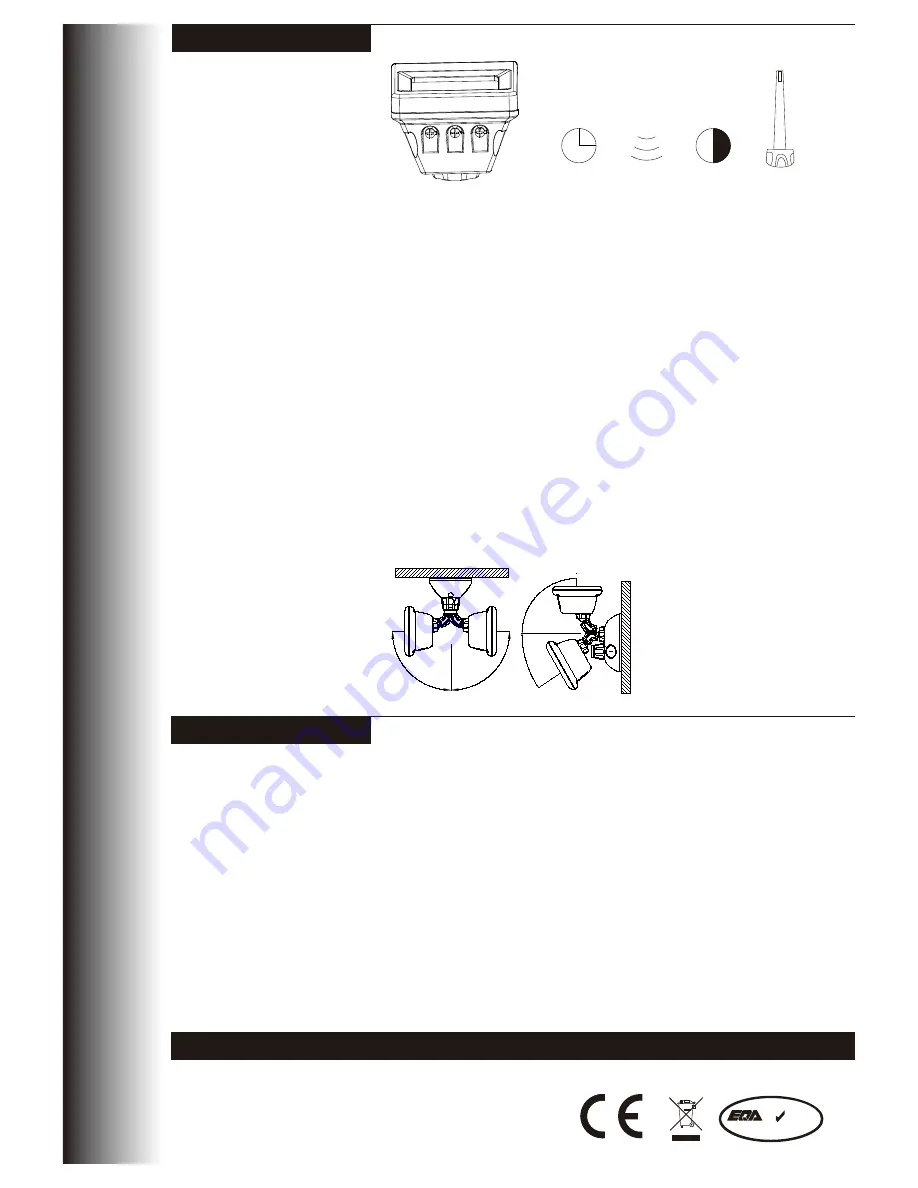
Features:
Installation:
Adjusting the Lux(Light) control level:
The Lux control is a built-in sensing device (photocell) that detects daylight and
darkness.
(
+
) position denotes the light can be turned on during daylight and night.
(
-
) position denotes the light can be turned only at night.
It is possible to select desirable operating lux level by adjusting the LUX knob
Adjusting the Duration Time:
The duration time is “the length of time that light remains ‘On’ after activation. The
duration time can be adjusted from (10±5) seconds to (20±3) minutes. Rotating the
TIME knob from (+) to (-) will reduce the duration time. Note: Once the light has been
triggered by the PIR all subsequent detection will start the timed period from the
beginning
Adjusting the sensitivity:
The sensitivity means the Maximum distance which the PIR Sensor can be triggered by
movement. Turning the SENS knob anti-clockwise will decrease the sensitivity.
WALL AND CEILING MOUNTING AND HEAD ADJUSTMENT
The sensor is design to suitable for mounting on either wall or ceiling. By adjusting the
nuts and connecting arm, you can have the sensor in any direction as required.
! Electrical products can cause death or injury, or damage to property. If in any
doubt about the installation or use of this product, consult a competent electrician.
1 Ensure mains supply is switched off before undertaking installation or any
maintenance work
2 This PIR device must be mounted directly to the wall.
NOTE
: 1. Avoid area where a shadow may fall on the sensor. Do not allow the
transparent Lens of the sensor to become dirty.
2. Do not allow artificial light to active the sensor. Artificial lighting may false
trigger the sensor
3 Mark appropriate fixing points on wall or ceiling and drill holes. Before drilling holes
establish the direction of buried cables and other building services so that damage
to concealed services can be avoided.
4 Feed expanding nut into holes on the wall or ceiling.
5 Connect supply and output lamp cables to terminal block. Supply brown /red to L,
supply and output wire to blue / black to N and output lamp live wire S.
6 Attach the gasket and the PIR device in the wall or ceiling by the screws
Time
Lux
Adjusting
knob driver
Sens
+ -
+ -
+ -
Wall or ceiling
90 °
90 °
W
al
l o
r c
ei
lin
g
90 °
40 °
possible rotations
The Installation must be carried out by an electrician
LED Group
Western Retail Park
Tel: +353 1 7099000
Nangor Road
Fax: +353 1 7099060
Dublin 12
Email: info@led.ie
Ireland
Website: www.led.ie
Page 2
ISO 9001:2008
Q U A L I T Y A SSU R E D C O M PA N Y


