23
❚
INSTALLATION TIPS
•
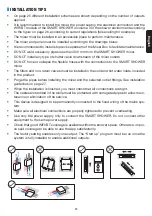
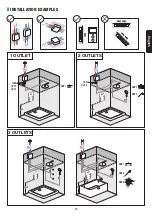
On page 25 different installation schemes are shown depending on the number of outputs
applied.
•
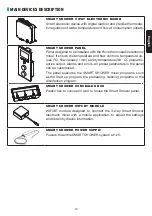
It is recommended to install the mixer, the power supply, the electrical connection and the
WIFI/BT module of the SMART SHOWER in volume 3 of the shower environment according
to the figure on page 26, according to current regulations (false ceiling for example).
•
The mixer must be installed in an accessible place to perform maintenance.
•
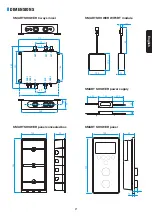
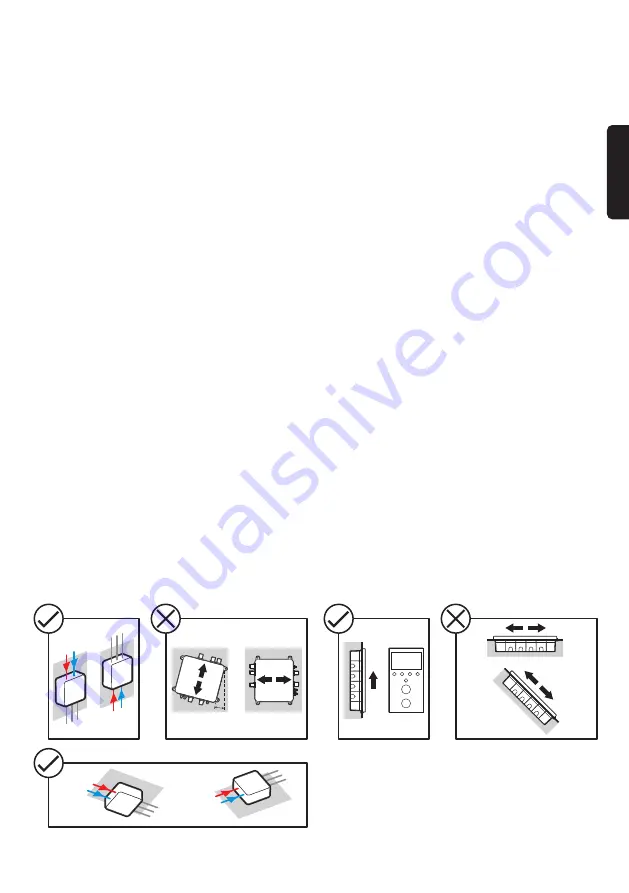
The mixer and panel must be installed according to the drawings below.
•
It is recommended to install stopcocks upstream of the Mixer Box to facilitate maintenance.
•
DO NOT weld accessory pipes less than 300 mm from the SMART SHOWER mixer.
•
DO NOT install any type of shutter valve downstream of the mixer outlets.
•
DO NOT force or collapse the flexible hoses with the connections to the SMART SHOWER
mixer.
•
The filters and nonreturn valves must be installed in the cold and hot water inlets, included
in the product.
•
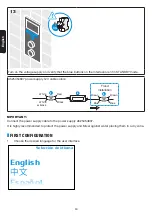
Purge the pipes before installing the mixer and the selected outlet fittings. See instalation
guidelines on page 27.
•
When the installation is finished, you must check that all connections are tight.
•
The cables embedded in the walls must be protected with corrugated pipes to allow main
tenance or elimination of the service.
•
This device is designed to be permanently connected to the fixed wiring of the mains sys
tem.
•
Make sure all electrical connections are properly tightened to prevent overheating.
•
Use only the power supply only to connect the SMART SHOWER. Do not connect other
equipment to the same power supply.
•
Check that good WIFI/BT coverage is available within the shower space. Otherwise, impro
ve said coverage to be able to use the App satisfactorily.
•
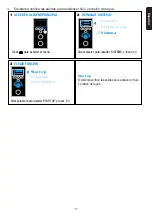
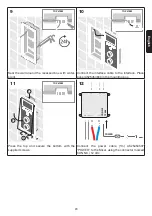
The factory setting enables only one output. The “Start up” program must be run once the
system is fully installed to enable additional outputs.
HOT
COLD
HOT
COLD
HOT
COLD
HOT
COLD
English


