14
Starting the QB8-PV Nostalgic Music Center for the First Time
With your Nostalgic Music Center connected to power and
broadband connected, you are ready to power-up and set-up
the system so you can begin using it.
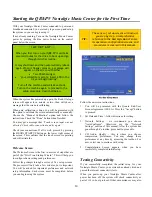
If not already running, Turn on the Nostalgic Music Center
power by pushing the blue power button on the control
panel below the screen.
When the system has powered up again, the Rock-Ola logo
screen will appear for a minute or two, then will show a
message that the screen is calibrating.
When auto calibration is done, you will be presented with
the option to calibrate the screen automatically or manually.
Choose the “Manual Calibration” option and follow the
instructions. Check the “Done” button when finished.
You may get a message that
“Touch screen input was not
detected. Check cable connections and try again.”
Check your connections. If all is well, proceed by pressing
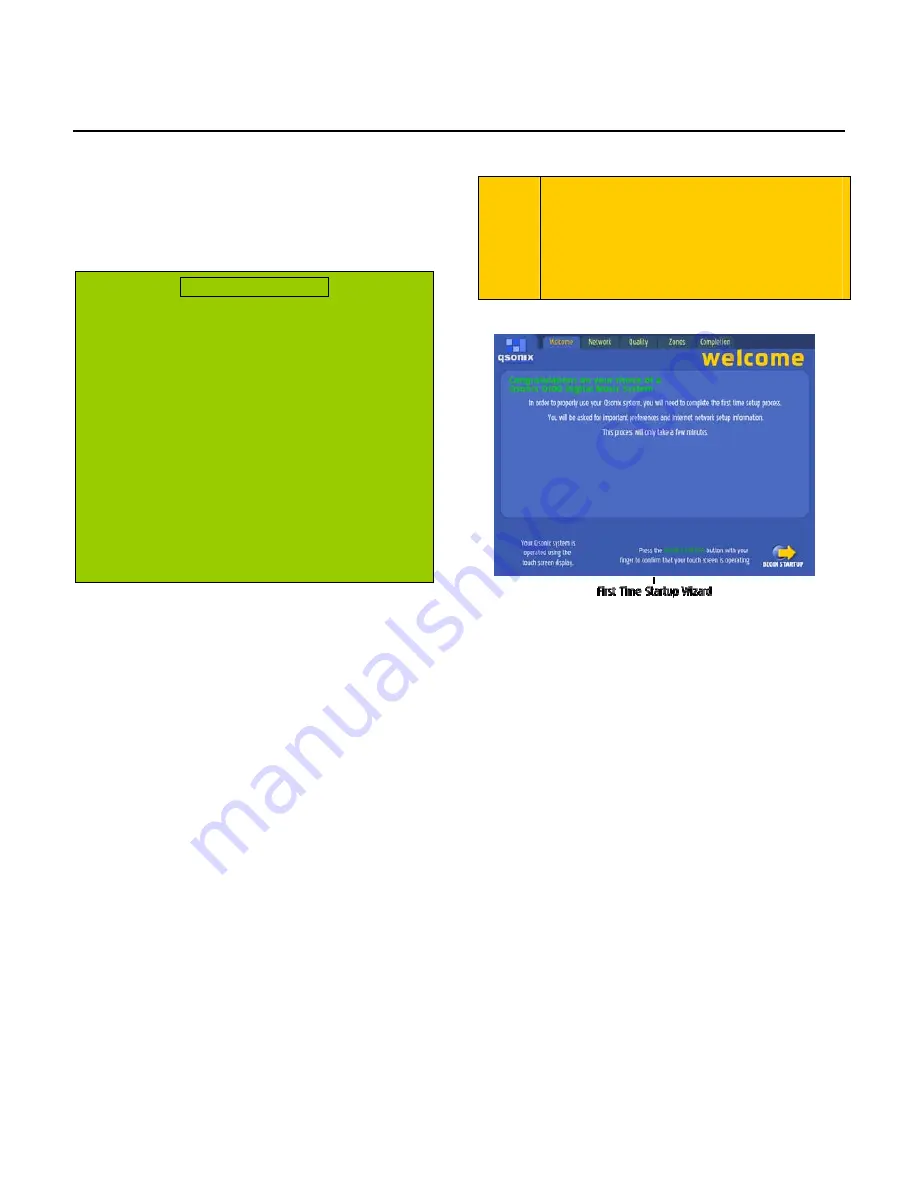
the BEGIN STARTUP button on the lower right corner of
the screen. This confirms that the touch screen is operating
and will initiate the
Welcome Screen
The Welcome Screen is the first in a series of steps that are
part of the “First Time Startup Wizard”. This will help you
to configure basic settings and preferences.
Follow the prompts through a series of five setup screens.
The process will only take a few minutes, but is important.
You will be asked for important preferences and network
setup information. Each screen must be completed before
you can begin using the system.
TIP:
The series of set up screens will instruct
you step by step. A comprehensive
reference to the Nostalgic Music Center,
its operation, configuration screens, and
procedures is covered in this manual.
Follow the on-screen instructions.
1.
You will be presented with the Qsonix End-User
License Agreement (EULA). Press the “Accept” button
to proceed.
2.
Set Date and Time – follow directions for setting.
3.
Network Settings – we recommend you choose
“AutoConfigure”. Otherwise, see the “Network
Settings” section of this manual. After the system has
gone through it’s routine, press next to proceed to
4.
CD Audio Quality – this is where you choose
compression preferences. You may change these
preferences at any time by accessing the toolbox. For
now, select one to continue with setup.
5.
Congratulation Screen appears when you have
successfully completed initial setup.
Testing Connectivity
If you successfully completed the initial setup for your
Nostalgic Music Center, your system has already tried and
passed the internet connectivity tests.
When you power-up your Nostalgic Music Center after
power has been off, the system will check connectivity as
part of it’s re-boot protocol. Other circumstances may also
I M P O R T A N T . .
When you first turn on your QB8-PV it will take
several minutes for the drive to boot up and go
through its initial routine.
It may shut down and then automatically reboot
again. When it finally comes on, a message will
appear on the screen with either
•
Two CDs showing or
•
“your collection is empty. Insert a CD in the
tray and begin loading”
Turn off the machine and wait 60 seconds.
Turn on the machine again to proceed to the
setup procedure, described below.
Summary of Contents for QB8-PV
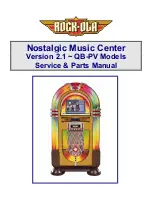
Page 1: ...Nostalgic Music Center Version 2 1 QB PV Models Service Parts Manual...
Page 48: ...48 Block Diagrams...
Page 58: ...58 Harnesses...
Page 59: ...59 Accessories Part No Description 02467 Wireless Bridge Kit 02466 Dial Up Modem Kit...
Page 60: ...60 61743 Nostalgic Music Center Version 2 1 QB PV Models Service Parts Manual...

