35
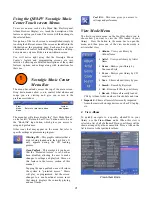
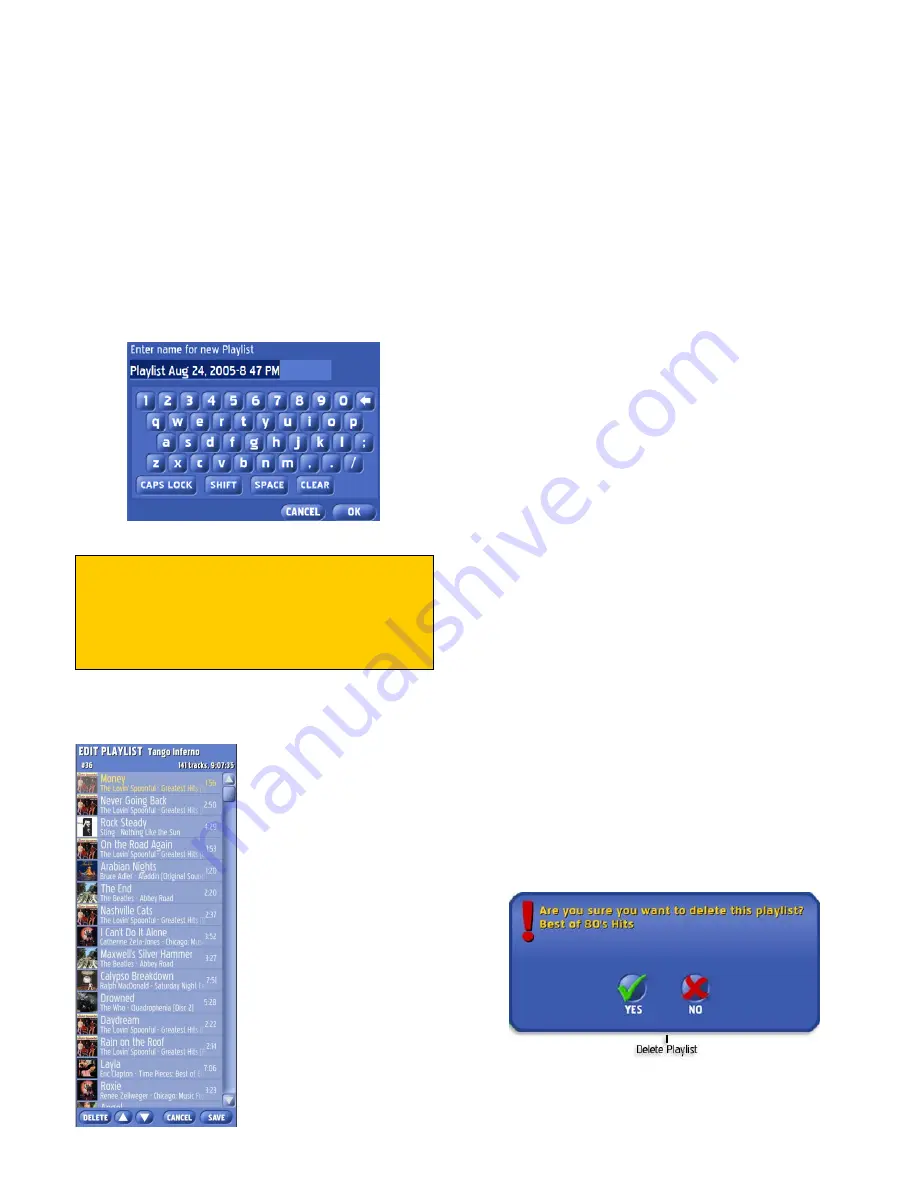
New (Add a new Playllist)
It’s easy to add a new playlist.
From the
Playlist Menu
, select the
New Playlist
option. The
“
New Playlist
” dialog and keyboard will appear on screen.
Use the touch keyboard to enter a descriptive name for the
new playlist you are creating.
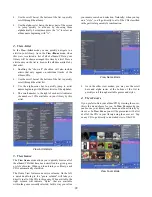
Tap the “
OK”
button.
The new playlist now appears in the “
Playlist Panel
” area in
alphabetical order.
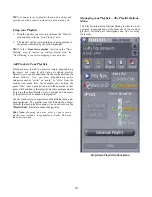
New Playlist Entry Pop-up
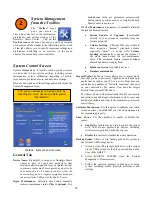
Edit Playlist Functions
Edit –
Taping the “
Edit
Playlist
” button from the
Playlist menu will display the
“
Edit Playlist
” interface. Here
you can see and edit the
contents of your playlist.
You can re-arrange the order
of songs, delete songs, and
even add new songs using
drag-and-drop.
You will receive a warning if
you attempt to perform a
function that is not allowed,
or if you exceed the playlist
size limit of 3000 tracks.
Delete –
Taping the “
Delete
”
button will delete the
currently selected song from
the playlist.
Move Up –
Taping the “
Move Up
” button will move the
currently selected song
up
one position in the playlist.
Move Down –
Taping the “
Move Down
” button will move
the currently selected song
down
one position in the
playlist.
Cancel –
Tap the “
Cancel
” button to exit the edit playlist
interface without saving any changes you made to your
playlist.
Save –
Tap the “
Save
” button to exit the edit playlist
interface and save all of your changes.
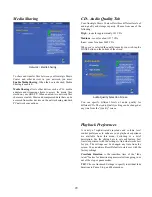
Rename a Playlist
The rename function allows you to rename an existing
playlist.
In the
Playlist Panel
, highlight the playlist you want to
rename.
From the
Playlist Menu
, select the
rename
option. The
“
Rename Playlist
” dialog and keyboard will appear on
screen.
Using the touch keyboard, enter a new name.
Tap the “
OK”
button to accept the new name or
“
CANCEL
” to leave the current name.
Clear or Delete a Playlist
Clear—
will ask for confirmation,
“Are you sure you want
to clear all tracks from this playlist?”
Delete –
To delete a playlist
In the
Playlist Panel
, highlight the playlist you want to
delete.
From the
Playlist Menu
, select the
delete
option. The
“
Confirm Delete
” dialog will appear on screen.
Be sure you want to delete the currently selected playlist,
and tap the “
Yes
” button.
If you are unsure, or do not want to delete the currently
selected, press “
No
”.
TIP:
Use the “
Sort by Date
” menu option in the
Playlist menu to sort your playlists by their
creation date.
Summary of Contents for QB8-PV
Page 1: ...Nostalgic Music Center Version 2 1 QB PV Models Service Parts Manual...
Page 48: ...48 Block Diagrams...
Page 58: ...58 Harnesses...
Page 59: ...59 Accessories Part No Description 02467 Wireless Bridge Kit 02466 Dial Up Modem Kit...
Page 60: ...60 61743 Nostalgic Music Center Version 2 1 QB PV Models Service Parts Manual...

