4
Contents
Installation Tools
The following is a list of suggested tools needed for installation:
Installation Considerations
This section focuses on some considerations for installing your Polaris
®
RZR
®
Front Subwoofer Enclosure. This manual will illustrate the
installation process with a 2016 Polaris RZR XP4 Turbo.
If you feel unsure about installing this system yourself, have it installed by
a qualified technician.
Before installation, disconnect the battery neg-
ative (-) terminal to prevent damage to the unit,
fire and/or possible injury.
Before beginning any installation, follow these
simple rules:
• Be sure to carefully read and understand the instructions before
attempting to install this motorcycle audio kit.
• Consult your UTV’s service manual for model specific information.
Models may differ from year to year depending on factory options and
aftermarket accessories added.
• This front subwoofer enclosure is specifically designed to work with
Rockford Fosgate’s Element Ready 10” subwoofers.
• With the addition of an amplifier or source unit, be sure that your
current charging system is in proper working order.
• Visit
rockfordfosgate.com
for more comprehensive installation
videos and product information.
• Ratchet
• 15mm Socket/Wrench
• 13mm Sock/Wrench
• Torx - T40
• (1) Front Subwoofer Enclosure
• (3) Enclosure Mounting
Brackets
• (1) Subwoofer Spacer Ring
• (1) Mounting Screw Pack
• (1) Latch Mount & Screws
• (1) 12 AWG Subwoofer Wire
• (1) 12 AWG Jumper Wire
• Installation Guide
Installation
Applicable Models:
2014 and up RZR
®
XP/XP4 1000
2016 and up RZR
®
XP/XP4 Turbo
2015 and up RZR
®
S/ XC / 4 900
The front subwoofer enclosure is designed to work with Rockford
Fosgate’s Element Ready 10” subwoofers, RFRZ-PMXWH1 and
RFRZ-K4D wire kits.
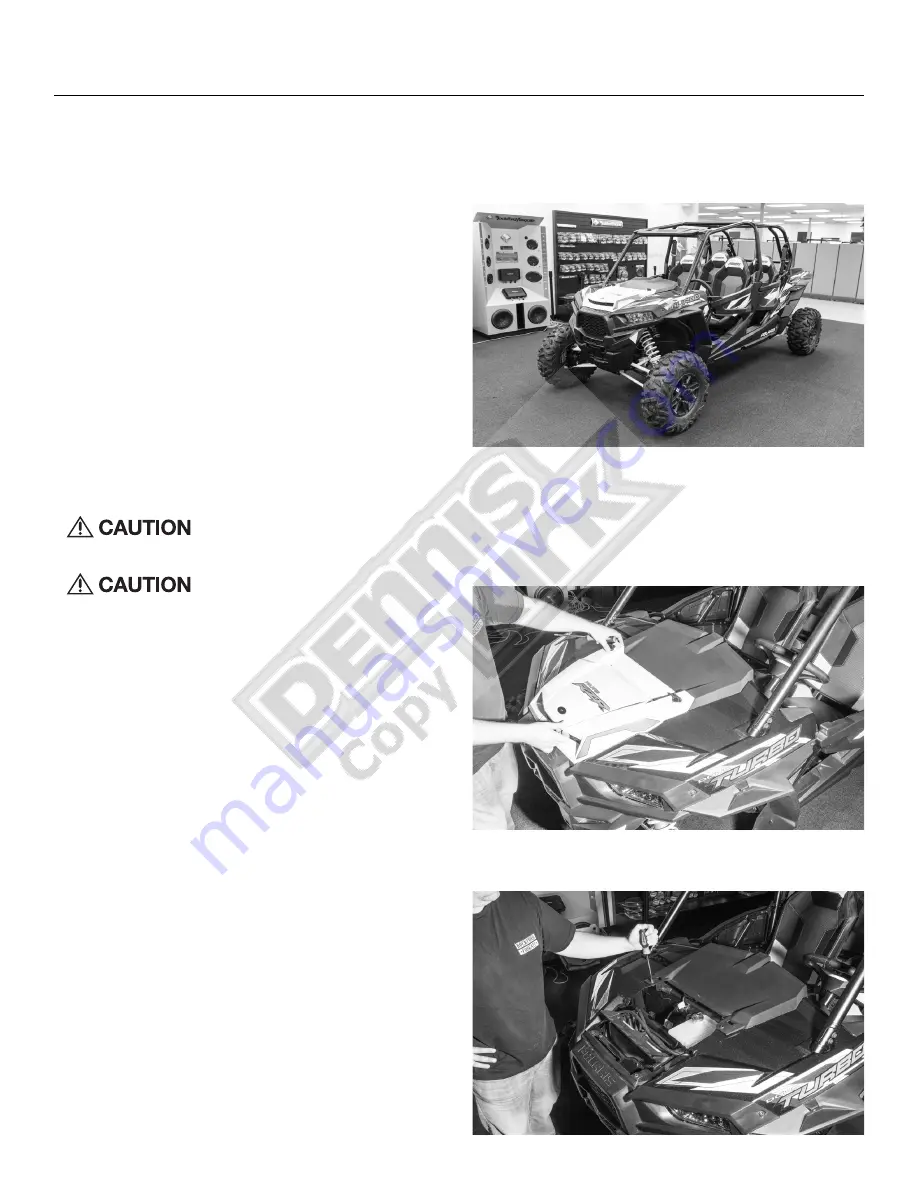
Step 1 - Remove Hood
Twist the two hood latches and slide toward the front of the vehicle
to release the hood.
Step 2 - Remove Top Dash Panel
Using your Torx screwdriver, unbolt the two factory bolts.


