26
Replace the crankcase with oil, follow
these steps:
1. Place the generator on elevated
pla�orm such as table or des
k, and warm
up the engine for several minutes. Then
stop the engine and turn the 3 in 1 switch
knob (Choke knob
) to “OFF” posi�o
n, fuel
tank cap air vent knob to “OFF”.
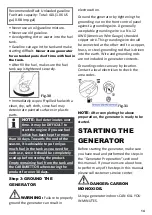
2. Remove the screws
①
and then
remove the access panel
②
.
Fig.53
3.
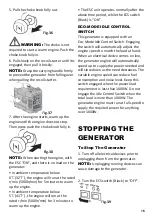
Unscrew the dips�ck from the engine
and set aside.
4. Place an oil pan under the engine.
Tilt the generator to drain the used oil
from the engine completely.Tilt some
more to ensure all oil is out of the
crankcase.
Fig.54
5. Replace the generator on a level
surface.Keep generator level!
CAUTION
Do not �lt the generator when adding
engine oil.
Til�ng the generator to assist
in filling will cause oil to fl
ow into engine
areas and will cause damage. Keep
generator level!
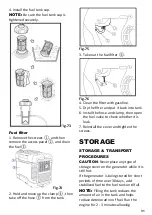
6. Fill the crankcase with fresh oil.
Using a funnel or appropriate dispenser,
add the correct amount of oil into the
crankcase. The engine is equipped with
a low oil pressure sensor and will not
start if the amount of oil is insu
fficient.
Fig.55
7. R
einstall the dips�ck.
CAUTION
Be sure no foreign material enters the
crankcase.
8. Clean any oil spillage before closing
the side panel.
9. Install the access panel an
d �ghten the
screws.
NOTE:
Never dispose of used motor oil
in the trash or down a drain. Please call a
local recycling center or auto garage to
arrange oil disposal.
DRAINING THE FUEL TANK
Clean fuel tank each year or before
storing the generator for extended
periods of �me. To d
rain the fuel tank
and carbure
�
or:
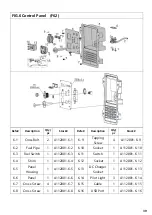
1. Turn the engine switch to “
STO
P”.
Fig.56
2. Remove the fuel tank cap, remove the
filter
.Carefully turn the generator over
to pour the gasoline in the fuel tank to
appropriate container.
3.
Once fuel is drained
, reinstall the fuel
cap.
Summary of Contents for R2000i
Page 35: ...35 WIRING DIAGRAM...


