36
Air Can Installation
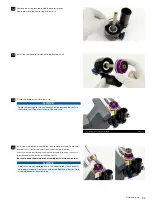
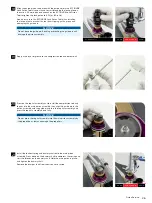
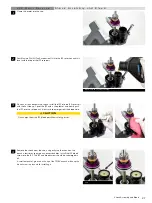
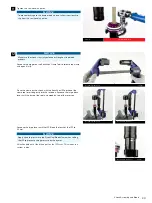
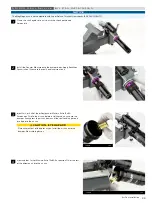
Clamp the yoke into a vise. Thread the damper assembly into the yoke
Clamp the yoke into a vise. Thread the damper assembly into the yoke
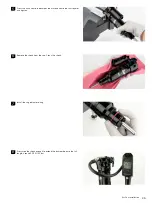
and tighten.
and tighten.
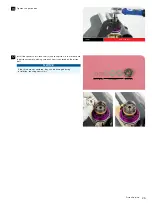
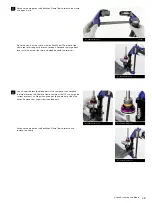
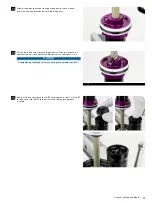
Tighten the set screw hand tight.
Tighten the set screw hand tight.
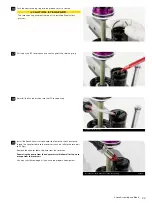
Install the shock onto your bicycle frame according to the bicycle
Install the shock onto your bicycle frame according to the bicycle
manufacturer's instructions.
manufacturer's instructions.
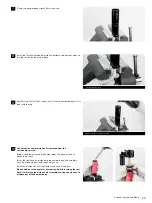
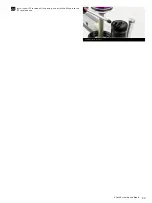
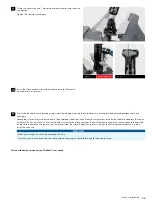
Pressurize the shock to the desired air pressure. After adding air to the shock, the pressure will need to be equalized between the shock
chambers.
Record the air pressure value on the pump, then unthread it from the shock. Slowly but firmly press or sit on the saddle to compress the shock
until there is a hissing sound. This sound indicates air transfer between chambers. Reinstall the pump and pressurize the shock to the desired
air pressure. Record the air pressure, then unthread it from the shock. Repeat this process until you reach the desired amount of sag, then
install the valve cap.
NOTICE
When pressurizing the shock, do not exceed 360 psi.
The pump must be removed from the shock prior to checking sag to avoid damage to the pump or frame.
This concludes the service for the ThruShaft™ rear shock.
9
25 mm
16.9 N·m (150 in-lb)
1.5 mm
10
11

