SECTION SIX
ROUTINE MAINTENANCE
Replacing printer paper roll
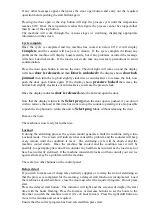
Access to the printer for changing the paper roll is provided by a hinged front panel. The
spring-loaded catch on the left hand side of the printer front panel should be depressed to
release the front panel. The paper roll carrier is mounted on the rear of the printer front panel
and will swing out from the main body for ease of roll changing see figure 1
1
If there is any paper left on the roll cut where it enters the mechanism and press the
feed button on the front panel to remove the paper from the mechanism. Do not pull
the paper by hand as this may damage the mechanism.
2
Remove the large retaining disk from the end of the paper holder and remove the core
and any remaining paper.
3
Cut the end of the new roll cleanly and slide it onto the carrier with the loose end
towards the front of the printer and feed the end up into the printer mechanism, press
and hold the paper feed button until the mechanism takes the paper and it starts to
appear from the front of the printer.
4
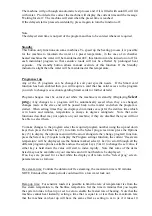
Ensure that the paper follows the correct path as per figure 2
5
Replace the retaining disk and close the printer.
Replacing printer ribbon
When the print becomes feint it is time to replace the ribbon
1
Tear off any paper that is projecting from the printer and open the mechanism as
above
2
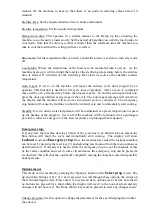
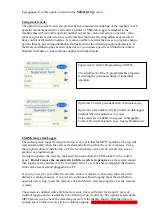
Press the side of the printer mechanism behind the main door release to swing the
mechanism away from the front panel see figure 3.
3
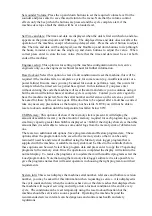
Press gently on the ribbon where indicated and the ribbon will pop up, carefully slide
it away over the projecting paper (figure 4)
4
Make sure that the new ribbon is not hanging loose, gently turn the knob on the
ribbon in the direction indicated if it is. Place the ribbon over the paper and slide it
down squarely onto its locations, the end with the knob should be pushed down first
and then a gentle push on the end marked push will allow the ribbon to click firmly
into position.
5
Close the printer mechanism and then the printer

