background image

www.rogerblackfitness.co.uk

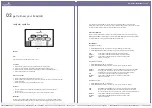
If you should encounter problems and need to stop the motor quickly, simply pull on the cord to
disengage the safety key from the console. To continue operation simply turn the power switch to off, set
the speed controller to stop and then re-insert the safety key into the console.

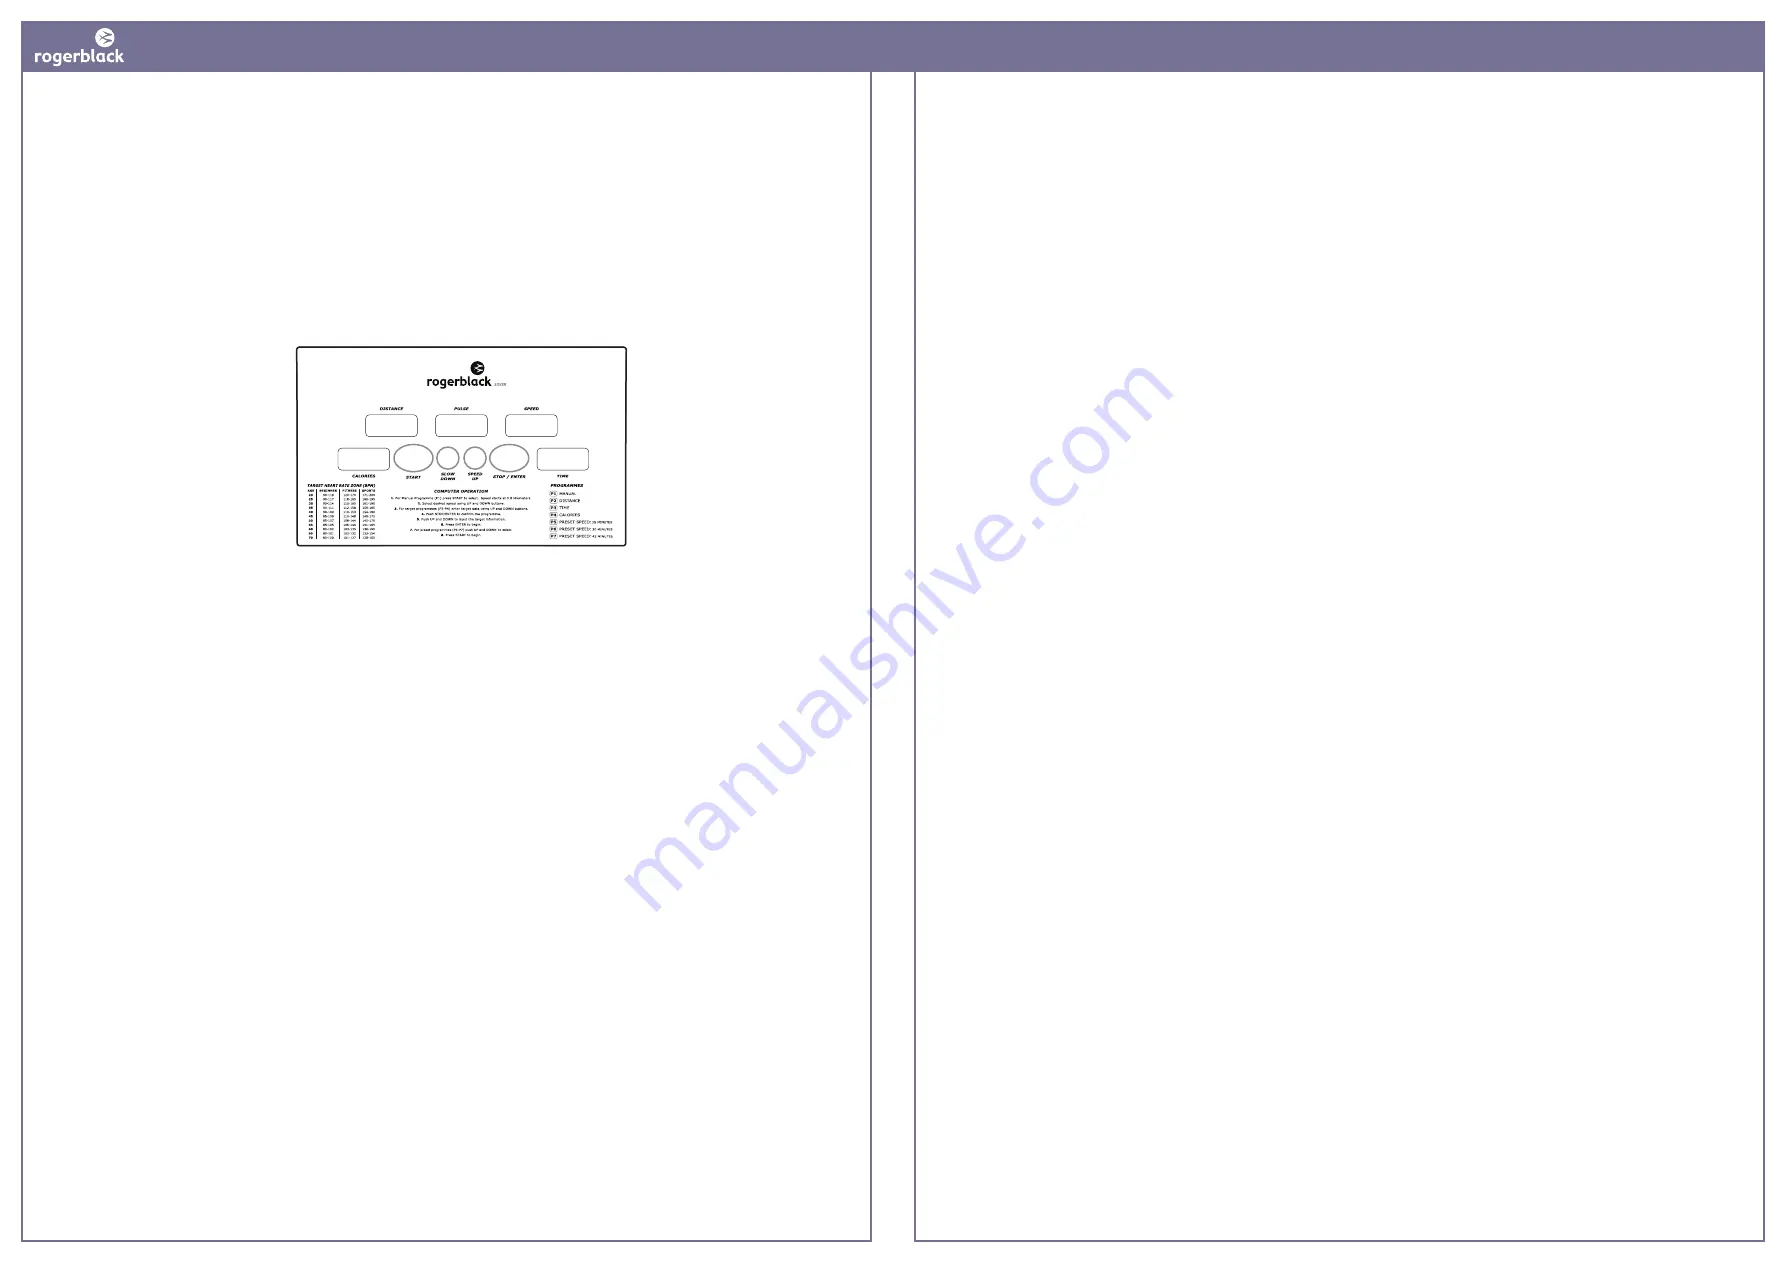
COMPUTER OPERATION

Power on monitor full display for 2 seconds. “P1” (manual) will blink in the upper right window, press
SPEED UP/SLOW DOWN keys for desired programme. Press STOP/ENTER to confirm selected programme
or press the START key directly to start exercise without a function value.

PROGRAMMES

PROGRAMME 1 - MANUAL

1. Press STOP/ENTER to confirm the programme and press START key to start exercise.
2. Press STOP/ENTER before starting exercise to run pre-setting procedure, with “P1” blinking.

TIME

Accumulates and displays workout time from start of exercise.

DISTANCE

Accumulates and displays workout distance from start of exercise.

CALORIES

Accumulates and displays calories consumed during workout time.

SPEED

Displays current speed.

PROGRAMME 2 - DISTANCE

1. Press STOP/ENTER to confirm the programme.
2. Press STOP/ENTER before starting exercise to run preset procedure with “P2” blinking.

DISTANCE

Press SPEED UP/SLOW DOWN to preset the distance target values and press START.

DISTANCE

Count down from preset target value. While distance counts down to 0 (zero),
speed goes down to 0 (zero) by 0.5km/ per second (preset target reached).

TIME

Accumulates and displays workout time from start of exercise.

CALORIES

Accumulates and displays calories consumed during workout time.

SPEED

Displays current speed.

PROGRAMME 3 - TIME

1. Press STOP/ENTER to confirm the programme.
2. Press STOP/ENTER before starting exercise to run preset procedure with “P3” blinking.

TIME

Press SPEED UP/SLOW DOWN keys to preset time target value and press START.

TIME

Count down from preset target value when starting exercise. While time counts
down, the speed goes down to 0 (zero) by 0.5km/ per second (preset target reached).

DISTANCE

Accumulates and displays workout distance from start of exercise.

CALORIES

Accumulates and displays calories consumed during workout time.

SPEED

Displays current speed.

02

get to know your treadmill

computer operation

BUTTONS

START

Press to start exercise at initial speed 0.8 km/ 0.5mi.

STOP/ENTER

1. Press to confirm program and preset function values under setting mode.
2. Press to quit preset program and function value after complete single program
3. Setting procedure: returns to beginning of setting mode before pressing the START key.
4. Press to stop exercise during workout time.

SPEED UP/SLOW DOWN

1. Press to increase/decrease exercise speed by 0.1km/ mi.
2. Hold the button to increase/decrease rapid speed by 0.5km/ mi per second and release the button

to stop the function.

3. Press to select programs and preset related function value.

IMPORTANT

The console display will turn itself off automatically about five minutes after the belt has
stopped moving.

The pulse function is for reference only, and not to be used for medical purposes.

SAFETY KEY

The safety key must be inserted into the slot on the console in order to operate the treadmill. Always
insert the safety key and attach the clip to your clothing at your waist before beginning your workout.

Fig. 16

PDF compression, OCR, web optimization using a watermarked evaluation copy of CVISION PDFCompressor

Summary of Contents for Silver AG-11301

Page 1: ...SILVER TREADMILL AG 1 fit for life with Roger Black 1301 PDF compression OCR web optimization using a watermarked evaluation copy of CVISION PDFCompressor ...
Page 2: ...more radiant skin greater cardiovascular efficiency a higher metabolic rate and improved body posture all of which will result in a healthier and much more enjoyable lifestyle So enjoy your workouts and maybe the next time you run up the stairs you will feel Fit for Life 01 assembly Your treadmill will require a small amount of assembly You will find everything you need included in the box Invite ...

Page 3: ... earthed circuit When replacing the fuse an ASTA approved BS 1362 type should be fitted to the fuse carrier A 13 amp fuse should be used No other appliance should be on the same circuit 12 If you need an extension cord use only 14 gauge cord of 1 5m or less in length 13 Keep the power cord away from heated surfaces 14 Never move the walking belt while the power is turned off Do not operate the tre...

Page 4: ...6 Extruded Rail Left 1 7 Front Roller 1 8 Front Roller Shaft 1 9 Rear Roller 1 10 Rear Roller Shaft 1 11 Wooden Deck 1 12 Drive Belt 1 13 Main Frame 1 14 Front Shroud 1 15 Control Board 1 16 Motor Bracket 1 17 Motor 1 18 Motor Bottom Cover 1 19 Handlebar Grip 2 20 Handlebar 1 21 Computer 1 22 Hand Pulse Sensor 2 23 Console Top 1 24 Console Button 1 25 Upright Right 1 26 Upright Left 1 27 Base Fram...

Page 5: ...41 42 40 41 42 40 41 40 42 11 41 42 40 41 42 40 42 40 41 39 38 10 38 39 37 37 12 39 55 66 65 65 66 8 6 3 5 5 2 5 3 9 1 2 2 2 2 3 2 1 2 1 8 0 3 7 5 3 5 9 5 0 6 6 3 9 6 3 6 3 5 1 6 4 6 4 3 4 3 2 3 2 3 8 5 8 5 7 5 7 5 7 5 7 5 8 5 7 5 8 6 3 5 6 2 9 1 5 3 4 2 3 3 2 5 3 5 6 5 3 5 2 5 3 5 3 3 3 5 6 5 9 5 3 5 3 5 9 5 9 5 3 5 9 5 3 5 2 6 9 5 3 5 3 5 2 6 9 5 2 8 4 5 Fig 3 Parts diagram 1 Fig 4 Parts diagram...

Page 6: ...th Washers 53 and Bolts 59 and 68 Fig 6 step 2 Rotate up the Handlebar 20 and secure with Washers 53 and Bolts 59 step 3 Insert the Water Bottle Holder 81 to Console 23 as shown Fig 5 Fig 7 Fig 6 Fig 8 3 2 1 8 3 5 9 5 53 59 5 2 6 2 3 5 8 6 9 5 3 5 1 2 PDF compression OCR web optimization using a watermarked evaluation copy of CVISION PDFCompressor ...
Page 7: ...the release lever TO PREVENT INJURY BE SURE YOU HAVE A FIRM HOLD ON THE DECK BEFORE RELEASING THE LOCK Slowly lower the deck until it rests securely on the ground incline adjustment instructions The silver treadmill is designed with a 3 level manual incline adjustment To adjust the incline simply lift up the rear end of the treadmill then rotate the elevation stabilizer to the desired level NOTE I...

Page 8: ...isplays current speed PROGRAMME 3 TIME 1 Press STOP ENTER to confirm the programme 2 Press STOP ENTER before starting exercise to run preset procedure with P3 blinking TIME Press SPEED UP SLOW DOWN keys to preset time target value and press START TIME Count down from preset target value when starting exercise While time counts down the speed goes down to 0 zero by 0 5km per second preset target re...

Page 9: ...t speed Note You can change the speed of any of the flashing sections however when the next section flashes the speed will revert to the Pre set Speed maintenance Proper maintenance is very important to ensure your treadmill is always in top working condition Improper maintenance could cause damage or shorten the life of your treadmill and exceed the LIMITED WARRANTY coverage Important Never use a...

Page 10: ...ne cleaning of your treadmill will extend the product s life Warning To prevent electrical shock be sure the power to the treadmill is OFF and the power cord is unplugged from the wall electrical outlet before attempting any cleaning or maintenance Important Never use abrasives or solvents to clean the treadmill To prevent damage to the computer keep liquids away and keep it out of direct sunlight...

Page 11: ... quickly and you breathe deeply This type of exercise is called aerobic exercise How fast should your heart beat during aerobic exercise Fast enough to reach and stay in its target zone a range of beats per minute that is largely determined by your age and physical condition To make sure your heart is beating in its target zone you ll need to know how to monitor your heart rate The easiest way is ...

Page 12: ... an authorised service centre products used for commercial or rental purposes or products used as store display models No other warranty beyond that specifically set forth above is authorised The manufacturer is not responsible or liable for indirect special or consequential damages arising out of or in connection with the use of performance of the product or damages with respect to any economic l...

Page 13: ...r spin bike AG 10221 Gold cross trainer AG 10212 Silver cross trainer AG 10211 Gold rower AG 10402 Silver rower AG 10401 For information on the Roger Black Medal Series visit www rogerblackfitness co uk For technical support call the Roger Black Technical Support Line on 0845 600 0464 or email support rogerblackfitness co uk SILVER TREADMILL AG 11301 PDF compression OCR web optimization using a wa...

Reviews: