Getting Started
R&S
®
NGA100
23
User Manual 5601.8919.02 ─ 03
The rear panel connector contains both output ("F+", "F-") and sense ("S+", "S-") con-
nections. Connector for "Ch 2" is only available in the NGA102, NGA142 models.
Kensington security slot (13)
A Kensington lock can be anchored to the R&S NGA100 power supply housing to
secure it to a workstation mechanically.
4.2.1.3
Bottom Panel
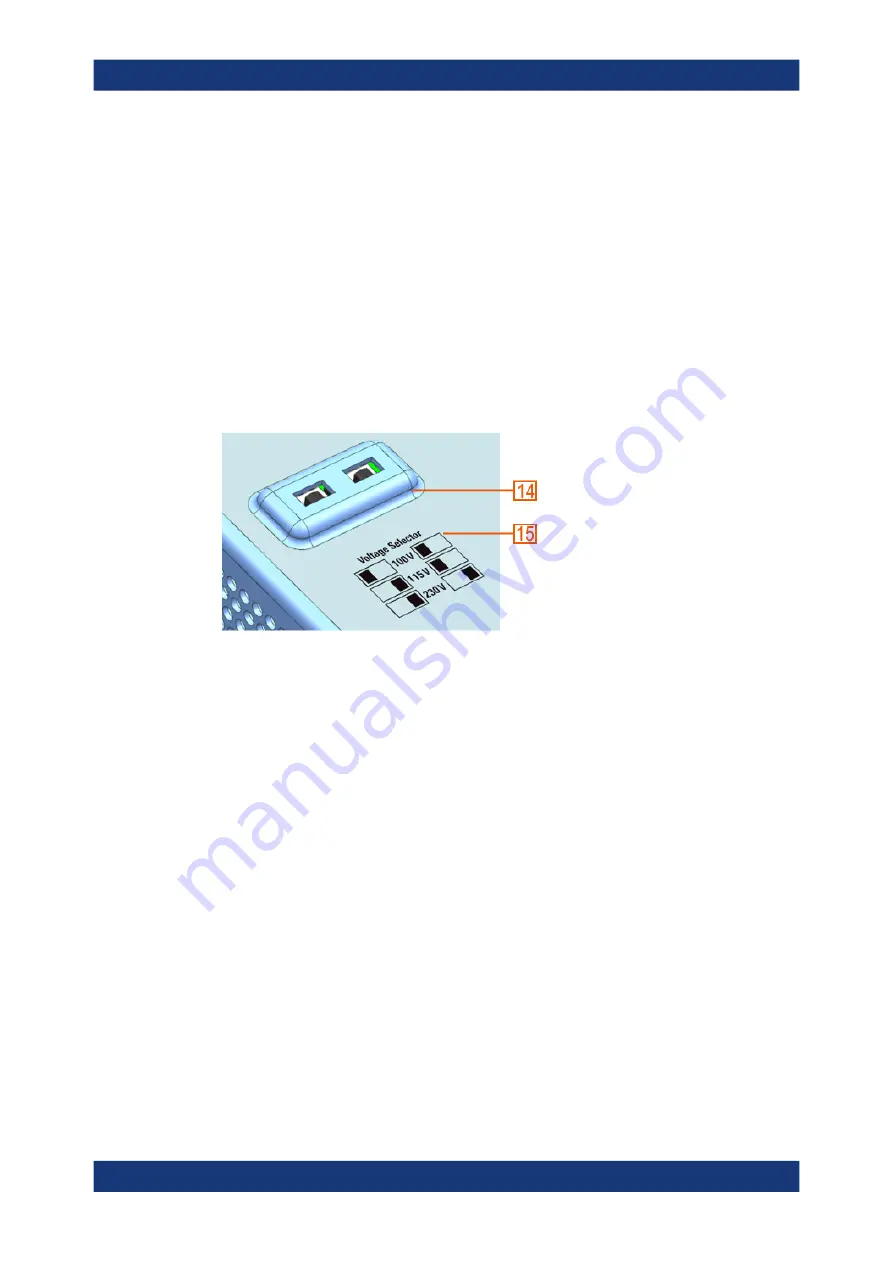
The voltage selector is located at the bottom panel. On your first power-on connection,
you should see a yellow label sticker attached over the
. Before peeling off the
yellow label sticker, make sure that the correct fuse rating is used for the mains volt-
age.
Figure 4-4: Bottom panel of R&S NGA100
14 = Voltage selector
15 = Voltage selector label
Voltage selector (14), Voltage selector label (15)
The voltage selector selects the mains voltage between 100 V, 115 V and 230 V. See
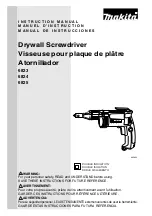
To set the correct fuse rating, use a tool e.g. a flat screwdriver to move the selector
according to the voltage selector label.
●
To select 100 V, slide both voltage selector to the left
●
To select 115 V, slide both voltage selector facing inward
●
To select 230 V, slide both voltage selector to the right
4.2.2
Switching On the Instrument
Before switching on the instrument, check that all the instructions in the “Basic Safety
Instruction” brochure and safety measures in previous sections are observed.
Also, check if the value on the voltage selector corresponds to the mains voltage (100
V, 115 V or 230 V).
Instrument Tour


