R&S OSP
Instrument Functions
Graphical User Interface
Quick Start Guide 1505.3896.62 - 14
125
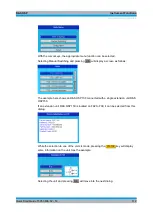
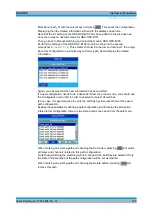
Mark Panel_path_01 with the cursor keys and press
OK . This saves the configuration.
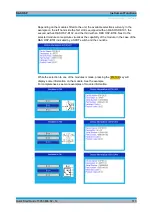
Displaying then the related information will lead to the display shown here.
Note that the K1 setting of the R&S OSP-B102 has been added to the previous one
since there was no deselect made for R&S OSP-B101.
Then go back to Manual switching and select the module R&S OSP-B103.
Perform the settings of the R&S OSP-B103 module as shown in the second
screenshot in
chapter 5.3.6
. This selects channel 6 to be low and channel 7 to be high.
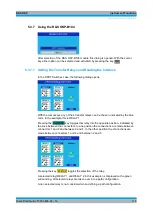
Save this configuration in a similar way to Panel_path_02 and display the related
information.
Again, you observe that the new information has been added.
If a new configuration needs to be independent from the previous one, you should use
the Configuration menu first in order to deselect or select all switches.
In any case, it is good practice to verify the settings by close inspection of the saved
path configuration.
Besides the possibilities for defining a path configuration and to display the information
related to this configuration, there are two more actions one can do from the path menu.
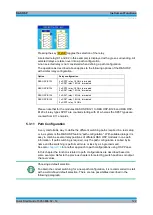
When marking an existing path and choosing the Set button, pressing OK will switch
all relays and channels related to this path configuration.
Note that performing the switching will not change which switches are selected. Only
the state of the switches of the path configuration will be set as desired.
When marking an existing path and choosing the Delete button, pressing
OK will
remove this path.
Summary of Contents for OSP-B011
Page 132: ......


