R&S OSP
Preparing for Use
Remote Operation in a LAN
Quick Start Guide 1505.3896.62 - 14
26
Switch on the R&S OSP120 with Monitor and Keyboard connected (not applicable to
the OSP130)
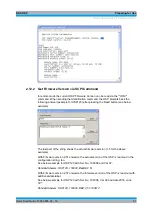
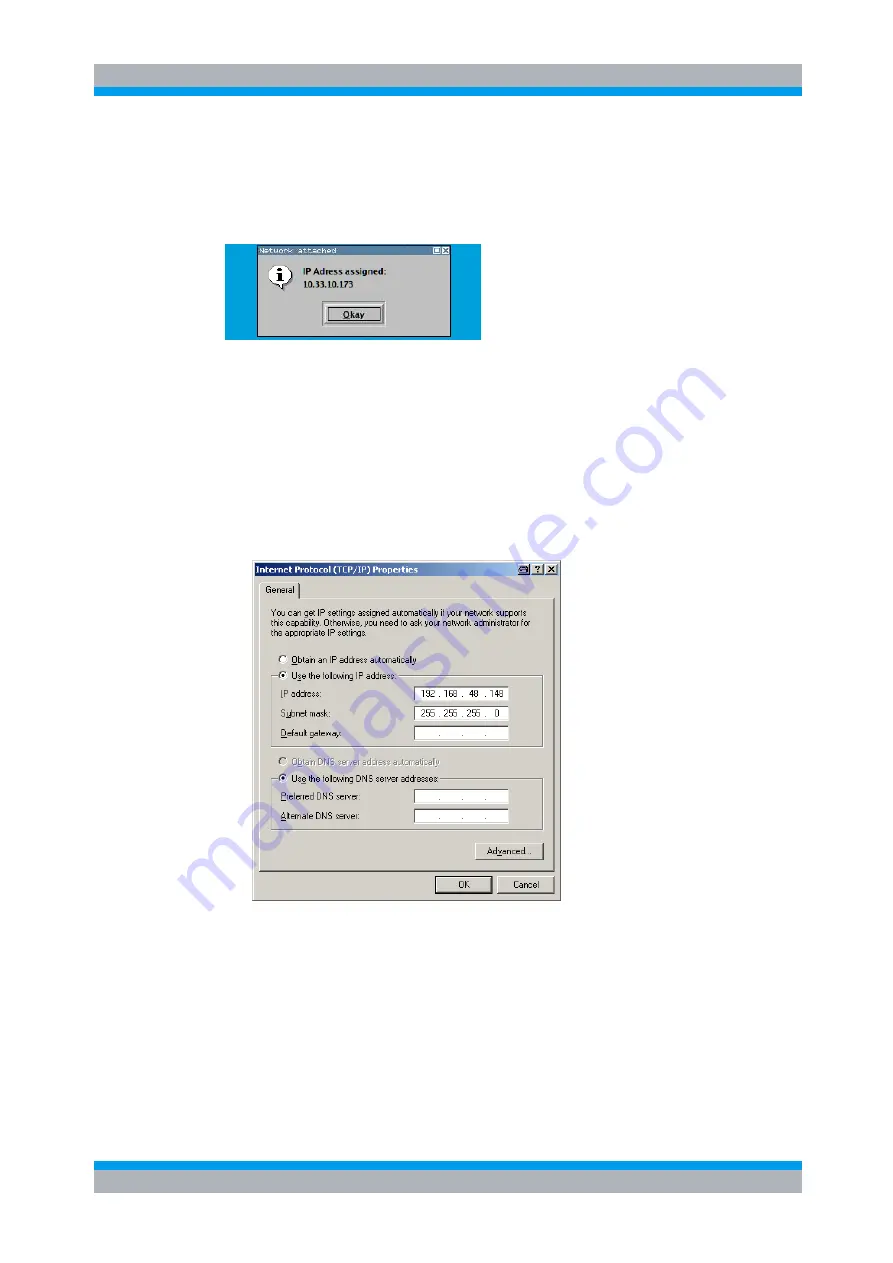
At the end of the booting process, the IP address will be displayed as shown below for
the OSP120 and the OSP130. The values of the IP address shown are only examples.
Press Okay button or the ENTER key on the keyboard (OK key for the R&S OSP130)
for confirmation and to continue the operation.
Manual TCP/IP configuration
If your network does not support DHCP, proceed as follows:
1.
Connect the R&S OSP120 or OSP130 via a cross-over RJ-45 cable to your
computer (or network not supporting DHCP).
2.
Set the network configuration of your computer to work with a static IP address.
The following setup is recommended:
3.
Switch on the R&S OSP and wait until boot-up is finished.
The R&S OSP now can be accessed under its default IP address from your computer.
Summary of Contents for OSP-B011
Page 132: ......

