R&S OSP
Getting Started
Connecting R&S OSP and PC
Quick Start Guide 1505.3896.62 - 14
33
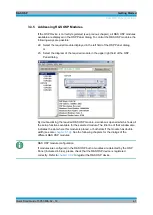
Figure 3-3: Operation of R&S OSP120/130 by OSP Panel software or Web-GUI
Chapter 3.2
gives a short overview on the OSP Panel operation via LAN:
●
●
●
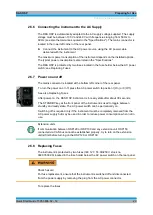
Risk of shock hazard and instrument damage
Before starting any measurement on your R&S OSP, please note the instructions given
in
chapter 2
In
chapter 4
Manual Operation, you find information on customizing the instrument
according to your personal preferences.
The operating manual also provides information on typical applications of the
R&S OSP platform.
In the following, we assume that you are familiar with standard Windows dialogs and
mouse operation.
3.1 Connecting R&S OSP and PC
Please read
chapter 2.9.1
for understanding the possibilities of IP address
assignments. The following setup describes the connection of the R&S OSP120 or
R&S OSP130 within a dedicated network; i.e. the connection to a single computer, in
case you are not using the dynamic TCP/IP configuration (DHCP).
When using the dynamic TCP/IP configuration (DHCP), these steps are not required.
To set up a LAN connection, proceed as follows:
●
Connect the R&S OSP to the computer using a cross-over RJ-45 cable:
Ensure that the network configuration of the computer is set to the required
protocol. Select >Settings >Control Panel >Network Connections. Select the
properties of the active interface, then the properties of the TCP/IP protocol, and
set the following IP address:
Summary of Contents for OSP-B011
Page 132: ......


