www.rohlhome.com
Bath Fixtures
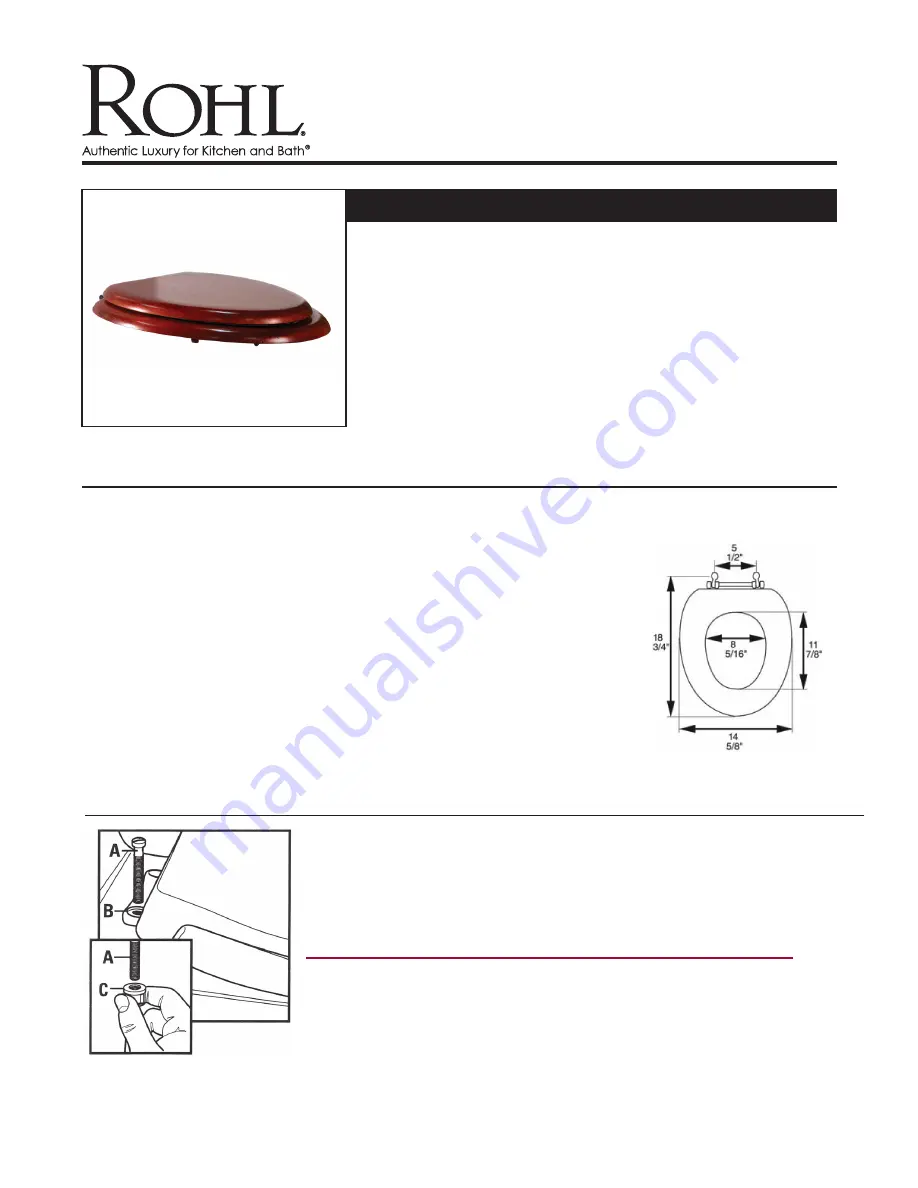
decorative toilet Seat
RS2860
FEATURES
• Mahogany closed front with cover
• Solid Oak construction
• Piano finish – Durable prevents warping
and cracking
• Non Corrosive hinge post and hardware
• Ring thickness: 1”
• Ring Thickness with Bumper: 1 3/8”
• Height of Seat with Cover: 2 3/4”
ColoRS/FiniShES
• Polished Chrome
• Polished Nickel
• Satin Nickel
• Tuscan Brass
• Inca Brass
• Antico Brass
• English Bronze
WARRAnTy
• Limited Lifetime
Consult your local ROHL showroom for additional information and specifications. For complete warranty details and a list of showrooms, go to www.rohlhome.com.
1. Carefully remove old seat.
2. Place new toilet seat on toilet bowl.
3. Make sure that the hinge bolts (A) are inserted through or connected to the seat hinge (B).
4. Insert hinge bolts (A) through the holes in the rear of the toilet bowl.
5. Place the nuts (C) on the hinge bolts (A) and tighten until the nut is firmly seated.
Important:
Do not over tighten the nuts as this could crack the toilet bowl.
CLEANING INSTRUCTIONS
IMPORTANT INSTRUCTIONS FOR MAINTAINING THE FINISH
When cleaning your toilet seat, wash it only with mild, soapy water. Rinse the seat
thoroughly with clean water and dry with a soft cloth. This will help keep your seat looking
new for years to come.
NEVER
use abrasive scouring powders or detergents, disinfectants,
or cleaning products in aerosol cans as they can damage your seat’s lustrous finish. In addition, some bathroom chemicals
and cosmetic products may damage the seat’s finish so use proper caution.
RS2860 INSTALLATION
We hope you are pleased with your new purchase. If you have any questions, feel free to contact our ROHL Customer
Service Department at (800) 777-9762. For warranty related claims, please contact your local ROHL retailer or showroom
where you purchased this product.
ROHL LLC • 3 Parker Irvine, CA 92618 • 800-777-9762 • www.rohlhome.com


