5 Unpacking and Installation
202206261124/V0.1
24
xMate CR12Hardware Installation Manual
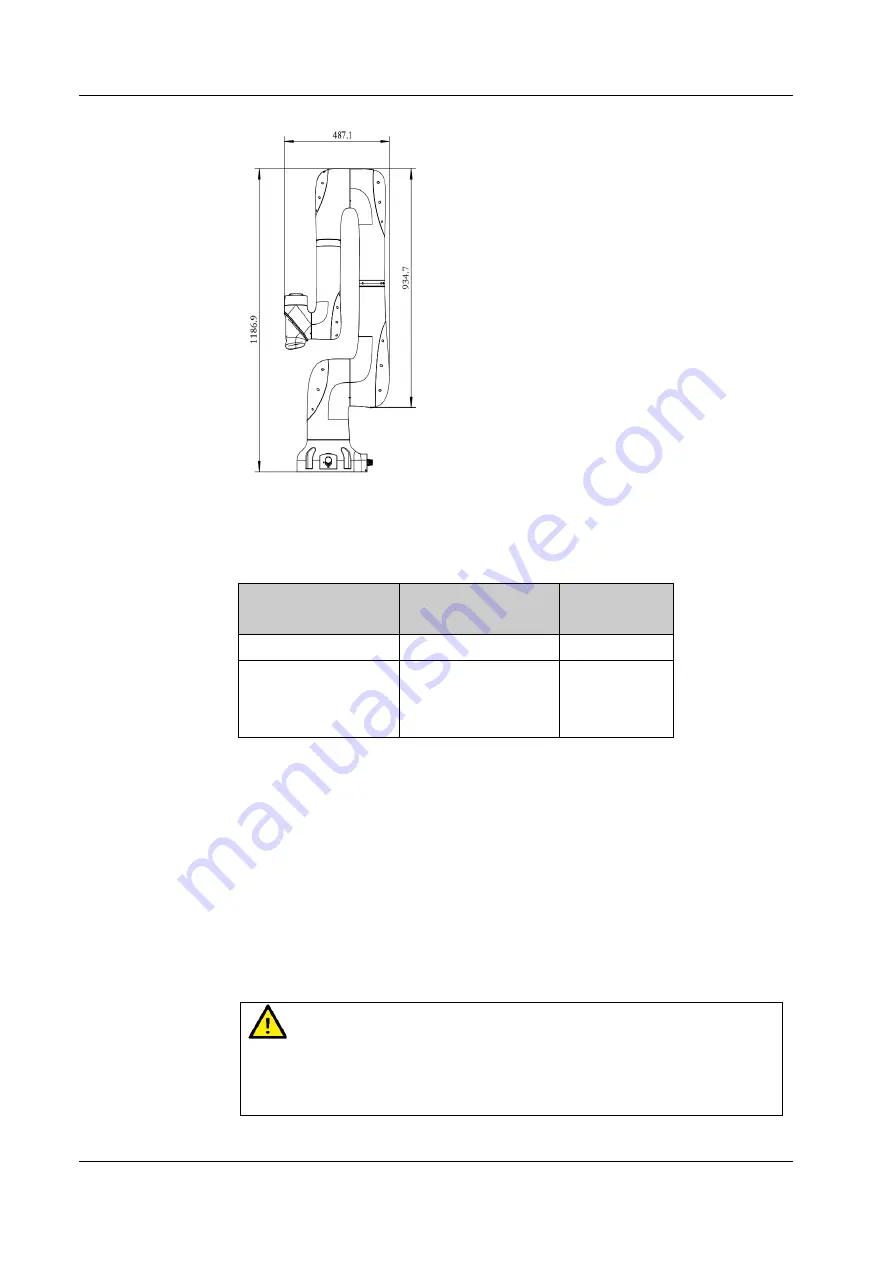
Figure 11. Reference transportation dimensions of the robot
5.5.2
Robot installation
5.5.2.1
Parts required for fixing
Part name
Description
Bracket
installation
Socket head cap screw
4-M12x35 (Grade 12.9)
✔
Mounting seat
Mounting plate
thickness: At least 25
mm
✔
Notes:
1.
No insulating layer is allowed between the fixing plate/mounting seat and the
manipulator/concrete.
2.
“
✔
" indicates that the item is required for the installation.
3.
The fixing strength of the mounting bracket should not be lower than that of the robot
fixing plate and the foundation in the foundation installation.
5.5.2.2
Bracket installation
Here is the specific fixing method: Use pins in the reserved cylindrical pin holes for accurate
positioning. Then use four M12x35 socket head cap bolts (strength grade 12.9) to fix the
robot's base to the bracket.
Warning
Please note that the bolts of the base must be tightened with a torque of 150 Nm to
ensure that the robot is properly secured in place. Any unstable installation may result
in accidents.
Summary of Contents for xMate CR12
Page 1: ...xMate CR12 Hardware Installation Manual...
Page 2: ......
Page 8: ......
Page 48: ......
Page 53: ......


