2.
Press the option from 1-5, or move through the list using the
keys until you find the desired option and then
press
.
3.
Select the required Zone, Utility Output or User.
4.
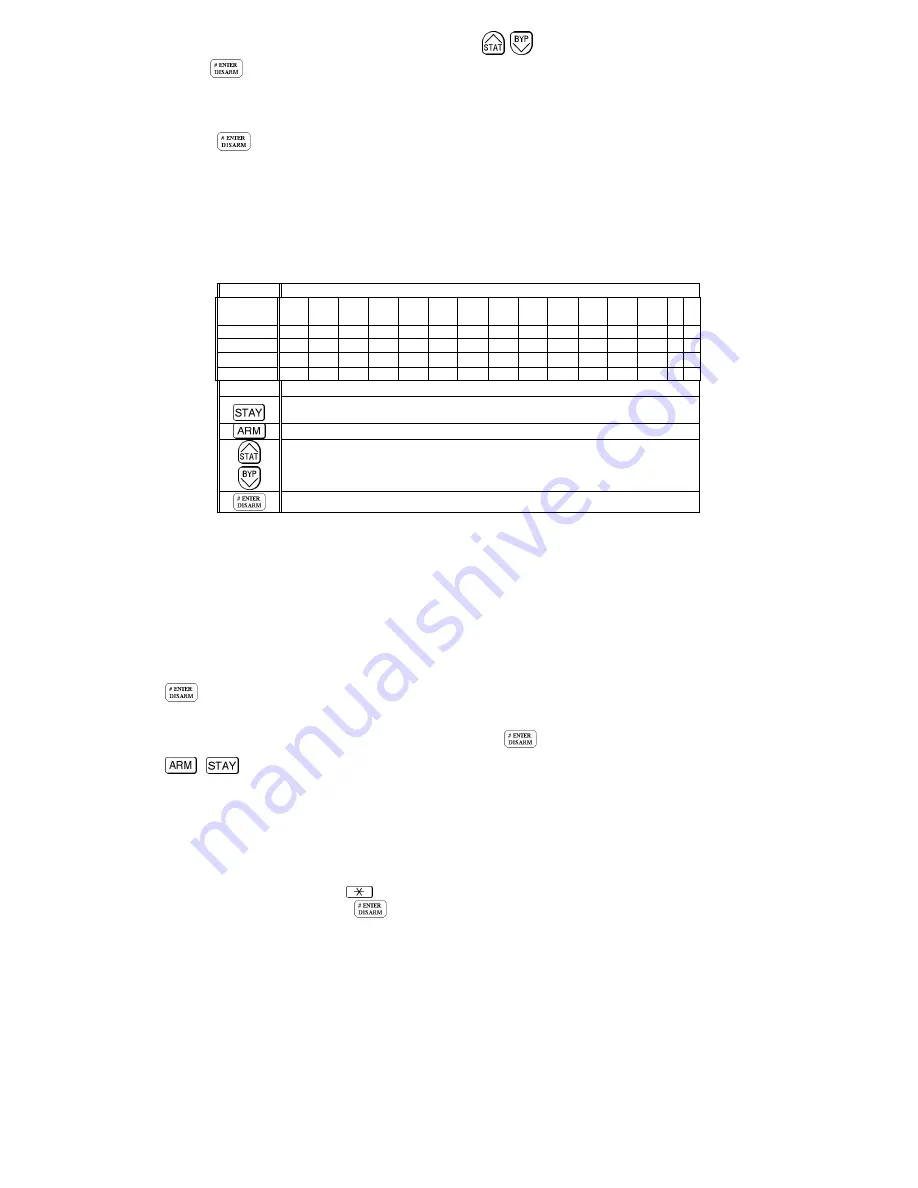
Use the keys on the keypad to produce characters according to the table below.
5.
Press
to store the data in memory.
Ø
Entering A New Label
To enter a new label, use the keys to produce characters according to the table below. Pressing a particular key toggles among
the characters available from that key.
Note:
The data sequence of each key in the following table is suitable for the English version only.
KEY
DATA SEQUENCE
1
1
A
B
C
D
E
F
G
H
I
J
K
L
M
2
2
N
O
P
Q
R
S
T
U
V
W
X
Y
Z
3
3
!
&
:
.
?
/
(
)
4
4
a
b
c
d
e
f
g
h
i
j
k
l
m
5
5
n
o
p
q
r
s
t
u
v
w
x
y
z
6 - 0
Each of these keys toggles between producing their number and a blank space
Use this button to move forward through the available characters
Use this button to move backward through the available characters
To move the cursor to the left, press the UP arrow button
To move the cursor to the right, press the DOWN arrow button
To enter a completed label into the system, press this button
3.
Installer Programming.
Your Installer uses this option to program all the system parameters.
Ø
1.
From the
Main User Functions
menu press
[
Þ
Þ
] [0] [3
]
2.
3.
Once the Installation Menu is accessed you are prompted to enter a 3-digit programming location number followed by
which represents the parameter to be programmed. The location you entered is displayed on the top and is
followed by the current data.
4.
To modify or enter new data, use the numbered keys followed by
. To enter hexadecimal digits (A-F), use the
/
keys.
Notes:
1.
For full description of the programming locations and data options refer to the Orbit-
2.
The automatic return to the
Main User Menu
is suspended until you exit the
Installer Menu
as described below.
Ø
Exiting the installer menu
1.
To exit the Installer Menu, press
from a programming location number screen.
2.
Enter the Installer code and press
. The keypad sends a confirmation beep.
Installer Notifications:
Ø
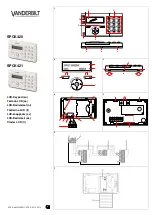
Mounting the Keypad
Connect the four wires from the keypad to the first four corresponding terminals on the Orbit 14 panel according to the color
coding of the wires as indicated on the panel. When using cables to connect between the panel and the keypad, be sure to
make the connections according to the color-coding. (The maximum distance between the keypad and the Orbit 14 panel is
200 meters.)
Ø
Panic Button Wiring
Connect the white wire and the black wire (COM) from the keypad to a panic button. (The maximum distance between the
panic button and the keypad is 30 meters.)


