6
5
2
1
3
4
Let’s get started
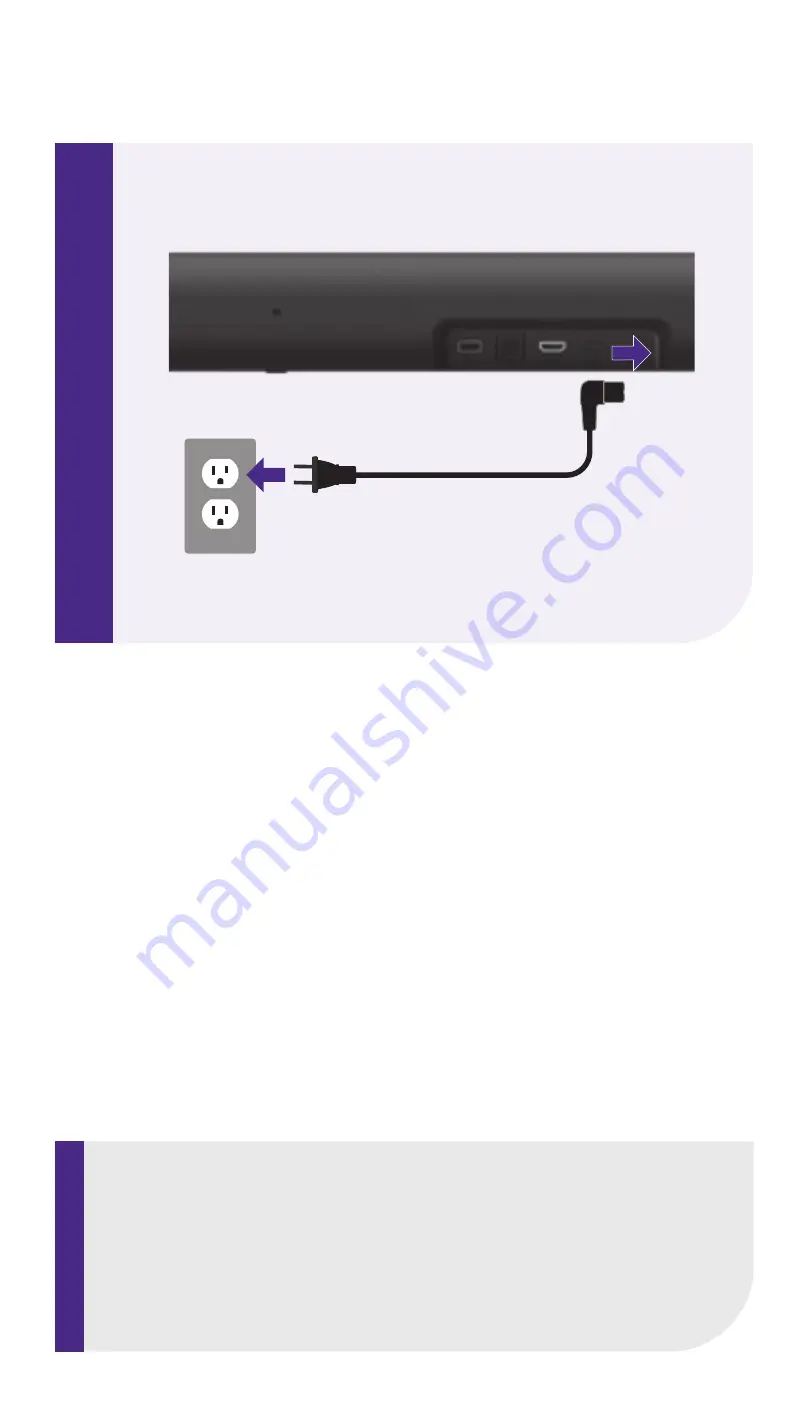
STEP 2: Connect to power
Use the included power cable to
connect your Roku Streambar Pro
to a wall outlet.
STEP 3: Connect to TV
Connect your Roku
Streambar Pro to the
HDMI port on your TV
labeled “
ARC
” with the
included cable.
Don’t see an HDMI-ARC port?
Use the included optical cable
along with the HDMI Cable to
connect.
Remember to remove
the plastic caps before use!
I
HDM
STEP 4: Select input
Use the remote that came with
your TV to select the HDMI input
(source) you used to connect
your Roku Streambar Pro.
Antenna
A/V 1
HDMI 1
HDMI 2
Input
STEP 5: Insert batteries
Slide open the cover on the
back of your remote and
insert the included Duracell®
batteries. Your remote will
pair automatically.
STEP 6: Follow on-screen setup
Follow the instructions on your TV
screen. Activate your Roku Streambar
Pro by using your computer or
smartphone to link to a Roku account.
TIP:
Place your Roku Streambar Pro at
the front edge of your TV stand for
the best sound experience.
IMPORTANT:
Roku does not charge for activation
support –
beware of scams
.
Let’s get started
English
Deutsch
Español
Français
12:40 pm | Options
HDMI
(ARC)
HDMI
All other TVs
You may need to enable your
TV’s HDMI-CEC and ARC
settings.
TV manufacturers use
different names for these
settings. For help, visit
go.roku.com/streambarpro
Premium High Speed
HDMI® Cable
Optical cable (optional)
Only use if your TV does not
have an HDMI-ARC port.
What’s included
Details
Back
Remote
STEP 1: Adjust TV settings
Have a Roku TV?
Simply use the remote that
came with your Roku TV
TM
and
follow
steps 2 and 3
. The rest
is automatic, even linking your
Roku account.
OR
Roku Streambar Pro
9101R2
Power cable
Remote
RC651
Volume
Options
Personal
shortcuts
TV power
Instant replay
Channel
shortcuts
Mute
Voice
Headphone
jack
Power
Plug in to
the side
HDMI-ARC
Optical
USB 2.0
Reset
Two AA
Duracell
®
batteries
Headphones for
private listening


