15
Mar. 2008
GT-10
Verifying the Version
Number
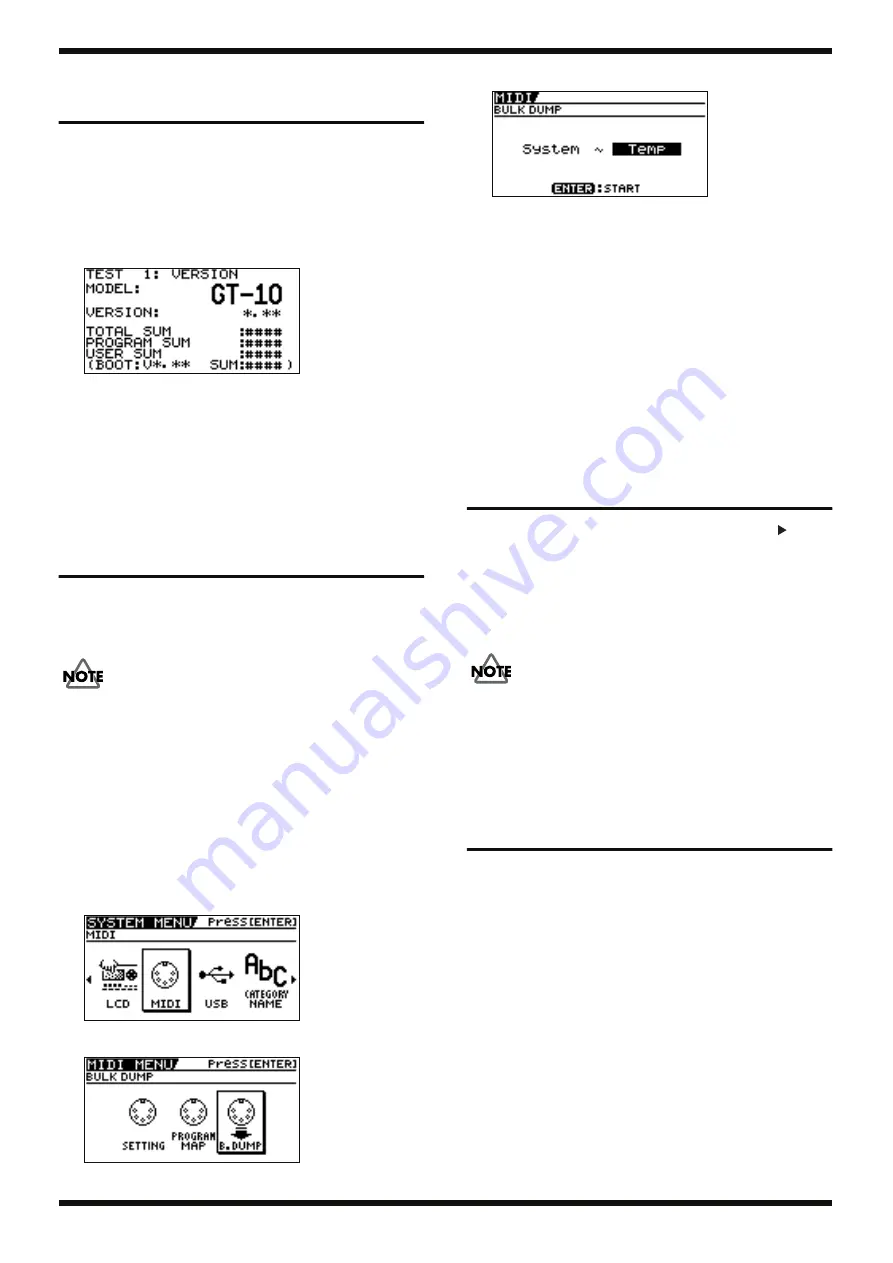
Start up in the Test Mode.
1.
Hold down [OUTPUT SELECT] and [SYSTEM] and switch on the power.
* Continue holding down these buttons until
1: VERSION
is displayed on the
screen.
2.
Press [CATEGORY/ENTER].
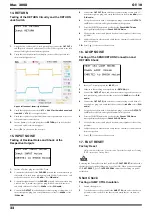
The version number (*.** in the figure) and the checksum values (#### in
the figure) appear on the screen.
fig.version-GT10.eps
TOTAL SUM:
The total of the following three items
PROGRAM SUM: The unit’s main program
USER SUM:
User data
BOOT:
The boot program
Unless instructed otherwise, for the checksum, verify the PROGRAM
SUM value.
Saving and Loading Data
To save user data, you use the bulk dump feature to perform a batch send to
an external MIDI device (such as computer sequencer connected via MIDI).
Similarly, to load user data back into the unit, you use the bulk load feature to
perform a batch receive from the external MIDI device.
The setting for PEDAL CALIBRATION at the SYSTEM MENU (or the pedal-
calibration setting in
(p. 18) in the Test Mode) is not saved.
Sending Parameters to an
External MIDI Device (Bulk Dump)
1.
Connect the GT-10 to the external MIDI device using MIDI.
2.
Put the external MIDI device in standby for receiving MIDI Exclusive
(SysEx) data.
3.
Press [SYSTEM].
4.
Move the cursor to
MIDI
and press [CATEGORY/ENTER].
fig.bulkdmp1.eps
5.
Move the cursor to
B.DUMP
and press [CATEGORY/ENTER].
fig.bulkdmp2.eps
6.
Use
System ~ Temp
to select the items to send.
fig.bulkdmp3.eps
7.
Press [CATEGORY/ENTER].
Sending starts. You can cancel this by pressing [EXIT].
Receiving Parameters from an
External Device (Bulk Load)
1.
Connect the GT-10 to the external MIDI device using MIDI.
2.
Send bulk data from the external MIDI device.
The message
BULK DATA RECEIVING...
is displayed while data is
being received.
* No operation on the GT-10 is needed.
* If data is not received, verify that the device ID of the GT-10 is the same as the
ID setting used when the bulk dump was carried out.
Performing a Factory Reset
1.
With the power off, hold down [CATEGORY/ENTER] and [
] and
switch on the power.
The message
Force Factory Reset!
is displayed on the screen.
2.
Press [WRITE].
The message
Now initializing...
appears on the screen, and when the
displayed value reaches 100%, the Play mode screen appears.
3.
Switch off the power.
Performing this Factory Reset initializes the system data and user data to the
factory defaults. Use a
Sending Parameters to an External MIDI Device
(p. 15) beforehand to save the data.
When you want to initialize only the system data, go to “Chapter 5 -- Making
Global Settings” in the owner’s manual and refer to the section entitled
“Restoring the Factory Settings (Factory Reset).”
Updating the System
You carry out updates of the system by using a computer or the like to play
back update-use MIDI data and receiving this data on the GT-10.
1.
Using a UM-1 USB-MIDI interface or the like, connect MIDI OUT on the
computer to MIDI IN on the GT-10.
2.
Hold down [CH SELECT], [DISPLAY MODE], and [WRITE] and switch
on the power.
3.
The message
SYSTEM UPDATER
is displayed.
4.
Wait several seconds until the message
Waiting SMF...
is displayed.
5.
On the computer, start the program for sending MIDI data (such as
UpdSMF) and send the update-use MIDI data.
The message
Now Receiving...
is displayed while the data is being
received.
* The update takes around 20 minutes.
When the update finishes, the message
Completed
is displayed.
* Refer also to the documentation provided with distribution of the system update
file.
Summary of Contents for Boss GT-10
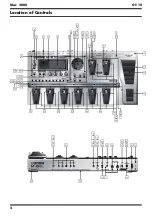
Page 4: ...4 Mar 2008 GT 10 Location of Controls fig panel GT 10 eps...
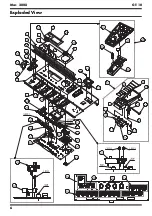
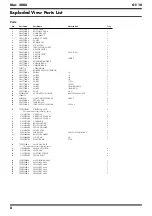
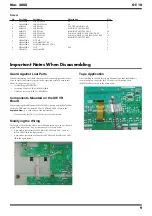
Page 6: ...6 Mar 2008 GT 10 Exploded View fig bunkai eps L...
Page 7: ...7 Mar 2008 GT 10 fig bunkai eps R...
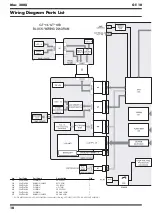
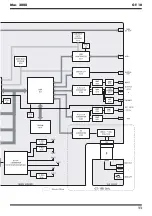
Page 11: ...11 Mar 2008 GT 10 fig block wiring eps R...
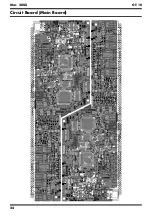
Page 24: ...24 Mar 2008 GT 10 Circuit Board Main Board fig b main 1 eps...
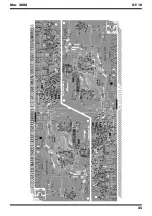
Page 25: ...25 Mar 2008 GT 10 fig b main 2 eps...
Page 26: ...26 Mar 2008 GT 10 Circuit Diagram Main Board 1 5 fig d main 1 eps L...
Page 27: ...27 Mar 2008 GT 10 fig d main 1 eps R...
Page 28: ...28 Mar 2008 GT 10 Circuit Diagram Main Board 2 5 fig d main 2 eps L...
Page 29: ...29 Mar 2008 GT 10 fig d main 2 eps R...
Page 30: ...30 Mar 2008 GT 10 Circuit Diagram Main Board 3 5 fig d main 3 e eps L...
Page 32: ...32 Mar 2008 GT 10 Circuit Diagram Main Board 4 5 fig d main 4 eps L...
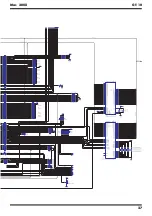
Page 33: ...33 Mar 2008 GT 10 fig d main 4 eps R...
Page 34: ...34 Mar 2008 GT 10 Circuit Diagram Main Board 5 5 fig d main 5 eps L...
Page 35: ...35 Mar 2008 GT 10 fig d main 5 eps R...
Page 36: ...36 Mar 2008 GT 10 Circuit Board SW VR Pedal Bank ENC EXP Board fig b sw 1 eps...
Page 37: ...37 Mar 2008 GT 10 fig b sw 2 eps...
Page 38: ...38 Mar 2008 GT 10 Circuit Diagram SW VR Board fig d sw vr eps L...
Page 39: ...39 Mar 2008 GT 10 fig d sw vr eps R...
Page 40: ...40 Mar 2008 GT 10 Circuit Diagram Pedal Board fig d pedal eps L...
Page 41: ...41 Mar 2008 GT 10 fig d pedal eps R...
Page 44: ...MEMO Mar 2008 GT 10...


