66
Use MIDI functionality
Advanced mode 1–3
Advanced mode 1 of AFTERTOUCH ASSIGN lets you specify the upper and lower limits of the
aftertouch value in addition to the items of Basic mode. Advanced modes 2 and 3 let you specify
an aftertouch message for an individual note (Polyphonic Key Pressure) instead of specifying
the channel.
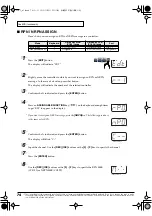
1.
Press the
[EDIT]
button.
2.
Slightly move the controller to which you want to assign an Aftertouch message. In the
case of a button, press that button.
The display will indicate the number of the selected controller.
3.
Verify that the display indicates the correct controller, and press the
[ENTER]
button.
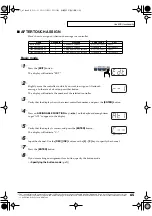
fig.at1
4.
Using the
ASSIGNABLE FUNCTION
keys (
) on the keyboard, get
"AT0" to appear in the display, then press the
[1]
-
[3]
key of the keyboard.
The display will indicate the selected mode.
5.
Press the
[ENTER]
button.
6.
Input the channel.
7.
Press the
[ENTER]
button.
8.
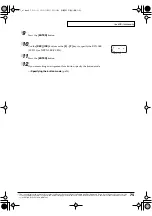
If you are using Advanced modes 2 or 3, input the note number.
9.
If you are using Advanced modes 2 or 3, press the
[ENTER]
button.
10.
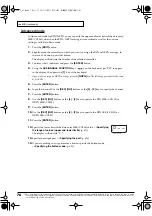
If you are using Advanced modes 1 or 3, specify the upper limit and lower limit of the
value as described in
Specifying the range of values (upper and lower limits)
,
and specify the output port.
11.
If you are using Advanced modes 1 or 3, specify the output port.(
➝
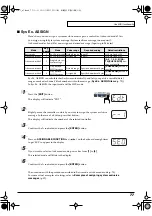
12.
If you are making an assignment for a button, specify the button mode.
(
PCR-1_e1.book 66 ページ 2003年11月20日 木曜日 午後3時22分
Summary of Contents for Edirol PCR-1
Page 98: ...98 MEMO PCR 1_e1 book 98...

